Author:
Eugene Taylor
Date Of Creation:
11 August 2021
Update Date:
1 July 2024
Content
This wikiHow teaches you how to safely remove an external hard drive or flash drive from your Windows 10 computer.
To step
Method 1 of 3: Using your desktop taskbar
 Save open documents to your flash drive. The easiest way to do this in an open window is through Ctrl holding down and on S. to push.
 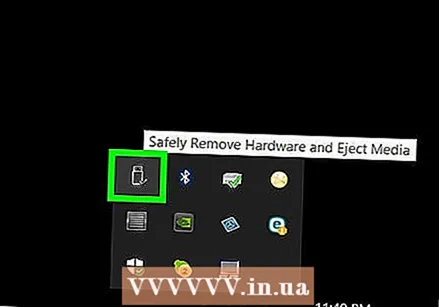 Look for the "Eject" button. This is the rectangular image in the shape of a flash drive with a check mark next to it. These can be found in the row of options at the bottom right of the screen, but you may have to click the up arrow on the far left of these options to view them all.
 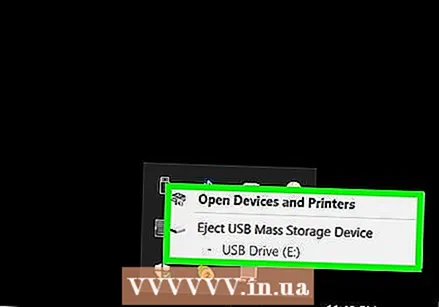 Click the "Eject" icon. A drop-down menu will appear.
 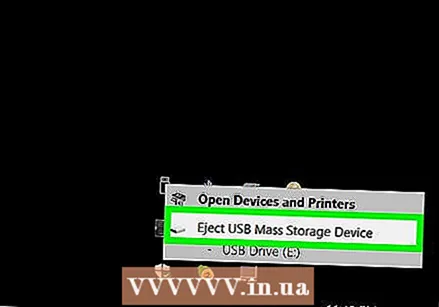 Click on Eject. This option can be found at the bottom of the drop-down menu. It will usually indicate something like Eject SDHC (E :) with the name of the flash drive after "Eject".
  Wait until you get the message that you can safely eject the hardware. As soon as this notification appears in the bottom right of the screen, your flash drive is ready to be removed.
  Save open documents to your flash drive. The easiest way to do this in an open window is through Ctrl holding down and on S. to push.
  Open the Start menu. Click the Windows icon at the bottom left of the screen, or press the ⊞ Winkey on your computer keyboard. Opening the Start menu will automatically place your mouse pointer in "Search".
  Type This PC. Your computer will then search for "This PC".
 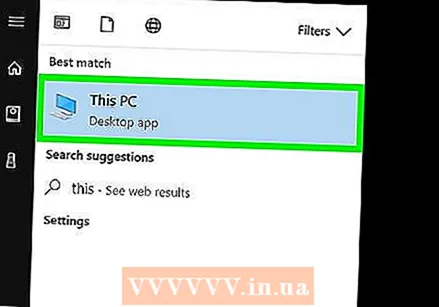 Click the "This PC" icon. This is an image of a computer monitor at the top of the Start menu search box. "This PC" opens.
  Find the name of your flash drive. It appears under "Devices and drives" in the center of the window; usually your flash drive will be on the right side of this window.
 - You will usually see "(E :)" or "(F :)" after the flash drive name.
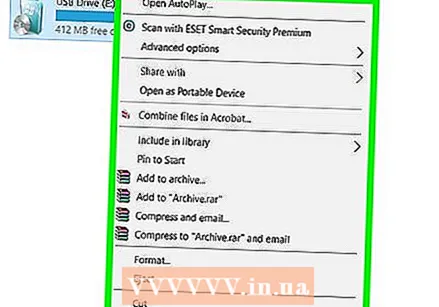 Right click on the name of your flash drive. A drop-down menu will appear.
 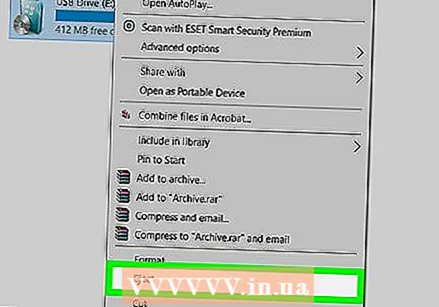 Click on Eject. This option can be found roughly in the middle of the drop-down menu. Once you have done this, the flash drive name should disappear from the "This PC" window.
  Wait until the "Safe to remove hardware" message appears. Once you see this notification at the bottom right of the screen, your flash drive is ready to be removed.
 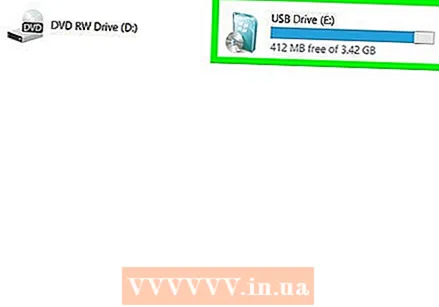 Make sure your flash drive is connected to your computer. Quick Remove is a Windows service that formats your flash drive so that it does not need to be ejected, so you can simply remove the flash drive whenever you want. To enable Quick Remove, your flash drive must be plugged in.
 - You cannot set up Quick Delete for an SD card.
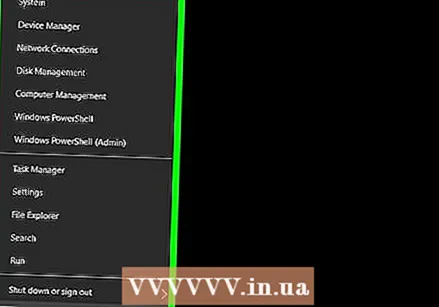 Right click on the Start button. This is the Windows logo at the bottom left of the screen. This will open a pop-up menu.
 - You can also use the ⊞ WinPress and hold the key and X Press to open the pop-up menu.
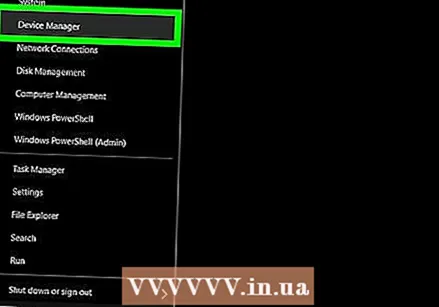 Click on Device Manager. This option is at the top of the pop-up menu.
 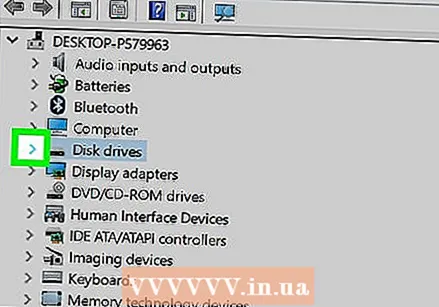 Click on the button > to the left of "Disk drives". The Disk drives section is located at the top of the Device Manager window. Click the arrow on the left to open a list of your computer's disk drives, where you will also find the attached flash drive.
 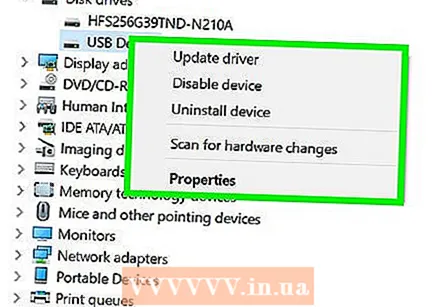 Right click on the name of your flash drive. The name of the flash drive will vary, but it usually says "USB" in the title.
 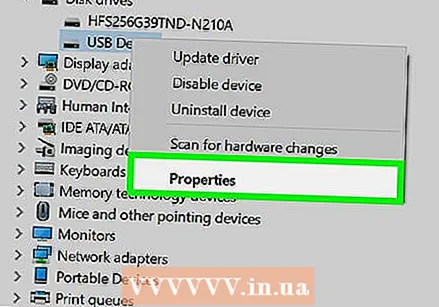 Click on Properties. This option can be found at the bottom of the right-click menu.
 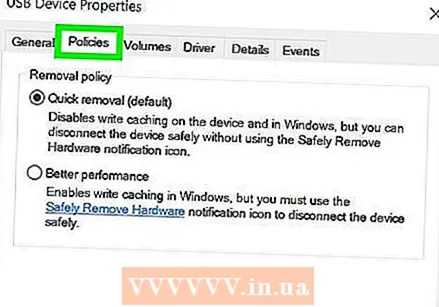 Click on Policies. This is a tab at the top of the "Properties" window.
 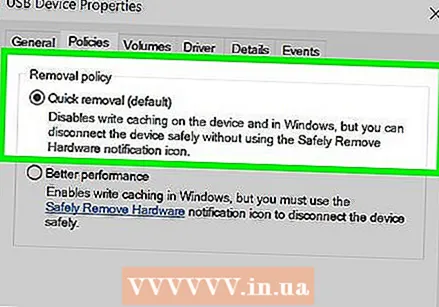 Click on the Quick Remove option. You can find this at the top of the window.
 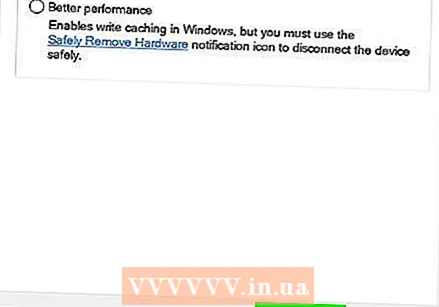 Click OK. This will enable quick removal for this particular flash drive. Once you have finished using the flash drive, you can remove it from the computer without going through the "Eject" procedure.
Tips
- The "Eject" procedure also works for SD cards (eg memory cards from cameras).
- Since Quick Remove is device specific, you will need to enable it for all of your flash drives if you want to use this feature for each flash drive.
Warning
- Do not use Quick Remove for external hard drives. Since they store significantly more data than a regular flash drive, the "Eject" procedure is much safer when it comes to removing an external hard drive.


