Author:
Eugene Taylor
Date Of Creation:
8 August 2021
Update Date:
1 July 2024
Content
This wikiHow teaches you how to set up a Microsoft Word document to print as a booklet. The easiest way to do this is to format a document using the "Booklet" layout, or you can select and modify an existing template.
To step
Part 1 of 2: Organizing the booklet
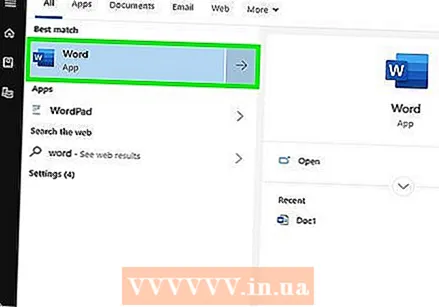 Open Microsoft Word. Go to it Startmenu (PC) or folder Programs (Mac), and look for a blue icon with a white "W" in it.
 - If you don't want to customize your own booklet, you can start with one of the booklet templates available in Word. Click on the menu File, select New, typ booklet in the search bar, press Enter, select a booklet template, and then click the button Create to set up your template.
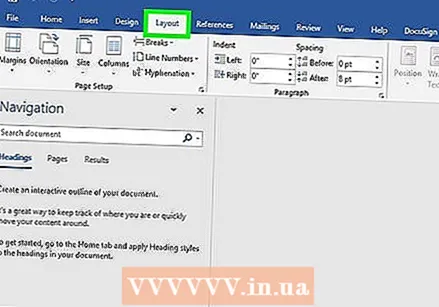 Click on the tab Layout. This will bring up several options for the layout of the pages in your Word document for the correct print result.
 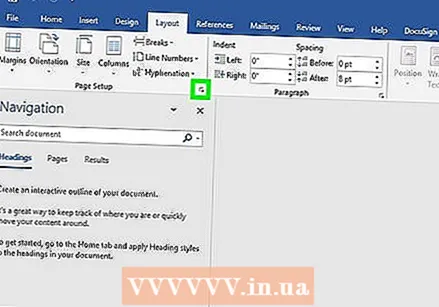 Click the down arrow at Multiple pages. This appears in the lower right corner of the Page Setup dialog box under the Layout tab.
 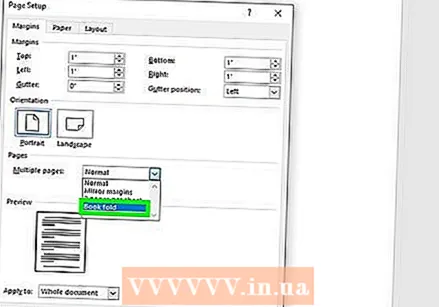 Select Booklet in the Pages menu. This changes the layout to landscape (wide) mode with a split in the middle.
 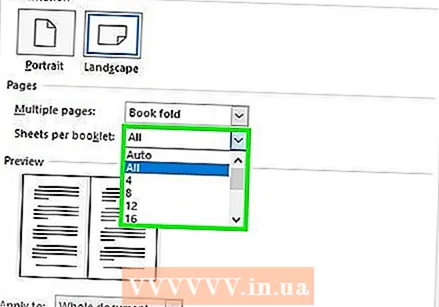 Select the number of pages for your booklet. The page options appear in the menu.
 - Note that if you choose a page number that is too small to print all of your text, you will need to change the selection to Everything to make all content visible on your computer screen.
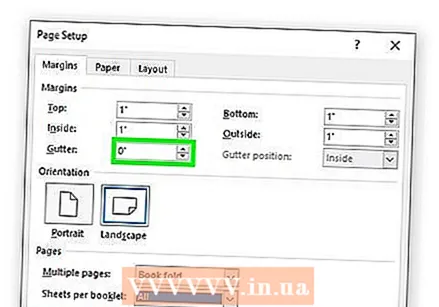 Adjust the gutter. The "Gutter" menu, located at the top left of the window, determines the amount of space available where the booklet will be folded. If you increase or decrease the gutter, the preview image at the bottom will be updated to show the results.
 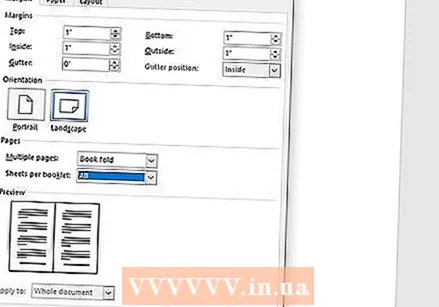 click on OK to save your changes. This button is at the bottom of the window.
  Add content to your booklet. Now that your document is formatted as a booklet, you can add your own text, images, and custom formatting.
 - If you are unfamiliar with Microsoft Word, read the article "Format a Word Document" to learn how to edit your text, add images, and position content however you like.
- If you are using a template, see "Using Templates in Word" to learn how to customize the pre-formatted content. Usually you want to edit the example information as given in principle.
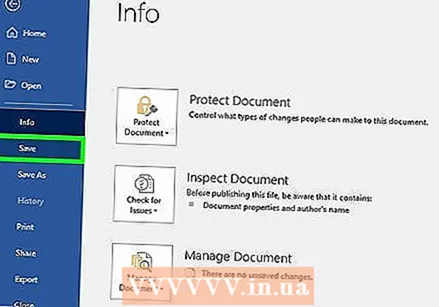 Save your booklet. Do this as follows:
 - Click on the menu File in the top left corner.
- Select Save as.
- Select a storage location.
- If you want to save this file as a template that you can edit for future projects, select the option Template from the "Save as Type" or "Format" drop-down list. Otherwise, just keep the default setting (.docx) selected.
- Name the file and click Save.
Part 2 of 2: Printing the booklet
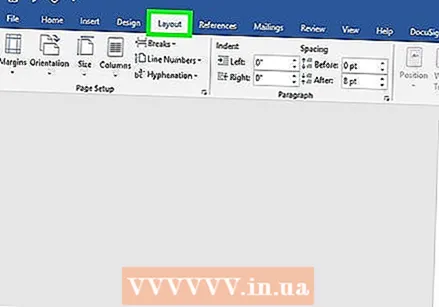 Click the Layout tab. This displays options to configure how your booklet will look when printed.
 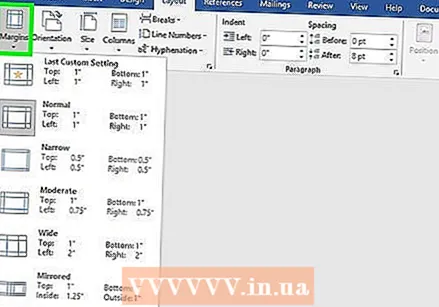 Click on the menu Margins. You can find this roughly in the top left corner of Word. Several options will appear.
 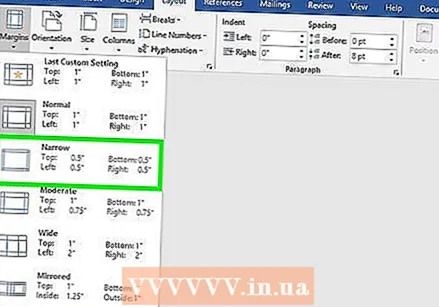 Select Narrow from the menu. You can set your margins to any size, but the Narrowoption ensures that the size of your text and images is not reduced too much.
 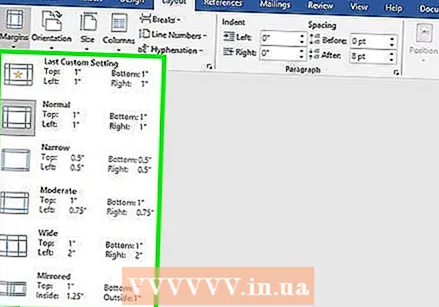 Remove extra white space and other formatting issues. Extra white space can be removed using hyphens or by adjusting the space between words. Scan through the document to make sure your text looks the way you want and fix any imperfections you might find.
 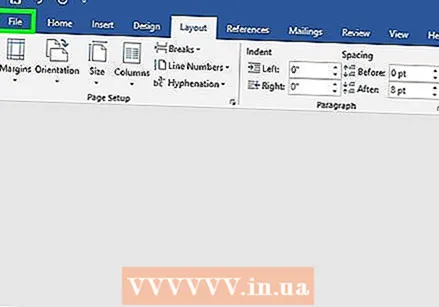 Click on the menu File. You can find this option in the top left corner.
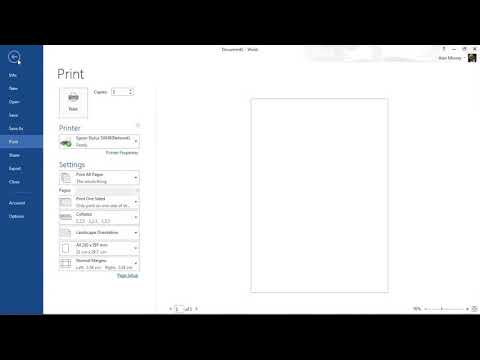
 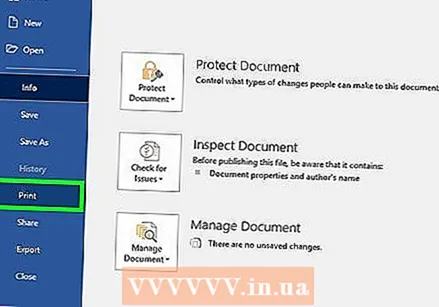 click on Print. It's in the menu on the left side of the screen. A print preview of your booklet is shown.
 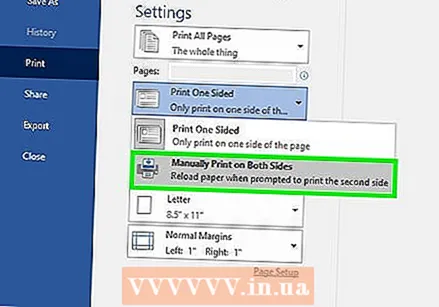 Set your booklet to be printed on both sides. If this option is allowed by your printer, select the option Double-sided printing in the "Pages" drop-down menu. Make sure to select the "Turn pages along short edge" option so that the back is not reversed.
 - If your printer does not support automatic two-sided printing (both sides), select Manual duplex printing.
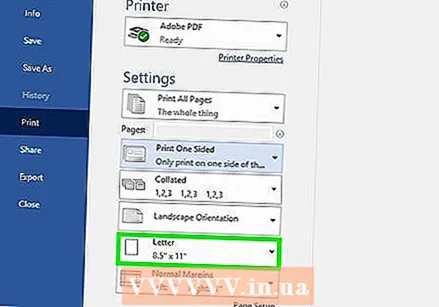 Select a paper size. The standard paper size is A4, which is a standard sheet of printer paper. If you are using a different paper size, select the size of that paper.
  Check out the example. The print preview appears in the right pane. You can use the arrows at the bottom of the panel to scroll through the booklet and make sure it looks good.
 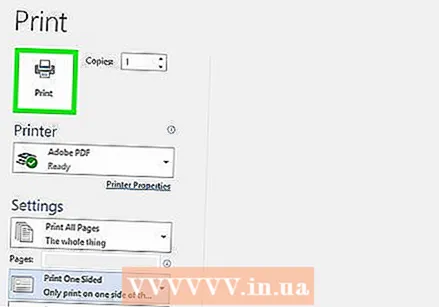 click on Print. These buttons are located near the top of the window. The print job for the booklet is sent to the printer.


