Author:
Roger Morrison
Date Of Creation:
26 September 2021
Update Date:
1 July 2024

Content
- To step
- Method 1 of 2: Hanging an ENO hammock
- Method 2 of 2: Installing an ENO hammock
- Tips
- Necessities
Eagle's Nest Outfitters makes hammocks in a variety of sizes, including the popular SingleNest and DoubleNest models. The flexible nylon is light, comfortable and dries quickly. The way you hang your hammock will depend on how long the hammock is used and the mounting options. The first method is best for camping and other temporary use, while the second method is for permanent use or seasonal installation.
To step
Method 1 of 2: Hanging an ENO hammock
 Find two trees that are 3 to 4 meters apart. You can purchase additional mounting kits, such as the Atlas Hammock Suspension System, to increase the suspension length to 9 meters.
 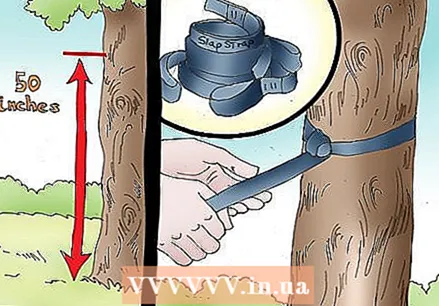 Remove the two pieces of Velcro from the bag. Look for a point about 130 cm off the ground. Wrap one of the Velcro pieces around the tree at this point and thread the end through the top loop of the Velcro.
 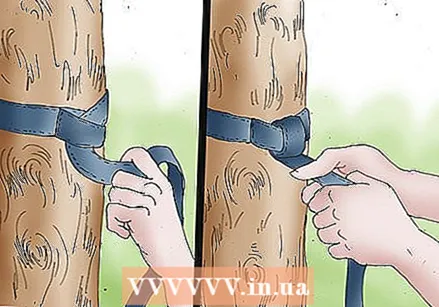 Repeat this on the opposite tree.
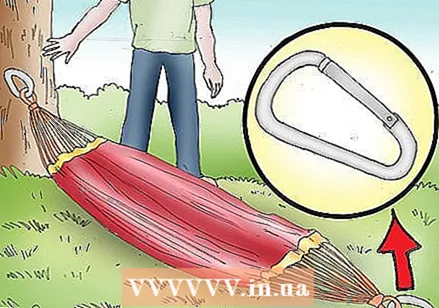 Take the hammock out of the bag and roll it out. There should be a black carabiner on both sides. Make sure that the hammock is properly placed.
 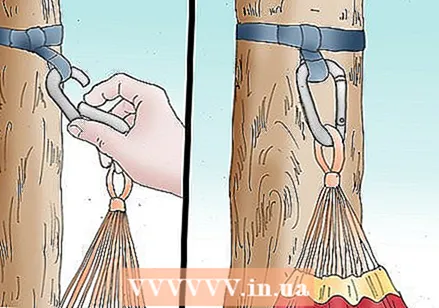 Take one end of the hammock and hook the carabiner onto one of the loops of a piece of Velcro. There are several loops so that you can adjust the height at which the hammock hangs.
  Take the other end of the hammock and hook the carabiner onto a loop of the other Velcro strap.
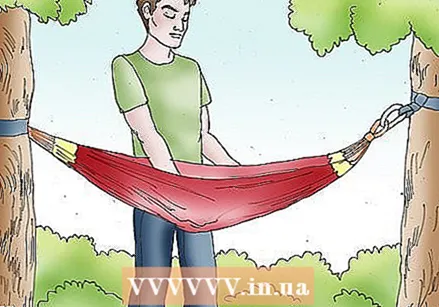 Check the height of the hammock or press gently on the hammock to see if it is hanging too high or too low. Hook the carabiners on higher or lower loops to find the correct position.
  Sit on the center of the hammock. Turn and lie down, lifting your feet up and into the hammock. Adjust the position of the carabiners as needed.
Method 2 of 2: Installing an ENO hammock
 Buy the ENO suspension kit or the same type of suspension kit for the hammock. This kit comes with steel carabiners and other durable hanging devices. It should be used as a replacement for your Velcro sealant.
 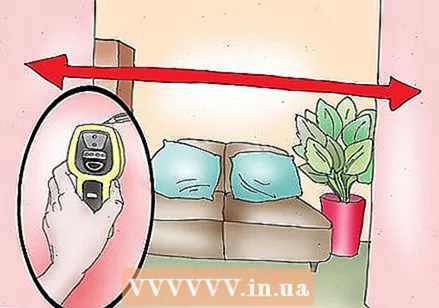 Drive two support beams or posts into the ground. You can also install the hammock indoors between two support beams. If outdoor support beams are not possible, use two sturdy, mature trees.
 - Use a support beam sensor to find support beams in walls. Remember that anchors and drywall will not hold your hammock. You need to find a support beam.
 Make sure there is at least 11 inches (285 cm) between the two trees, struts, or posts. It is better to choose anchor points that are too far apart than too close to each other. You can always use more suspension straps. Anchor points that are too close together will cause the hammock to be centered on the ground.
  Mark a point about 130 cm from the ground. You can increase the height if you are tall or heavier than 90 pounds.
  Drill into the core of the support beam or tree with a drill and a drill bit with a thickness of 8 mm. Drill to a depth of 7.5 cm.
 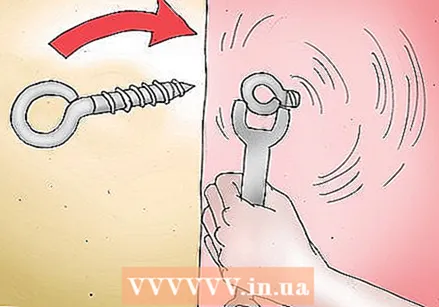 Thread the bolt through the anchor. Tighten the bolt with a 1/2-inch wrench until it is firmly seated in the wood.
 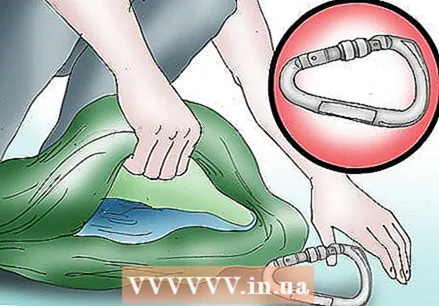 Replace your hammock's aluminum carabiners with the steel carabiners included in the kit. This installation kit will disable the carabiners that were included with the original hammock.
 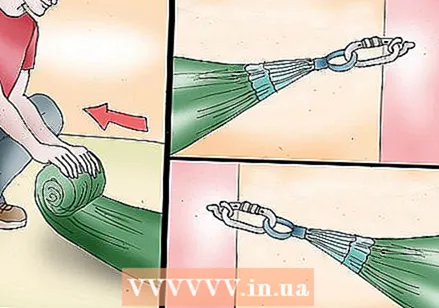 Roll out the hammock. Take a good look at it. Hook the steel carabiners on both sides to the steel anchors.
 - If the posts, support beams or trees you use are too far apart to immediately tie your hammock between them, you can use a rope or band to add extra length between the hammock and the anchor points.
Tips
- Avoid hanging the hammock too high in a tree. The hammock should not be hung too high, even if it should not hang on the floor, otherwise it will eventually hang in an uncomfortable position. The ideal angle of inclination at which the hammock will indent when lying in it should be about 30 degrees from horizontal.
Necessities
- ENO hammock
- Strips of Velcro
- Tree
- Atlas suspension system (optional)
- Drill
- Support beams / trees
- ENO suspension kit
- Skid sensor (optional)
- Measuring tape
- Power drill
- 8 mm drill bits
- Wrench of 1.5 cm

")

