
Content
- To step
- Method 1 of 3: Choosing the right equipment
- Method 2 of 3: Choose a time and place
- Method 3 of 3: Take your photos
- Tips
- Necessities
Pictures of the moon can be very beautiful if taken properly. It's just not that easy to take a photo of the moon that doesn't look blurry! Still, once you know what equipment you need, the best time to take the photos and how to set up your camera, you can take great pictures of the moon. With a little knowledge of taking pictures, the moon might just become one of your favorite photo objects.
To step
Method 1 of 3: Choosing the right equipment
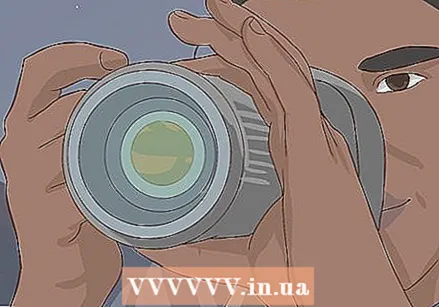
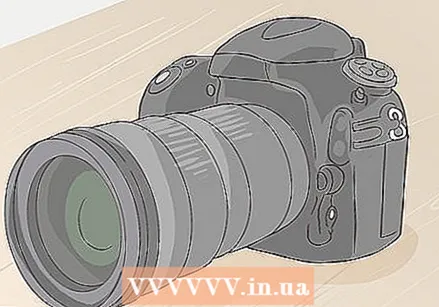 Use a good quality camera. You cannot take good pictures of the moon with your phone's camera; they will always be blurred and the moon will appear far away. If possible, use a camera of the best quality available. The quality of the lens is more important than the quality of the camera. You can therefore use different types of cameras, as long as you attach the right lens.
 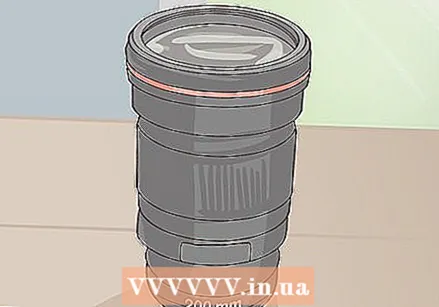 Choose a lens that is 200mm or larger. A high value in mm on a lens means that the lens can zoom in at a greater distance. Therefore, buy the lens with the highest mm value you can get. More than 300 mm is best, but with a 200 mm lens you can also get the moon in the picture. EXPERT TIP
 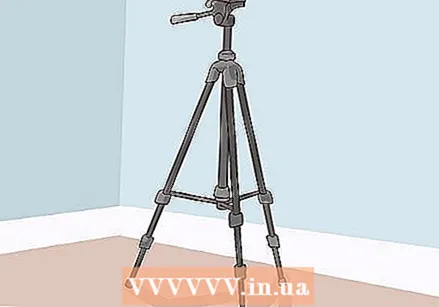 Use a tripod. Stability is very important when photographing the moon. Even the slightest bit of movement can blur your photo, so you'll need a tripod. If the surface is uneven, use a tripod with adjustable legs.
 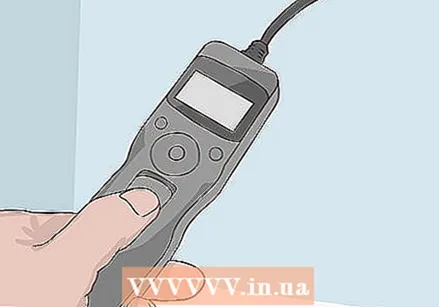 Buy a relaxation cable. If you even touch the camera to take a picture, it may wobble and your picture may become blurry. With a shutter release cable, you can take the photo without having to touch the camera again once you set it up. If you don't have a cable, you can set the shutter delay on the camera from 3 to 10 seconds and use that.
Method 2 of 3: Choose a time and place
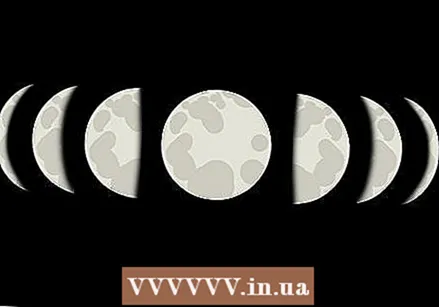 Determine which position of the moon you like best. In principle you can photograph the moon in any position, except when it is new moon, because it is then not visible from Earth. During the first quarter, third quarter and when it's half moon, you can take advantage of the high contrast, which makes the details of the craters more visible, while at full moon you can take a beautiful photo from the top floor of an apartment building . Which mode you choose depends on your personal preference, but it is best to make your choice before going out to photograph the moon.
  Know when the moon rises and sets. During rising and setting, the moon is closer to the horizon, making it appear bigger and closer. That makes it much easier to photograph it! Find out when the moon rises and sets in your area with the help of an almanac, a weather app, or the internet.
 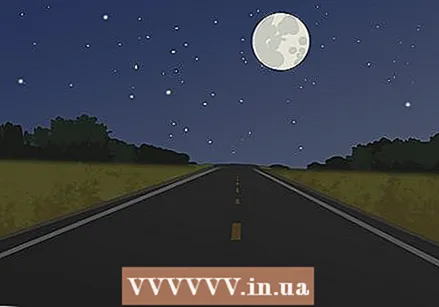 Choose a clear night. If it's cloudy or foggy, or if the sky is very polluted, your photos will look blurry. Therefore, check the weather forecast before you go outside, and if possible while taking pictures, for example with a weather app. A clear, dry night with little smog is best for photographing the moon.
 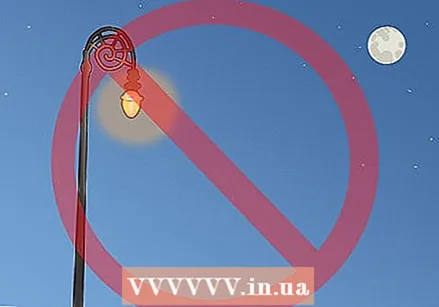 Choose a place without direct sources of light. The moon appears bright because it reflects the sun's light, and extra light from streetlamps, houses and cars can make the moon appear dull and blurry in your photos. There may be some light in the distance, but make sure you are not photographing near another light source.
Method 3 of 3: Take your photos
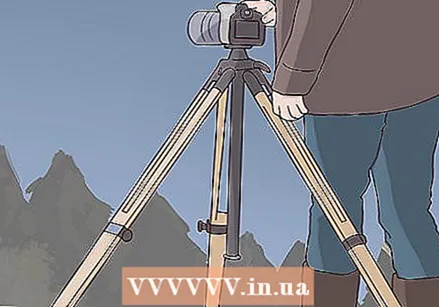 Set up your camera. Place the tripod on a stable, flat surface and adjust the legs to keep your camera level with the horizon. Make sure your tripod is stable before mounting the camera and lenses on it. Remove the lens cap and turn on your camera. If you're using a relaxation cable, attach it now too.
 - Make your photo more interesting by putting something in the foreground. For example, take a picture of the moment when the moon rises or sets, above a particularly beautiful landscape.
- For a creative photo of the full moon, try taking a picture of something illuminated by the moonlight, with the moon itself in the background.
 Focus your camera. Turn off the autofocus function of your camera. Autofocus is not ideal if you shoot in the evening or at night, and may not provide the best focus. Look through the camera image and manually adjust the focus until you can see sharp details of the lunar surface. Each camera model has a different method for adjusting focus, so check your camera's manual before shooting.
 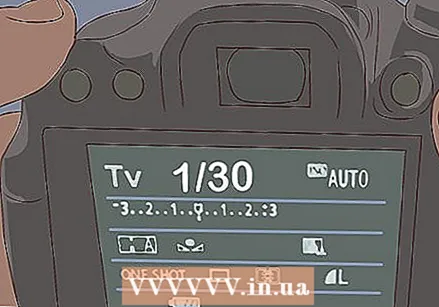 Choose a fast shutter speed. Shutter speed is also referred to as "exposure time". The moon is a bright object, especially when it is completely full. With a faster shutter speed, the camera will be exposed to less light, which means that the details of the moon will be sharper and there will be no halo around it. Use the fastest shutter speed your camera has. EXPERT TIP
 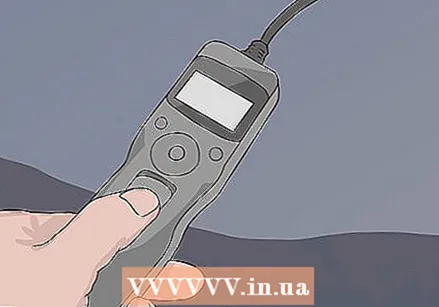 Use a timer or relaxation cable. When you take a photo, the camera can become unbalanced due to the pressure of your hand, making your images blurry. With a shutter release cable you can stay at a distance from the camera while taking the photo. If you don't have a cable, use the shutter speed of your camera.
 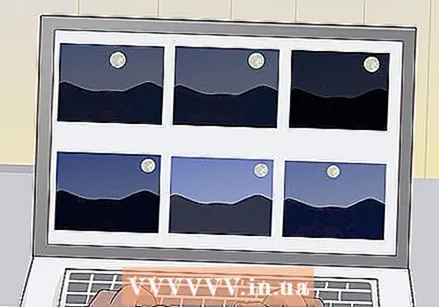 Take multiple photos. Once you set up and focus your camera, take several different photos of the moon. So you have a selection of photos to choose from. Try a few different shutter speeds and focuses to make sure you get the best shots possible!
Tips
- Play around with the manual settings. If you only zoomed in on the moon (making it take up much of the frame), you need different settings than if you were taking a landscape photo with the moon in the distance. You can change the brightness (or darkness) of the moon, as well as the amount of moon detail you will see.
- Look for natural reference points to include in your photos, such as trees or the moon's reflection in the water.
- While editing, you can make the night appear darker than it actually was.
- The moon shines quite often during the day. Try taking a photo of the moon during the day!
- There are no specific ideal times to photograph the moon, although most cameras are the easiest to photograph a setting or a rising moon. Try experimenting with different times during the day, in the evening or at night, and with different seasons!
- Do not use a lens or camera with IS or VR, otherwise the camera and lens may vibrate.
- If you want to know how to photograph a lunar eclipse, go to: https://zoom.nl/artikel/cursussen/25925-de-maansverduistering-fotograferen---zo-doe-je-dat.html
Necessities
- Photo camera, digital or not
- Suitable lens (200mm or larger)
- Relaxation cable
- Sturdy tripod


