Content
- To step
- Method 1 of 3: Windows
- Method 2 of 3: Safely format a Windows laptop
- Method 3 of 3: Mac OS X
Most laptops only have one hard drive, which means that if you want to format it, you will also have to reinstall your operating system. In fact, the easiest way to reformat a laptop is to start the operating system installation process. If you want to format a laptop hard drive and you have a Windows computer, back up your data first, boot your computer from the correct installation disc, then install your laptop drivers from a previously created source. If you want to format the hard drive of a Mac computer, back up your data and restart your computer in the recovery menu where you can use the Disk Utility to erase the drive and reinstall your operating system . If you want to ensure that your data is securely erased, you need a special program on a Windows computer; Mac computers have a built-in feature for this.
To step
Method 1 of 3: Windows
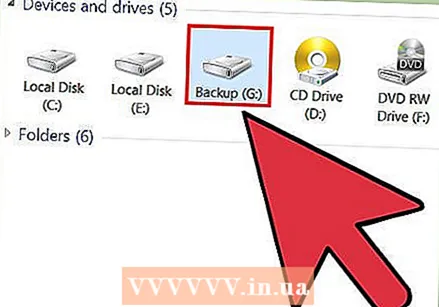 Back up all your important data. Most laptops only support one hard drive. Formatting the hard drive will delete all data. Before doing this you should back up the documents, images and other files you want to save.
 - You can burn your important data to a blank DVD, copy it to an external hard drive or USB flash drive, or upload it to a cloud storage service. For more information about safely backing up your data, see Back up your data.
- If you'd like to securely format your laptop's hard drive before scrapping or selling the device, see further in the article for instructions.
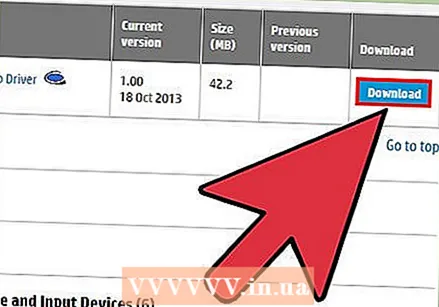 Download the drivers for your laptop. Drivers (also: drivers) are the software that controls the hardware of your computer. Having all your drivers downloaded and ready to install will make the process run much smoother. If you have a recovery disk for your laptop, the drivers are already there.
 - You can download the drivers for your laptop from the manufacturer's support website. Enter the model / type number of your laptop in the search field and download everything in the "Drivers" section. Usually, your laptop's model number can be found on the sticker on the bottom of the device.
- Copy the downloaded drivers to a USB disk or burn it to a blank disk.
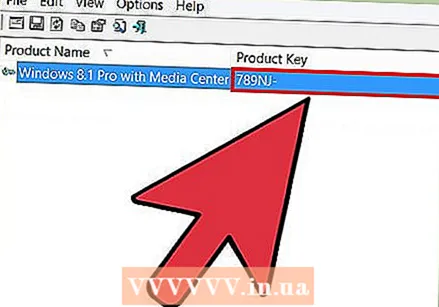 Find your Windows product key. You need the product key of your Windows version to activate the system after reinstallation. Most laptops have this code on a sticker on the bottom of the laptop. It may also be in your laptop's documentation. The Windows product key is 25 characters long.
 - If you cannot find the key, download and run ProduKey from NirSoft. This is a free program that will show your Windows product key as soon as you run it. You can download it for free here. Extract the file and run the program to see your Windows product key.
 Find or create your Windows installation disc. To install your laptop's hard drive, you must boot from a Windows installation disc or recovery disc provided by the laptop manufacturer, or through the recovery partition. Windows cannot format the drive it is installed on. If you can't find a Windows installation disc or recovery disc, then you can create one yourself completely legally.
 - Windows 7 - Download the ISO file from Microsoft here. After downloading the ISO file, download and install the Windows USB / DVD Download Tool here. This tool will guide you through the process of creating a Windows 7 installation DVD or USB drive using the ISO file you downloaded.
- Windows 8 - Download the Windows 8 Media Creation tool here. Run the utility and enter your product key to download and create a Windows 8 installation DVD or USB drive.
- Windows 10 - Download the Windows 10 Media Creation tool here. Run the utility and enter your product key to download a Windows 8 installation DVD or USB drive and create it.
 Start your computer from the installation CD or USB. Make sure the installation media is in your computer. The process for starting your computer depends on the original operating system preinstalled:
 - Windows 7 and older - Reboot your computer and press the BIOS, SETUP or BOOT displayed when the computer boots up. The most common keys are F2, F11, F12 and Del. In the BOOT menu, set the installation disk as the primary boot device.
- Windows 8 and later - Click the Power button on the Start screen or the Start menu. Keep ⇧ Shift and click Restart. This will restart the computer and load the "Advanced Startup" menu. Select the "Troubleshoot" option and then "Advanced options". Click "UEFI Firmware Settings" and then open the BOOT menu. Set your installation drive as the primary boot device.
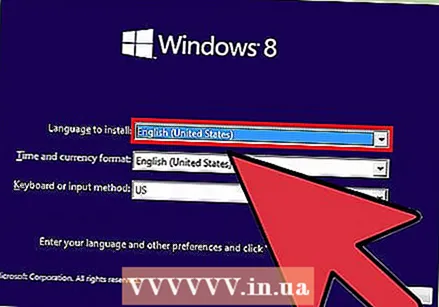 Start the Setup program and choose your language. Click the "Install Now" button and then select your language and input method. You must also first accept the license agreement.
 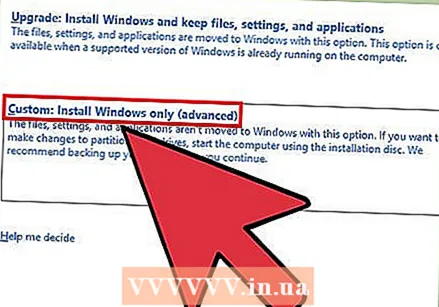 Select the option "Custom (Advanced)". This will open the hard drive program, which will display all partitions on your laptop's hard drive.
 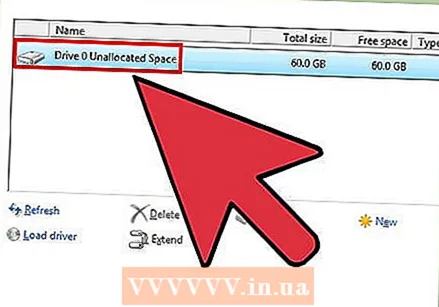 Select the partition where Windows is installed. "Partitions" are segments of the hard drive, and allow you to use your physical hard drive as multiple drives. Laptops usually have two or three partitions: a "Reserved" partition (usually about 100MB), a "Recovery" partition (usually a few GB), and your "Primary" partition. The "System" partition contains Windows and all of your programs and files. There may be more partitions present. Formatting the "System" partition will delete Windows and all your files.
 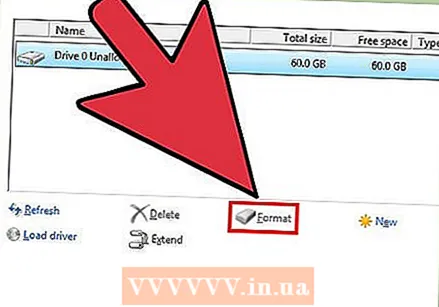 Click the "Drive Options" link and choose "Format". You will be asked to confirm that you want to format the partition. This will delete all data on it. Once you confirm, the partition will be formatted. This will take a while to complete.
  Delete any other partitions you don't want (optional). If you do not want to keep the recovery partition, or delete the media partition, you can select it and click "Delete". This will delete all data on the partition and make it "Unallocated space". Deleting two neighboring partitions will combine them into one block of unallocated space.
 - To merge the unallocated space with your main partition, select the main partition you just formatted and click "Delete". This will combine all unallocated space into one block.
 Select your formatted partition and click "Next". Then the Windows installation process will begin on the formatted partition. You must reinstall Windows to use the computer.
 - If you plan to install another operating system, such as Linux, you can end the process here before installing Windows. Insert your Linux installation disc and boot from it to begin the Linux installation.
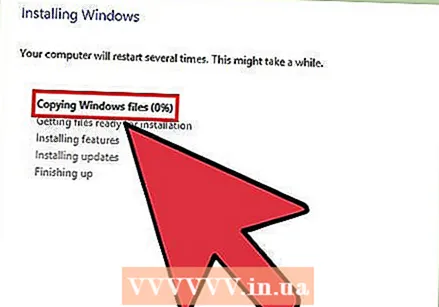 Follow the prompts to install Windows. After Windows installs the system files, you will be presented with a few screens with directions to complete the installation. This includes creating a user account, setting your Windows Update preferences, and your network settings. You will also be asked to enter your Windows product key. You need to reinstall Windows to use the computer again after formatting.
 - The default settings are usually fine when setting up Windows. If you are working on your computer at home, select "Home" or "Private" when asked for your network type.If you are installing while connected to a public network, such as in a cafe or school, select "Public."
 Install the drivers for your CD or USB drive. Now that Windows has been installed, you can reinstall the drivers for your laptop. These can be drivers for your touchpad, sound, graphics, card reader and the like. Run any of the setup programs you downloaded from the laptop manufacturer.
Method 2 of 3: Safely format a Windows laptop
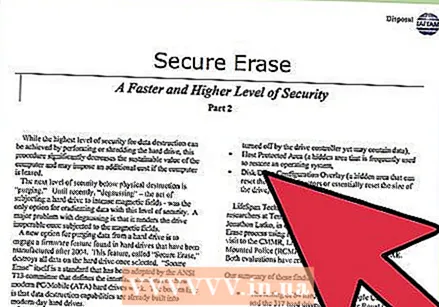 Know when to format securely. If you are going to throw away or donate the laptop, you must format the drive securely to prevent your data from falling into the wrong hands. A standard format (see above) will not completely delete your data from the drive. Instead, data is marked for overwriting and can be recovered by someone with enough time and resources. By securely formatting the drive, no one can access your data without your permission.
  Download DBAN. DBAN is a free utility to securely format your drive. You can download it for free from dban.org. You have to burn it to a blank DVD.
 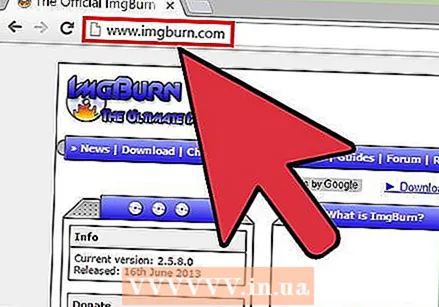 Burn the downloaded ISO file to a blank disc. If you are using Windows 7 or higher, insert a blank CD or DVD, right-click on the ISO file and select "Burn to disc". If you are using Windows Vista or earlier, download a burning program such as ImgBurn to burn the ISO file to a disc.
  Start from the disk with the DBAN program on it. Use the boot instructions according to the above procedure to boot from the DBAN disk. You need to set up your computer to boot from a CD / DVD for DBAN to load.
  Press ↵ Enterin the main menu of DBAN. This will start DBAN. It may now take a while for the program to load all the necessary files.
  Select the station you want to format. A list of all your drives and partitions is shown. Use the arrow keys to indicate the station you want to delete and press Space to select it. Orphan very be careful when selecting a drive or partition as the data will become completely unrecoverable.
  Press F10to erase the selected disk. The default settings result in a very thorough wipe, so that you can dispose of the laptop afterwards without any worries. A delete with the default settings will take several hours.
 - If you are really concerned about safety, press R. to enter the Rounds menu first and increase the number of rounds. This will result in an even more thorough and secure erase, but it will take longer.
Method 3 of 3: Mac OS X
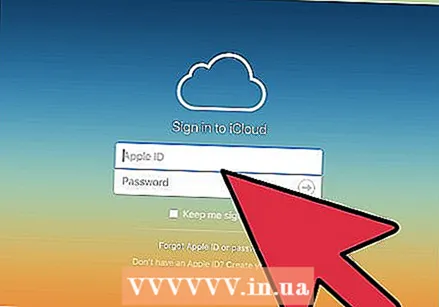 Back up your important data. Formatting your MacBook's hard drive will erase all data on it. Back up any documents, images or other important files before formatting. You can copy the files to an external drive, burn them to a blank DVD, or upload them to your iCloud storage or other cloud storage service.
 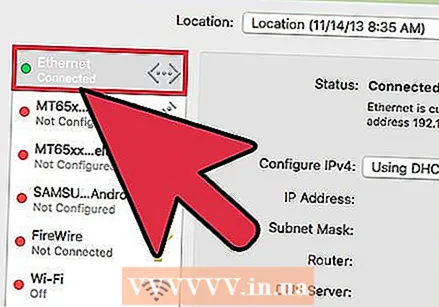 Make sure your computer is connected to the internet. You need an internet connection to download the necessary files during the format and reinstall process.
 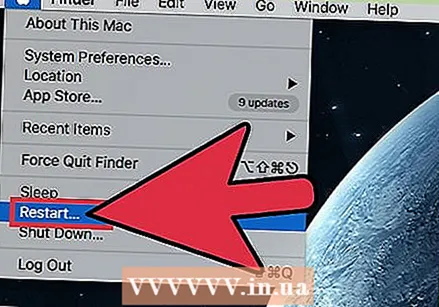 Restart your Mac and hold ⌘ Cmd+R.as soon as the system starts. This will load the recovery menu.
 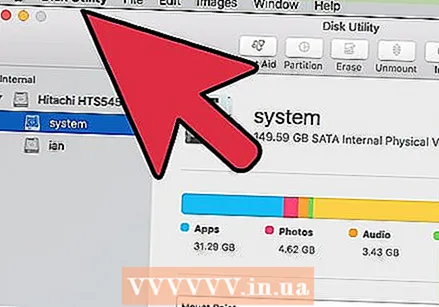 Select the "Disk Utility". This will open a new window showing all your drives and partitions in the left frame.
 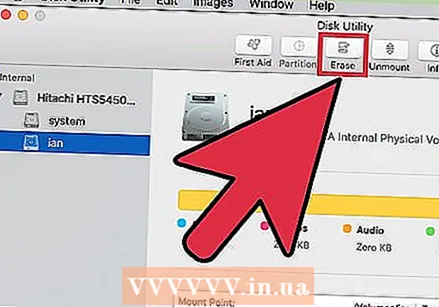 Select the partition you want to format, then click the "Erase" tab. Select the boot disk to erase the partition containing your operating system files. You can tell from the size of the partition which is the correct one.
  Click the "Security Options" button if you want to securely erase data (optional). If you want to get rid of your Mac, adjust the security options to completely erase the data on the drive. You may see several options, or a slider from "Fastest" to "Most Secure". Select the option "Overwrite 7 times" or "Most secure" to securely erase your data without any chance that it can be recovered. This will drastically increase the time it takes to format.
  Select "Mac OS Extended (Journaled)" from the "Format" menu. This is the format required to install OS X on the Mac.
 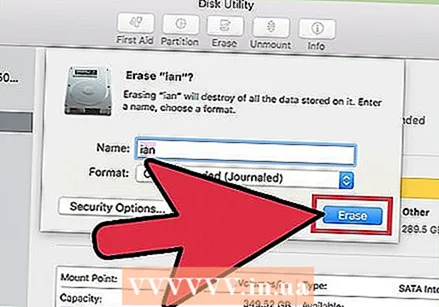 Click the "Delete" button. The drive will begin the formatting process. If you don't change the security options, it will only take a few moments. If you choose secure erase, it may take several hours to complete.
  Close the "Disk Utility" window and click "Reinstall OS X". You will need to be connected to a wireless network to continue with the installation. Follow the prompts to reinstall OS X on your computer so that you can start using it again. The installer will automatically download all essential files.


