
Content
- To step
- Method 1 of 3: Remove brown tips and maintain the shape of the leaves
- Method 2 of 3: Solving problems with a too wet or dry plant
- Method 3 of 3: Identify other causes of brown leaves
- Necessities
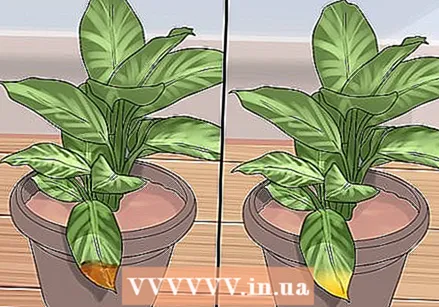
Indoor plants are grown because they can grow in a variety of conditions, and unlike outdoor plants, they don't have to deal with swarms of insects and bad weather. However, even healthy houseplants can develop unsightly brown spots, especially brown tips. Cutting the brown tips off the leaves with scissors will make your plant look nicer, but be sure to identify and address the underlying cause of the brown tips as well.
To step
Method 1 of 3: Remove brown tips and maintain the shape of the leaves
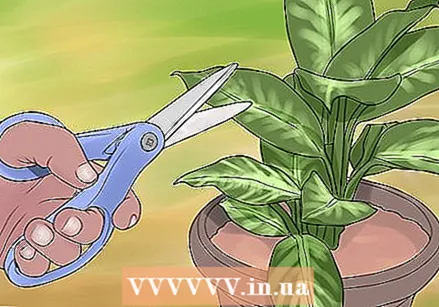 Use sharp scissors or kitchen scissors to trim the leaves. For the best results, use scissors that are as sharp as possible. With sharp scissors, the cells of the plant are less damaged, so that the plant has to use less energy to repair the damage.
 - You can use any sharp, sturdy pair of scissors, but their shape and strength make kitchen scissors an excellent choice for the job.
- Before and after trimming, wipe the scissors with rubbing alcohol to reduce the chance of infecting other plants with plant diseases. This is especially important if you are trimming the leaves of multiple plants.
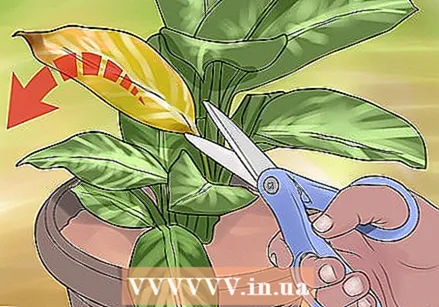 Only cut off the entire leaf when it is mostly brown. Leaves with small brown edges or tips still produce energy for the plant through photosynthesis. However, if a leaf is almost completely brown and dry, it no longer produces energy and you can cut the entire leaf of the plant.
 - If more than half of the surface of the leaf is brown, then it certainly qualifies for complete removal, especially if it is more than two-thirds of the brown.
- To remove a whole leaf from a plant, cut it off preferably with sharp scissors at the bottom part of the stem. You can also pluck the leaf by pinching the bottom part of the stem between the nail of your thumb and index finger.
 Trim the leaf so that it returns to its old shape. Check out the tips of some healthy leaves and recreate that shape as closely as possible when trimming. For example, if the plant has long, straight leaves with pointed tips, cut the tips at an angle on both sides to return the leaves to triangular tips.
 - You only do the shaping of the leaves for aesthetic reasons. The plant will not be more damaged if you cut the tips straight off the leaves to remove dead spots.
- With a little practice, the trimmed leaves will be indistinguishable from the completely healthy ones.
 Leave a little brown on the leaves if you wish. Some houseplant growers insist that it is best to leave a very small brown edge on the foliage. By doing this, you avoid damaging a healthy part of the leaf, which can put too much stress on the plant and cause even more brown spots.
 - If you trim just one or two leaves, you don't have to think about leaving a little brown on the leaves. However, if you trim many leaves at once, it is best to minimize damage to the healthy parts of the leaves.
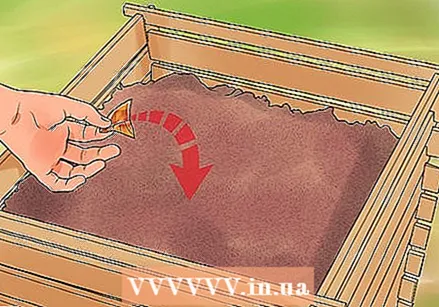 Discard the brown tips on the compost pile unless you think the houseplant has a disease. If you have a compost pile, you can add the brown tips to it. However, if you suspect the houseplant has a disease, take care not to contaminate your compost and dispose of the brown tips in the green container.
 - Brown tips are rarely the only sign of a plant disease. A disease-affected plant usually has a lot of leaves with brown spots and holes or completely brown leaves.
Method 2 of 3: Solving problems with a too wet or dry plant
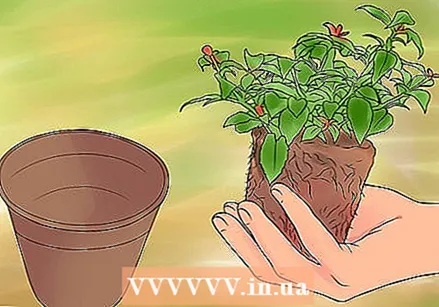 Remove the plant from the pot to view the soil and roots. Leaves with brown tips usually indicate a watering problem, and can be caused by either too much or too little water. Hold the plant over the sink, grasp the stem, shake it a bit and pull the plant and root ball out of the pot. This way you can better identify problems with too much or too little moisture.
 - If the soil crumbles instead of clumping together, then you don't water the plant enough.
- If water drips from the soil or the roots have fungus on the ends, you are overwatering the plant.
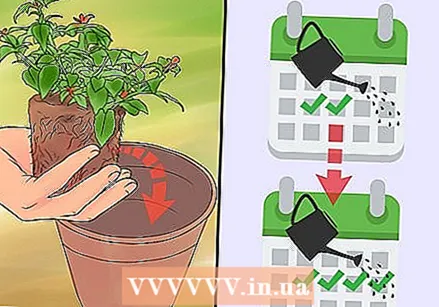 Repot a wet plant and water it less often. If you see that the soil and roots are soaking wet when you pull the plant out of the pot, you can leave the plant out of the pot for a few hours and put it back in the pot when everything has dried a little. Sometimes, however, it is better to scrape some of the soaking soil from the root ball and repot the plant in fresh potting compost.
 - If the root tips appear to be rotten or dead, you can cut them off with scissors.
- Instead of watering the plant less on the same schedule, water the plant with a larger amount of water less often. If you are now fully watering the plant every 2 days and soaking the soil, don't just moisten the soil every 2 days now. Instead, water the plant completely every 4 days.
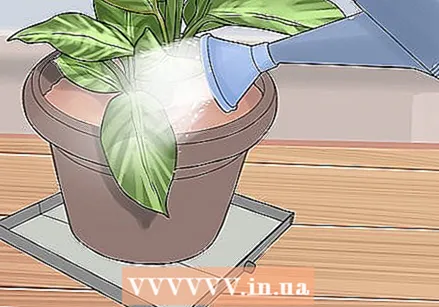 Soak the soil if you water a plant that is too dry. When you have determined that the plant is not getting enough water, put the plant back in its pot and water it thoroughly. Every time you water the plant, water should flow out of the drainage holes at the bottom of the pot. If this does not happen, you are not watering the plant enough.
 - Place a saucer under the pot to collect the excess water, or water the plant in the sink.
- Continue to water the plant on the same schedule (every other day, for example), but water it more each time. After a week, pull the plant out of the pot again on a non-watering day and see if the soil is dry. If so, give the plant a larger amount of water more often (e.g. daily).
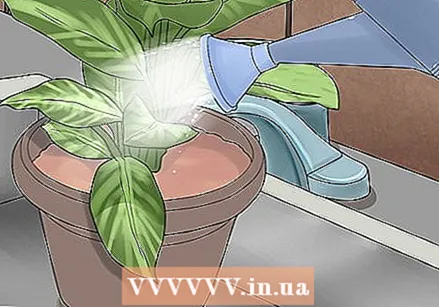
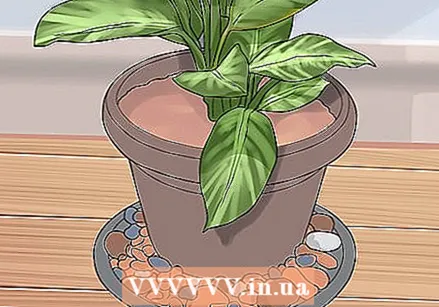 Increase the humidity in the room where the plant is located, especially if it is a tropical plant. Not only do you need to water tropical plants regularly, but they also need moisture from the air in the room they are in. You can help increase the humidity around the plant by placing the pot in a shallow bowl filled with rocks and water. If the air in your home is very dry, you may also want to consider placing a humidifier nearby.
 - It can also help to spray water on the leaves with a plant sprayer once a day.
- Keep the plant away from heating and ventilation ducts that blow dry air.
Method 3 of 3: Identify other causes of brown leaves
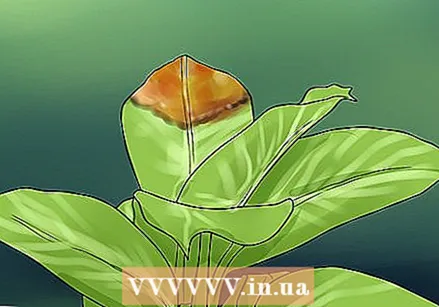
 Don't confuse brown tips with falling leaves. Many plants, like most types of palms, regularly lose their lower leaves as part of their natural growth process. There is no way to prevent these fallen leaves from gradually turning brown. You can cut them when they are dry and heavily discolored.
 - A brown-tipped leaf looks green and healthy all over, except at the tip.
 Rinse the plant with distilled water if it has been affected by an excessive amount of salt, minerals or fertilizers. If your plant is just getting the right amount of water but has brown tips, then there is probably too much of one or more minerals - probably salt - in the soil. Too much mineral content is usually caused by hard tap water or too much fertilizer. To rinse away the salt or minerals, put the pot in the sink and use distilled water to rinse the soil. Pour water into the pot until a large amount flushes out of the drainage holes.
 - Rinse the soil 2-3 times with distilled water for a few minutes.
- To prevent new problems, give the plant distilled water and use less fertilizers.
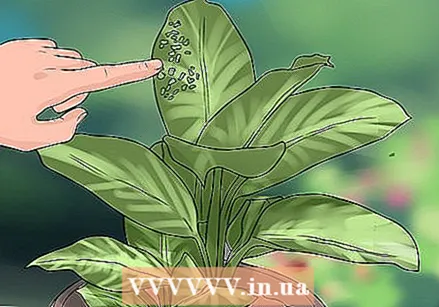 Check the leaves for small holes that could indicate an insect infestation. Small brown spots and holes in the leaves of your houseplants can be a sign of an insect infestation. Check the soil and undersides of the leaves for insects to help diagnose the problem before it gets worse.
 - If you need help identifying the pests on your houseplants and want advice on how to control them, visit a nursery near you or look up information on the internet.
Necessities
- Sharp scissors or kitchen scissors


