Author:
Florence Bailey
Date Of Creation:
20 March 2021
Update Date:
1 July 2024

Content
Grout is a material used to fill the joints between ceramic tiles and comes in various forms. If your tiling job is coming to an end and you're ready to start grouting, read on with this article. We will show you how to choose a grout and apply it correctly (do this job professionally).
Steps
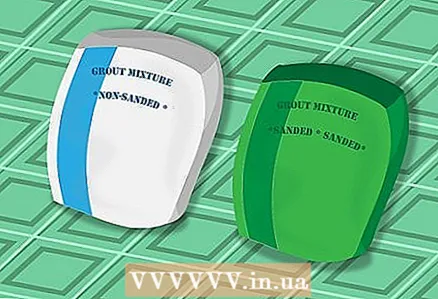 1 Choose a grout. There are three main types of grout: sandy, sandless, and epoxy. Each has its own advantages and disadvantages, but the choice depends on how large the joints you fill. Grout shrinks as it dries, so use the correct grout type to minimize cracking.
 - Sand grout is used for joints that are 3 mm wide or more. Sand grout should not be used on polished marble or other materials that are easily scratched.
- Grout without sand.Sand-free grout is used for joints 3 mm or less, although for joints as small as 1.5 mm it is better to use a sand grout if at all possible.
- Epoxy grout is much more difficult to apply because it dries much faster, lasts much longer and doesn't get dirty. This type of grout is best used on kitchen countertops, for example. If you are looking to make an epoxy grout, it is best to hire a professional.
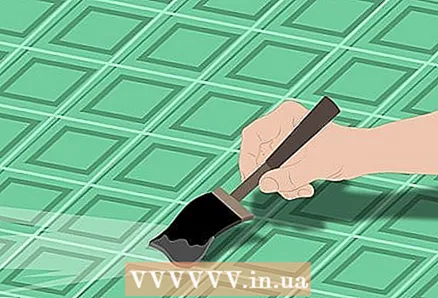 2 Cover your tile with sealant. Cover your tiles with sealant before grouting if they are made of porous materials such as natural stone or some types of ceramics. You can ask the sellers in the store where you bought them about the quality of your tiles.
 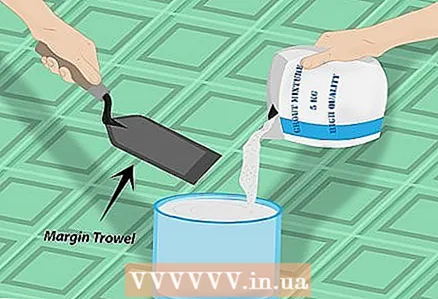 3 Prepare your grout. Prepare grout according to the manufacturer's instructions, use a spatula or other suitable tool. Add 2/3-3 / 4 of the required water to the grout container, then add the grout compound, stir it, and then add the remaining water little by little until you achieve the desired consistency. With the right consistency, you can mold the mixture into a ball.
 - There are many other useful additives that you can buy and mix into your solution. They can help combat staining, extend grout life, and have other benefits. Talk to the salesperson at your local hardware store about what you can purchase.
- After you've mixed the grout, let it sit for 10 minutes and then stir it again, this may help resolve shrinkage problems. But you will have less time to work with it.
- Epoxy grout dries incredibly quickly. If using epoxy grout, leave a small amount to work with and place the rest in the freezer. The grout will freeze, but it will thaw quickly when you take it out of the freezer.
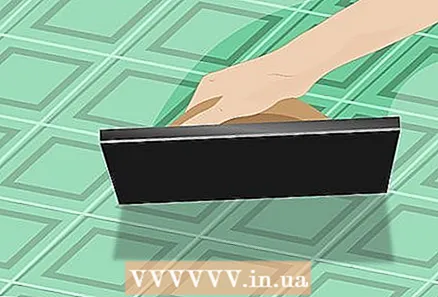
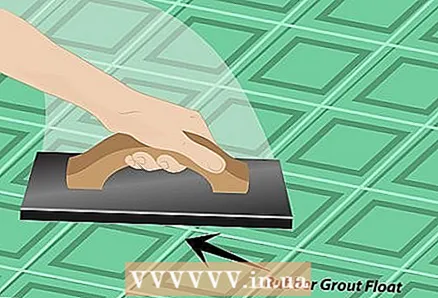 4 Apply grout. Use a hard rubber trowel (buy from a hardware store), hold the trowel at a 45 ° angle, and spread grout over the entire surface of your tile. Move the trowel in an arc to rub the grout into the joints.
 - Do not try to cover the entire area at once, divide the entire area into areas, approximately 60 * 60 cm or 100 * 100 cm. After you finish working in one area, move on to the next. It shouldn't take too long before you start cleaning the tile surface.
- Do not use grout on some joints. These are the seams between the floor and walls, and especially in areas exposed to water, such as the edge of a bathroom.
 5 Remove excess. Use a rubber-tipped scraper or your rubber trowel, position it at a sharp angle to the tile surface and remove excess grout from the tile surface. Be careful not to remove it from the seams, and be especially careful in the corners.
 - Another option is to use a sponge designed specifically for grouting. Wet the surface and gently wipe off excess grout, rinse the sponge frequently.
 6 Let the grout harden. Give the grout a couple of minutes to set.
 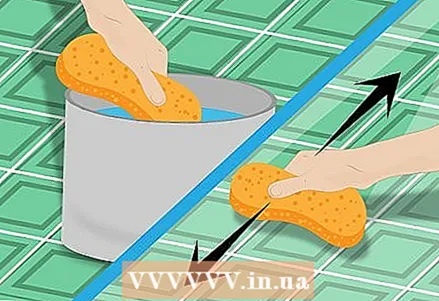 7 Clean the surface. Clean out the remaining grout from your tile. Use a sponge to remove the grout, dampen it without dripping, and wipe down the entire work surface.
 - If your grout is particularly resistant to cleaning, after one or two rounds of basic sponge cleaning, move on to cleaning the tile with a low-lint towel. Use a slightly damp sponge to moisten the tile surface, then wipe the tile surface with a towel.
 8 Let the grout dry completely. Allow grout sufficient time to dry according to the manufacturer's instructions. Give her a little more time than recommended to keep her job safe.
 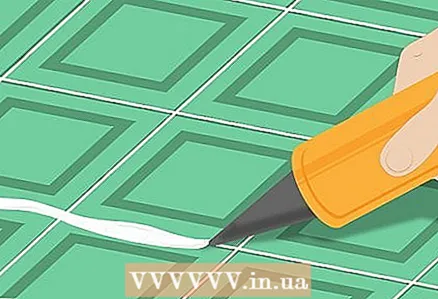 9 Finish with wide seams. Use silicone sealant to fill wide joints, use your finger to form the required round joint shape.
 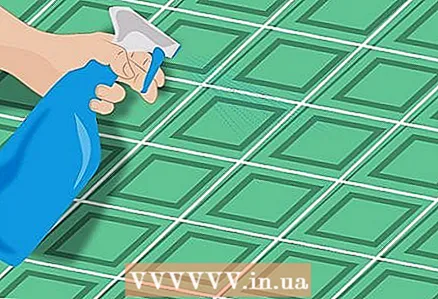 10 Apply sealant to the grout. It is a good idea to protect the grout with a special sealant once it is completely dry. This will help prevent mold growth.
Tips
- Practice grouting old tiles. Try grouting a few old tiles or tile pieces. It is much better than trying to grout freshly laid tiles without experience, it will be very difficult to remove grout afterwards.
Warnings
- Grout after hardening is very difficult to remove.
- Make a good grout, you must fill all the holes, the grout is needed so that water does not penetrate between the tiles.


