Author:
Robert Simon
Date Of Creation:
18 June 2021
Update Date:
23 June 2024

Content
- You can choose between realistic or unrealistic themes. If you choose unrealistic, choose folk tales or compose another story. If you choose a realistic theme, choose a theme that will interest your child, such as space, dinosaurs, or animals.
- You don't have to spend too much brainpower to make a real book. It could be a letter, a proposal or a meaningful piece to accompany the gift.
- Feel free to add more handcrafted decorations to make the book look better. However, adding too much can make the page cluttered and flattened.

Idea the story. Write a storyboard. Write your story or script on paper, splitting it into paragraphs or lines when you want to move on to a new page of your book. Sketch out a draft of the image you want to use on each page.
- Before you get started, it's important to know how many pages you need along with how many images and how to distribute them.
Part 2 of 3: Building a book
Fold a sheet of paper in half. Hard paper size 23x30cm will be very effective, but you can also use cardstock paper, thin poster paper or scrapbook paper size you like.
- The paper must be thicker than normal printing paper. Fold the paper in half horizontally to make a cover.

Cut two parallel, horizontal gaps in the center of the paper. The opening is about 5cm long and 2.5cm wide. The gap will create a bump.- Open the paper. Place the paper in the vertical orientation so the height looks longer than the width. Use your finger, pen or pencil to push the two cut lines into raised grooves.
Make an illustration. You can draw and color the illustration on another piece of hard paper or cardstock, or you can cut it from pictures, magazines or recycled photo books and stick it onto hard cardstock.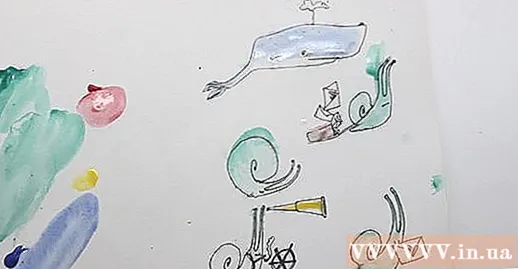
- Make sure the images you design and use are the right size for the page of the book. Also, make sure you have all the characters and visuals you need for the entire book instead of just enough for one page.
- Leave space at the bottom of the page to write content. If you want your child to write the content on their own, you should use a line ruler to help your child write more easily. You can also stick lined paper in that space.
- However, if you write it yourself, you can leave it blank or print the text from your computer and paste it on the page.

Prepare enough pages. Do the same fold and crop to create enough pages to complete the story.- Review the story. Make sure you have enough illustrations to match the content. Besides, you must also have a sufficient number of pages.
Write content. Swipe through the pages of a book and write or paste text at the bottom of each page.
- If the space on the page is not enough to write all the content, please paste an extra piece of paper above to add content to the text below. So solve the problem!
Decorate the background of each page. Sketch the background in pencil before painting it to your liking. Do not fill in the grooves on the paper.
- If you have a good eraser, the pencil strokes can be erased after painting.
Part 3 of 3: Highlighting an Image
Cut and paste the image into the knob. Cut out photos or illustrations that you design yourself. Attach the back of the photo to the appropriate slot. However, do not stick to the background of the page. Because of this, the photo will not pop up!
- If you use liquid glue, don't take too much. Apply glue and grooves and do not apply to pictures; This way you don't have to worry about glue getting stuck up or down the groove.
Paste the pages together. You will stick to the back of the pages. The top half of page two will be pasted on the bottom half of the first page. The top half of the third page will be pasted in the lower half of the second page. Continue pasting the remaining pages in this way.
- However, do not stick the protruding grooves together as this will prevent the image from floating.
Make a book cover. Fold a sheet of paper that is larger than a page in size in half. Then, remove the cover from the book to decorate the inside and the front of the cover and paste it on the first and last pages of the book.
- This is completely optional. If you're designing a story in the letter or for a different purpose, the cover isn't necessary.
- Enjoy! Once the adhesive is completely dry, you can open the book to read.
Advice
- You can also make multiple floating images per page. Just cut more grooves along the fold, spacing them evenly until you have the required number of grooves for the illustrations.
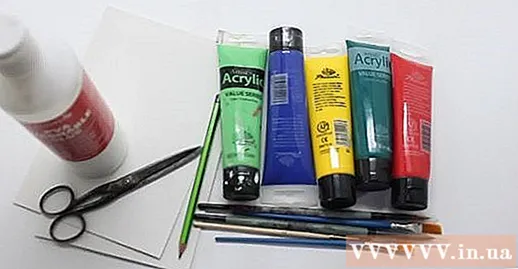
What you need
- Board
- Drag
- Pencil and pen
- Crayons, crayons, watercolors or markers
- Glue
- Ruler


