Author:
Helen Garcia
Date Of Creation:
13 April 2021
Update Date:
1 July 2024

Content
This article will show you how to protect a folder using a batch file (BAT file).
Steps
 1 Open Notepad.
 2 Enter the code shown in the figure into Notepad.
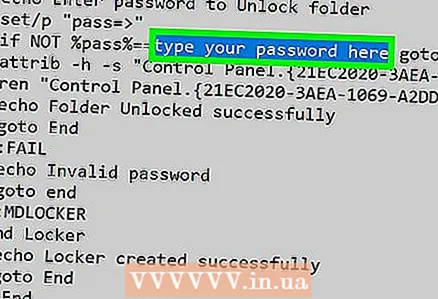 3 Change your password. Replace "type your password here" with your password.
  4 Save the text file. Click "File" - "Save As", from the "Save as type" menu, select "All Files", and in the "File name" line enter locker.bat
  5 Close Notepad.
 6 Run the locker.bat file by double clicking on it. The Locker folder will be created.
  7 Move the files you want to protect into it.
 8 Run the locker.bat file again (by double clicking on it). A command prompt will open asking you to block (protect) the folder. Type Y and press Enter.
 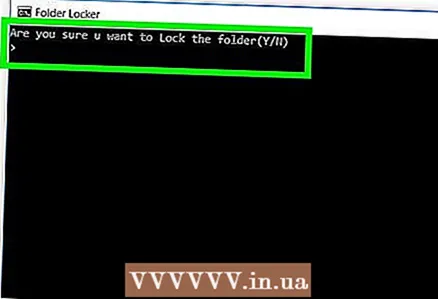 9 Made. Now the folder cannot be accessed without a password.
Tips
- Do not change the names of files in the protected folder. Otherwise, they will not be protected.
- Store your password in a safe place.
- If you are copying the batch file code directly from the WikiHow page (in edit mode), remove the "#" and spaces at the beginning of each line.
- Windows search engine can find the protected folder.
- Hide the files so they do not appear in Windows Explorer.
Warnings
- An experienced user who understands batch files can find out the password. If you want to reliably protect your data, then encrypt it.
- Programs like 7zip can access the folder.


