Author:
Alice Brown
Date Of Creation:
26 May 2021
Update Date:
1 July 2024

Content
The ability to tile a drawing in Microsoft Word is quite useful when you need to create an article and marketing newsletters, add a watermark or logo to the background of important documents. To tile a picture in Word, insert the picture as one of the fill methods.
Steps
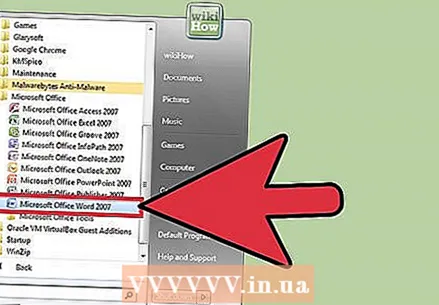 1 Open the Word document in which you want to tile the picture.
 2 Click the Page Layout or Design tab, then select the Page Background section.
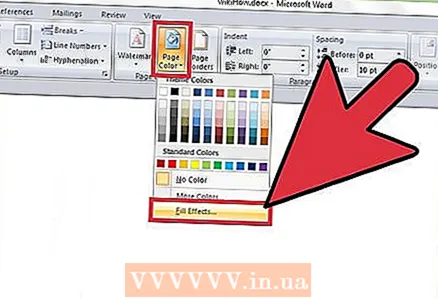 3 Click on Fill Methods to open the corresponding menu.
 4 Click the Picture tab, then click Picture ....
 5 Select the picture or image you want to tile and click Insert. The image will appear in the preview window.
  6 Click OK. The image will now be used as the background of the Word document.
  7 Move the Scale slider to the left or right to resize the slices as you see fit.
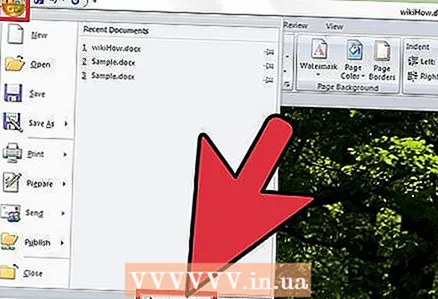 8 Click File and select Options. The Word Options window opens.
  9 Click Display on the left side of the Word Options window.
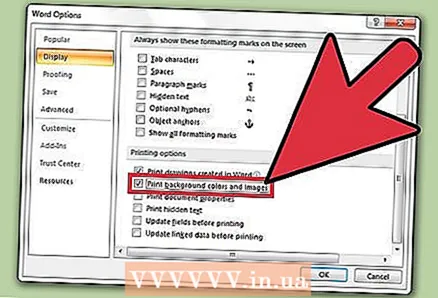 10 Select the check box next to Print Background Colors and Pictures and click OK. The background image will now be printed in the background of the Word document.
Tips
- If you are not satisfied with the size and number of fragments in your document, try resizing the original image. Microsoft Word automatically distributes slices in a document based on the original image size. The image can be resized using Microsoft Paint or other free online tools such as PicMonkey Photo Editor or PicResize.


