Author:
Carl Weaver
Date Of Creation:
2 February 2021
Update Date:
1 July 2024

Content
- Steps
- Method 1 of 4: Preparing to Freeze Warts
- Method 2 of 4: Freeze warts with a special kit
- Method 3 of 4: Freezing warts with liquid nitrogen
- Method 4 of 4: Observe the wart after freezing
- Tips
- Warnings
If you have warts that make your skin look uncomfortable and uncomfortable, you can freeze them. Warts are fueled by blood from blood vessels, and if you freeze these vessels, the wart will dry up and eventually fall off. Dermatologists use liquid nitrogen for this, which has an extremely low boiling point. This method is not recommended for use on its own, as liquid nitrogen can cause severe pain and damage to skin and other tissues if used improperly. You can also buy a special freezing kit over the counter over the counter and use it to remove warts.
This text is for informational purposes only and cannot be a substitute for qualified medical care or treatment.
Steps
Method 1 of 4: Preparing to Freeze Warts
 1 Learn how to freeze warts. Over-the-counter freezer kits for warts and surrounding tissue use dimethyl ether and propane. Keep in mind that the wart will not fall off immediately after freezing. After the procedure, it can take up to 3-4 weeks before the wart disappears completely.
 - Warts are caused by a virus that causes skin cells to grow abnormally. Freezing the wart will kill the virus.
 2 Determine the type of wart. Some types of warts are better freeze-free than others. If the warts are located in the genital area, in no case do not try to freeze them at home. Medical attention is needed to treat these warts. There are also the following types of warts:
 - Common warts. These warts are small, dense growths and are usually gray or brown in color. They have a rough surface. Most often, these warts are found on the fingers, palms, knees and elbows.
- Plantar warts. These hard warts grow on the soles of your feet and make walking very difficult.
- Flat warts. These tiny warts do not protrude from the surface of the skin and have a flat surface. They can be pink, tan or yellow. These warts can appear on the face, hands, knees, or palms. Flat warts are usually found in clusters.
 3 Know when to see a dermatologist. If you cannot get rid of the warts on your own, the warts grow in size or cause pain, you should see your doctor. You should also visit your doctor if you suspect that a skin growth may not be a wart, if warts appear on your face or genitals, if you have a weakened immune system or have diabetes and warts on your feet.The dermatologist will be able to determine the type of warts by their appearance or prescribe the necessary tests. Your doctor may do a biopsy, which takes a tiny sample of tissue from the wart. With this sample, the dermatologist will determine which virus is causing the wart.
 - Be aware that the virus that caused the wart may reappear. Warts can grow back in the same place or in a new place. If you are concerned about recurrent warts, be sure to see your doctor.
Method 2 of 4: Freeze warts with a special kit
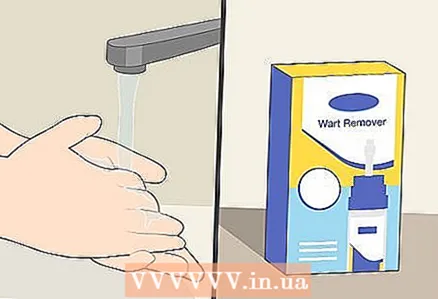 1 Prepare the appropriate skin area and stock up on what you need. Remember to wash your wart area and hands. Most self-healing wart sprays come with a container of coolant. The kit should also contain a sponge applicator. The procedure takes a little time, so prepare everything you need in advance.
 - Be sure to read the instructions for use supplied with the kit and follow them in everything.
 2 Prepare a set. Grasp the applicator (usually a sponge-tipped tube) by the handle. Place the spray can on a flat, hard surface. It is necessary to insert the handle of the applicator into the cap of the cartridge.
 - Do not hold the can near your face. The contents of the cartridge are very cold, so be careful not to accidentally splash from the cartridge.
 3 Charge the applicator. Place the can on a table and hold it with one hand. Press down on the applicator handle with your other hand until you hear a hissing sound. Press down on the handle for 2-3 seconds to soak the coolant on the applicator. After that, you can remove it from the can. Wait 30 seconds.
 - If you look closely at the applicator, you will see that it is saturated with liquid and covered with frost. You may smell dimethyl ether.
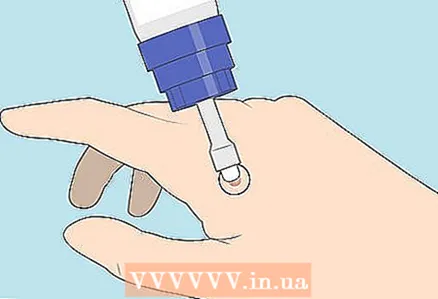 4 Apply a coolant to the wart. Gently press the applicator onto the wart. Don't rub the wart, just press the tip of the applicator against it. Most kits recommend pressing the applicator for no longer than 20 seconds, depending on the size of the wart. Then remove the applicator (be careful not to touch the tip). Throw away the applicator and wash your hands.
 - If the wart is on the tip of a finger or toe, move your finger slowly while applying the solution. However, you may feel mild pain, itching, or tingling.
Method 3 of 4: Freezing warts with liquid nitrogen
 1 To remove warts with liquid nitrogen, see your doctor. Liquid nitrogen should not be used at home as it can damage skin and other tissues if used improperly. If you want to get rid of the warts yourself, choose a different method.
 - Freezing warts with liquid nitrogen is accompanied by pain and discomfort, so young children do not tolerate this procedure well.
- Rough handling of liquid nitrogen can lead to nerve damage and neuropathy.
- Never use liquid nitrogen to remove facial warts. Liquid nitrogen should be used with extreme caution if you have dark skin as it can discolor it.
 2 Freeze the wart. The doctor will pour some liquid nitrogen into a polystyrene mug. This is to avoid contaminating the liquid nitrogen stored in the main tank. The doctor will then moisten a cotton swab with liquid nitrogen and apply it to the wart. In this case, the cotton swab must be lightly pressed against the very center of the wart. The doctor will moisten the wart until there is a frozen white area on it. The doctor will increase the pressure slightly to completely freeze the wart.
 - To reduce pain and discomfort, you can use Emla cream.
- The frozen tissue will harden, and if you grasp the edges of the wart with your fingers, you will feel that it has become hard.
 3 Wait a while. When frozen, the wart will turn white, but then it will gradually begin to regain its original color. If you think the wart was not frozen deep enough, you can repeat the procedure. In this case, you will feel a slight tingling sensation from the cold.
 - Severe pain is a sign that liquid nitrogen has damaged healthy skin.
Method 4 of 4: Observe the wart after freezing
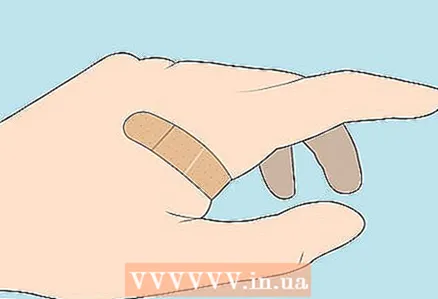 1 Apply a patch. If, after freezing, the wart does not bother you, you do not need to cover it with a plaster. However, in the case of a plantar wart, a special soft patch may be needed to make it easier to walk.
 - Most plantar wart patches are disc-shaped with softer edges and a stiffer center piece that relieves pressure on the wart and thus makes walking easier.
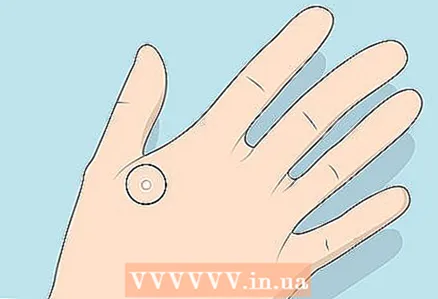
 2 Leave the wart alone. A fluid or blood-filled blister may appear several hours after the wart freezes. There may also be a slight burning sensation and irritation of the wart. The healing process usually lasts four to seven weeks. Do not poke or peel off dead skin from the blister, or the virus can spread to healthy skin and the wart will grow back.
 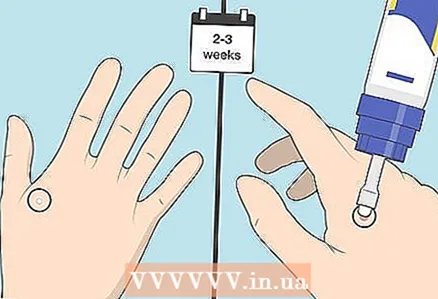 3 Repeat the procedure if necessary. If the wart does not shrink, you may need to reapply the freezing agent to it. Wait 2-3 weeks and treat the wart again with the freezing kit. If you have undergone liquid nitrogen freezing of a wart, make an appointment with a dermatologist to determine if a second procedure is needed.
 - Sometimes the warts are difficult to get out. In this case, the doctor can use two different methods at the same time.
- Keep in mind that the over-the-counter wart freezer is hotter than the liquid nitrogen used by doctors, so you may need to reapply the wart at home to get the wart free.
Tips
- In addition to freezing warts, there are other ways to remove them. Salicylic acid, imiquimod, 5-fluorouracil, and dichloroacetic acid and trichloroacetic acid can be used along with liquid nitrogen and a wart freezer.
- Liquid nitrogen can be painful and you may feel like you cannot move your palm (or other area of your body). After a while, however, your mobility will recover, and the next time you will be in less pain.
Warnings
- Some warts can develop into cancerous growth or indicate a more serious condition that requires additional treatment (sometimes it is a matter of life and death). Differences between simple and more dangerous warts can be subtle and only a doctor can tell them.
- The freezing procedure is best for removing small, pea-sized warts (no more than 4 millimeters). Basically, by freezing can remove larger warts: just freeze the edge of the wart the size of a pea, wait about two weeks until the skin is completely healed in this place, then freeze the next area, and so on. Under no circumstances should a larger area be frozen at one time, as a large, painful blister will form on it and there is a risk of infection.
- Never try to freeze a wart with ice cubes. The ice is not cold enough to remove the wart.


