Author:
Janice Evans
Date Of Creation:
2 July 2021
Update Date:
1 July 2024

Content
- Steps
- Method 1 of 5: Steaming
- Method 2 of 5: In the # 1 oven
- Method 3 of 5: Oven # 2
- Method 4 of 5: Thread and Air Dry
- Method 5 of 5: Sunlight
- Tips
- Warnings
- What do you need
If you grow beans or bought them in bulk, you can dry them so they can be preserved for future use. Below are a few ways to dry the beans for yourself.
Steps
Method 1 of 5: Steaming
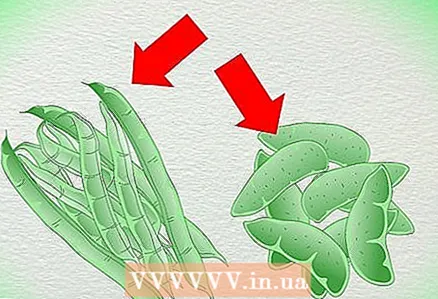 1 (Steaming Method) Decide which type of beans you want to dry. Drying conditions for green beans, for example, are different from those for lima beans.
 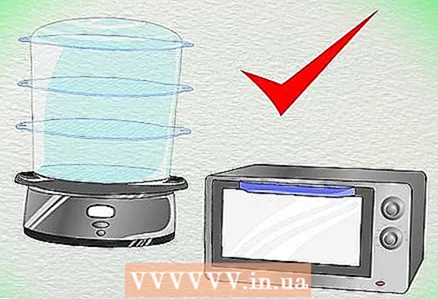 2 Select equipment and method for drying beans. You can dry beans indoors or outdoors, depending on your budget and even your geographic location, so there may be several ways you can dry beans.Using a store-bought dehumidifier, the kitchen oven, or the warmth of the sun are all methods of drying beans.
 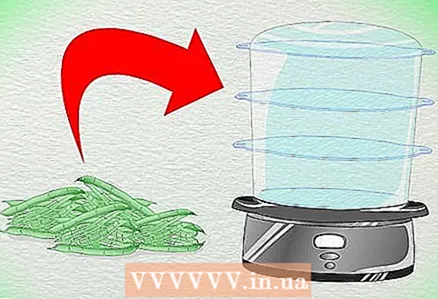 3 Prepare the beans as needed and steam them before drying.
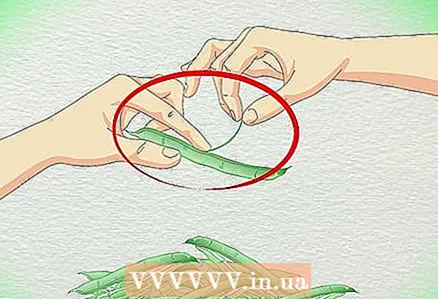
- Remove pods from green beans, green beans, or dwarf beans. For larger bean varieties, divide the pods lengthwise to ensure quick drying.
- Shell ripe lima beans, peas, or other bean shells. “Ripe” means it's time to pluck these beans for eating, canning, or preserving, but before the pods dry.

- Steam green, green, or dwarf beans no larger than 5.1 cm in a wire rack or basket over a saucepan (or kettle) of boiling water for 15-20 minutes.
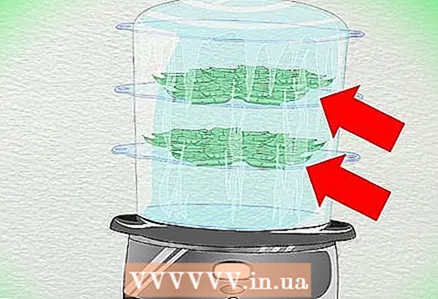
- Steam thin layers of lima or plain beans in the same way for 10 minutes.
- Remove batches of beans from a wire rack or basket and place them on paper towels or a clean cloth to absorb additional moisture. Cover the steamed beans with towels while they wait to transfer to drying trays.
- Remove pods from green beans, green beans, or dwarf beans. For larger bean varieties, divide the pods lengthwise to ensure quick drying.
 4 Arrange the steamed beans on drying trays that are wire mesh, perforated, or braided at the bottom. These holes will allow air to circulate and remove moisture vapor as the beans dry.
 - Depending on their size, green beans, string beans or dwarf beans should be spread in a single layer or 1.25 cm deep per tray. Lima beans or other split beans should be loosely spread on the trays.
Method 2 of 5: In the # 1 oven
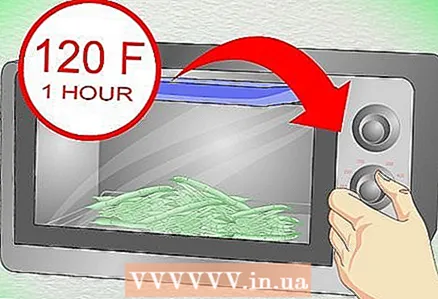 1 Dry 1 or 2 trays of whole green beans, green beans, or dwarf beans at 49 ° C for 1 hour. Raise the temperature to 66 ° C until the beans are almost dry, then reduce the heat to 54 ° C.
  2 Dry green beans, green beans, or dwarf beans at 54 ° C for 1 hour. Raise the temperature to 66 ° C and then return the temperature to 54 ° C when the beans are nearly dry.
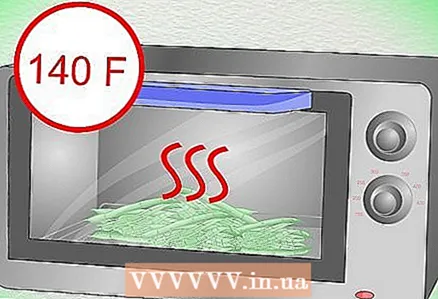
 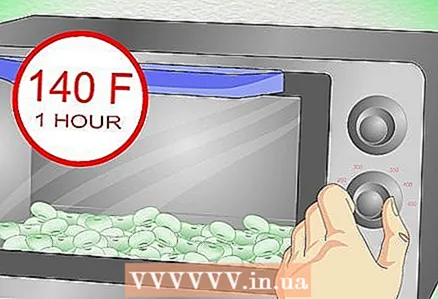 3 Dry lima beans or other split beans at 60 ° C for 1 hour. Increase the heat gradually to 71 ° C until the beans are almost dry, then reduce the temperature to 54 ° C.
Method 3 of 5: Oven # 2
 1 Try to keep the oven at 60 ° C or for shelled or long beans while the beans are drying. You may need to set the oven to a "warm" or low temperature setting and then leave the oven door ajar. You can also place the lowest tray at least 20 cm from the bottom heat source of the oven.
 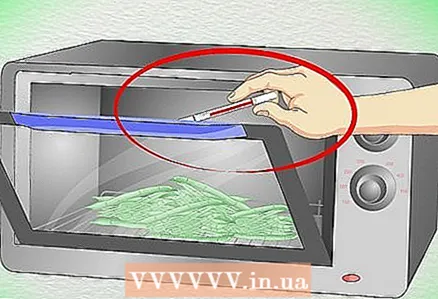 2 Monitor the temperature with a food thermometer, if necessary.
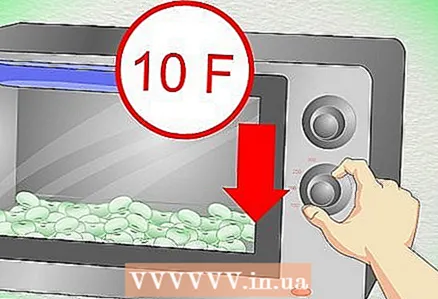 3 Lower the temperature 5.6 ° C or turn off the oven briefly as needed to prevent the beans from burning, cooking or caramelizing.
Method 4 of 5: Thread and Air Dry
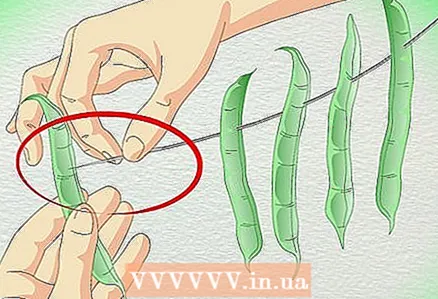 1 Whole beans strung on a string should be 1.25 cm apart. apart. They are strung with a sewing needle to pierce the beans in the upper third.
 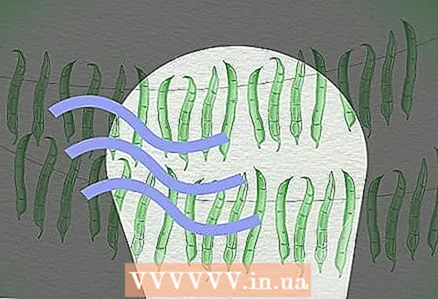 2 Hang the bean string in a dark room that is well ventilated, warm, and dry. The beans will dry in this way in 1 or 2 weeks.
Method 5 of 5: Sunlight
 1 Arrange the steamed beans on trays, as for indoor drying.
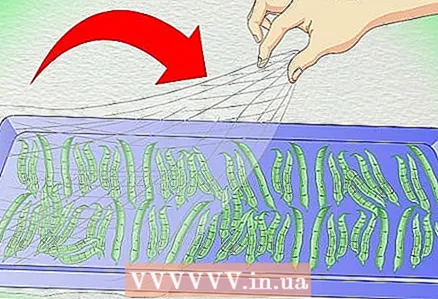 2 Cover the beans with a cloth mesh that is no larger than 1.25 cm. This protects them from insects and airborne debris.
 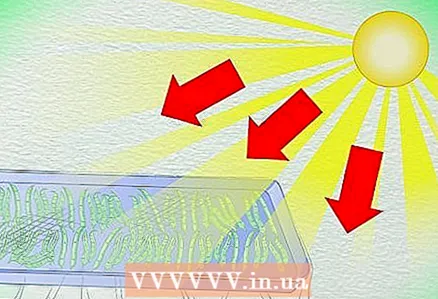 3 Place the bean trays in direct sunlight, on top of a flat surface or other device such as spaced bricks that allow air to circulate under the trays.
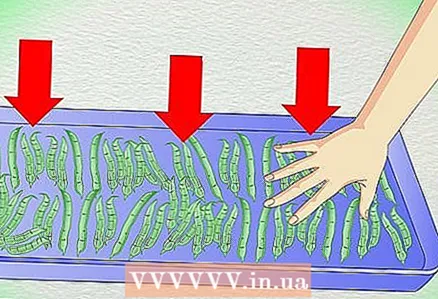
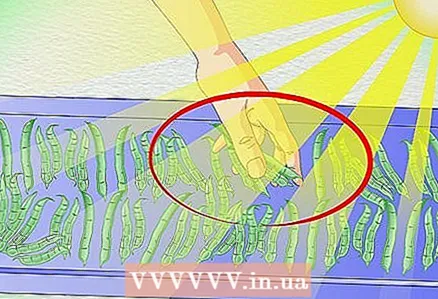 4 Stir the beans, gently, with your fingers several times a day to help dry them evenly.
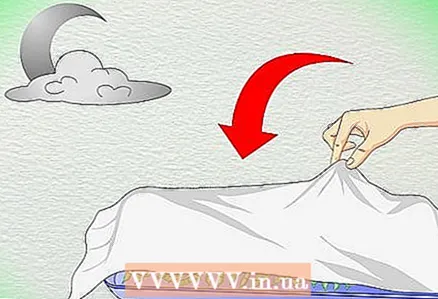 5 Stack the bean drying trays under the canopy and cover them with cardboard or a clean sheet to protect the beans from dew at night. Alternatively, you may want to consider bringing the trays indoors at night. If you know the night air will be very dry, there is no need to cover outdoor trays.
  6 Place the trays to dry in the sun the day after opening them, if necessary.
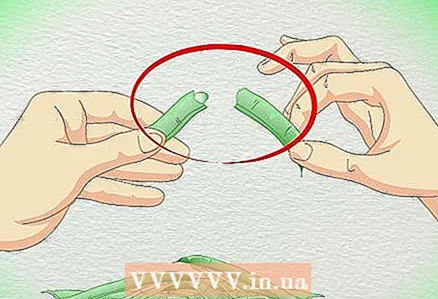 7 Try for dryness after the beans are dry from the second day of drying. Green beans, string beans, or dwarf beans are dry enough when they look and feel fragile. Lima beans or beans are dry enough when they look and feel hard, brittle, and gently break apart when chopped.
Tips
- Nylon nets are recommended as the choice for sheeting because they are easy to clean.
- After drying the beans, it is usually a good idea to check their condition and pasteurize them before storing them.
- Rotate the trays every 30 minutes to help the beans dry evenly if using the indoor drying method.
- A thin rope such as cooking twine can be used to string the beans for indoor drying.
Warnings
- Do not expose the beans to full sun all day if drying them outdoors. This can cause them to "cement" or form a crust on the outside, which prevents the beans from drying properly on the inside.
- Do not use the oven top if drying beans in the oven. Dodge any heat radiating from the top of the oven by placing the baking sheet on the wire shelf on the highest rack.
- Never use aluminum, copper, galvanized metal or non-food plastic frame trays to dry food.
What do you need
- Water
- Pot or kettle with lid
- Lattice or basket
- Paper towels or cloth
- Drying trays
- Fabric mesh
- Unfolded bricks or other raised surface
- Blank sheets or cardboard
- Dehumidifier or oven
- Food thermometer
- Net rope
- Sewing needle
- Dry, well ventilated area


