Author:
Carl Weaver
Date Of Creation:
26 February 2021
Update Date:
1 July 2024

Content
Cutting holes in an object is actually easy. You don't need to manually make it with the Knife tool, because it won't allow you to create a perfect hole, or import it into Photoshop. All you have to do is follow the steps in this article.
Steps
Part 1 of 2: Create a circle
 1 Open Adobe Illustrator. Any version will do. Wait until the program opens.
 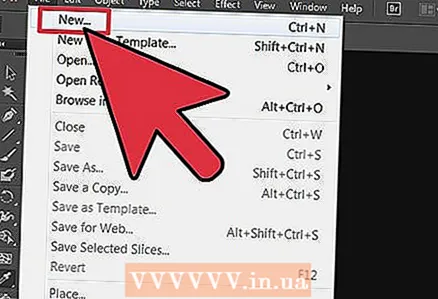 2 Create a new document. Just press Ctrl + N. A window will appear that says "New Document". Enter the desired size and click "OK".
  3 Use the Ellipse tool. You can find it on the left side of the screen in the toolbar.
  4 Hold down the Shift key and create a perfect circle.
Part 2 of 2: Cut a hole in the circle
 1 Use the Ellipse tool again or press L.
 2 Hold down the Shift key and draw a circle within the circle you created earlier. This will be the hole of the object.
  3 Sketch your object by pressing Ctrl + Y. The sides of the objects become visible.
 - Move the circle inside the object to where you want to cut the hole.
- Press Ctrl + Y again and the shapes will be colored again.
 4 Go to the Pathfinder panel. If this panel is not on the right side of the screen, choose Window> Pathfinder from the menu bar.
  5 In shape modes, select "Exclude". Make sure both objects are selected.
 - Press Ctrl + A to select them.
- By this stage, the hole should be cut and the objects should be one piece.
Tips
- Follow the same steps and try cutting holes in other shapes!


