Author:
Judy Howell
Date Of Creation:
2 July 2021
Update Date:
19 June 2024

Content
- To step
- Method 1 of 6: Understanding Google Docs
- Method 2 of 6: Using a computer
- Method 3 of 6: With a phone or tablet
- Method 4 of 6: Create a Google Document from a Word file
- Method 5 of 6: Require users to make a copy of a Google Document
- Method 6 of 6: Create a PDF from a Google Document
- Tips
If you've heard about Google Docs, you might know its easy sharing features and handy auto-storage. But if you've never used Google Docs, it can be confusing to start with, with the variety of options, templates, and file sharing settings. By following these step-by-step instructions, you'll be navigating Google Docs in no time!
To step
Method 1 of 6: Understanding Google Docs
 Use Google Docs to create text documents. As the name suggests, Google Docs is a great place to create text documents, just like you would with a Microsoft Word document. You can also use Google Docs to easily share your documents with other people, and if you go online, you will always have access to your Google Docs because they are stored in the cloud, not on your computer.
 - Best of all, Google Docs is completely free - all you need is a Google account to sign in.
 Choose which template you want to use for your document. Google Docs doesn't just have blank pages - you can also choose templates for letters, resumes, project proposals, etc. Each template has its own color scheme and layout, so whatever you choose, you'll never get bored.
 - You can try out a few different templates until you see one you like.
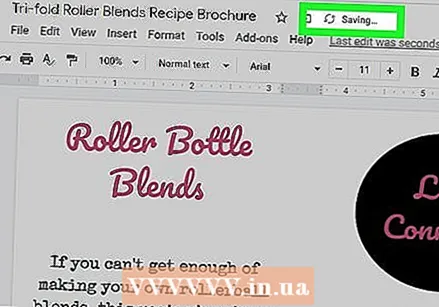 Let Google Docs automatically save your document. Another advantage of Google Docs is that there is no save button - your computer does it for you! Every time you make a change, your document will save itself to your Google Drive, so you don't have to worry about losing data if your computer crashes.
 - You can see the auto save function in progress by looking in the top left corner. It will tell you when the document is saved and when it is saved to your Drive.
Method 2 of 6: Using a computer
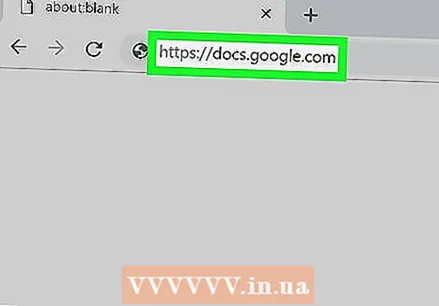 Go to https://docs.google.com in a web browser. You can use any Windows or macOS web browser to open Google Docs, including Chrome, Safari and Microsoft Edge.
 - If you don't have a Google or Gmail account, you will need to create one before you can access Google Docs.
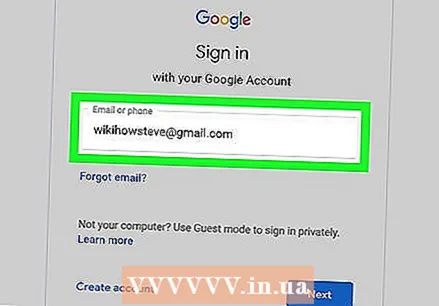 Log in with your Google account. Follow the onscreen instructions to sign in with your Google or Gmail account name and password. This will take you to a list of documents that you have opened, edited, or worked on in some other way. You will also see some options for creating a new document at the top of the screen.
  Click on Empty + to create a blank document. This is at the top left of the page. This will create a blank document that you can edit as desired.
 - To create a new document from a template, click Template gallery in the top right corner of the page to expand the list, then click a template to create a new document.
- Popular template options (such as Resume and Brochure) appear in the top center of the page.
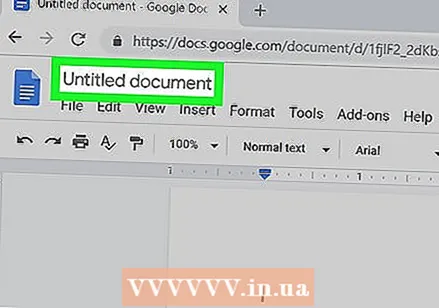 click on Unnamed document to rename the file. The document is called "Untitled Document" by default. To change the title to something else, press the key Del to delete the text, then enter a new name for your document. Press ↵ Enter or ⏎ Return to save your changes.
 - You can also change the name of your document in the Google Docs file list. Click the three dots in a vertical line at the bottom right of the file and then click "Rename" or "Rename".
- You have now created your document! From here you can edit, share and close your document.
 Edit your document. As long as you are connected to the internet, Google Docs will save your work as you type.
 - Use the toolbar at the top of the document to adjust the font size, font, color and style.
- To adjust the line spacing, click the menu Formatting, select Line spacing and then choose Only, Double, or the option of your preference.
- The menu Formatting also includes tools for adding columns, headers and footers, headers, etc.
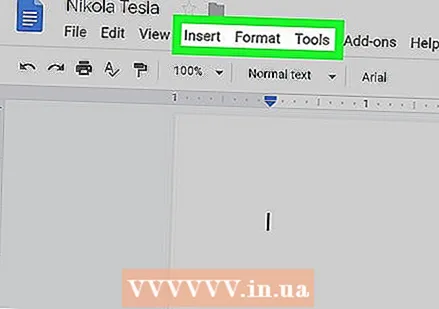
- To insert an image, table, graph or special characters, click the menu Insert, choose the item you want to insert and follow the on-screen instructions.
- To make your document landscape, open "File" and then click "Page Setup". From there you can choose "Landscape" or "Portrait".
- Google Docs underlines possible spelling mistakes: Click an underlined word to see suggestions, then click the word you want to use. To check the spelling of your entire document, click the menu Additional and then select "Spelling".
- To download a copy of your document, click the menu File, select Download as, and choose a format.
 Share your document. If you want the document to be editable by multiple people, you can share it with an individual or group. This is done as follows:
 - Click on the blue button Share in the top right corner of the page.
- Enter the email addresses of the people you want to share with, separated by commas.
- Click on the pencil icon to the right of the "People" box to see a list of permissions (May view, May edit, May comment), and then choose an option.
- click on Advanced in the lower right corner of the "Share" window to see more options, and make changes if necessary.
- click on To send to send a link to the document.
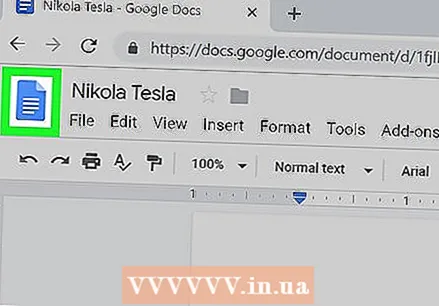 Close the document when you are done. Click the blue sheet of paper icon in the top left corner of the page to return to the document list. This will take you back to all of your Google Docs so you can open an existing one or create a new one.
 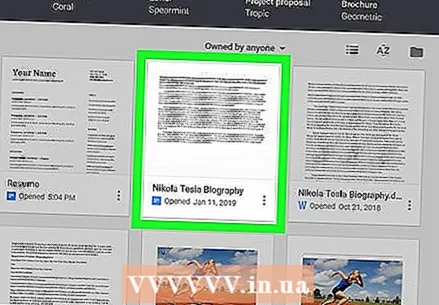 Edit the document in the future. When you want to work on the document, return to https://docs.google.com and click the name of the document in the file list.
Method 3 of 6: With a phone or tablet
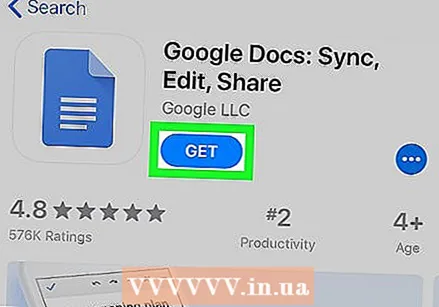 Install Google Docs on your phone or tablet. If you have an iPhone or iPad, you can download the app from the App Store. If you have an Android, you can download it from the Play Store.
 - If you don't have a Google or Gmail account, you must create one before you can access Google Docs.
 Open Google Docs. It is the icon of a blue sheet of paper (labeled "Documents") and can usually be found on the home screen (iPhone / iPad) or in the app drawer (Android). Tap the app to open it.
  Tap the +. It's in a circle in the bottom right corner of the screen.
  Tap on New document to create a blank document. If you are using an Android, this will create a new blank document. If you have an iPhone or iPad, enter a title for the document and tap To make.
 - If you'd rather use a template, tap Choose template to open the template browser - then tap a template to create a document with that layout.
- Now you've made your Doc! From here you can edit, rename and share your document.
 Edit your document. As long as you are connected to the internet, Google Docs will save your work as you type.
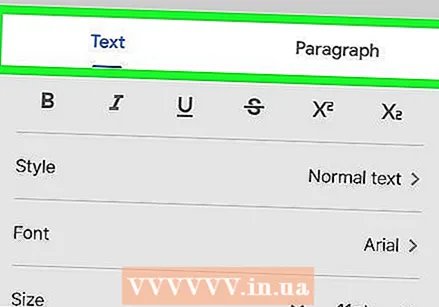
 - To adjust paragraph alignment and / or line spacing, double-click where you want the change to begin, tap the format icon (the multi-line A), select Paragraph, then choose your options.
- To switch to landscape mode, click on the three dots in the top right corner, then click "Page Layout". From this point on, you can choose between "Landscape" or "Portrait".
- To change the look of your text, double-click on text to reveal the blue markers, then drag to select the text you want to edit. Tap the Format icon (the A with multiple lines), select Text, and then choose the options you want.
- You can insert images, headers and footers, tables, page numbers and more when in print mode. To enable print mode, tap the three dots in the top right corner and slide the "Output Format" option to On. Then tap the pencil in the bottom right corner to return to the editor, tap the + to open the insert menu, then select the item you want to insert.
 Share your document. If you want the document to be a joint effort of several people, you can share it with an individual or a group. This is done as follows:
 - Tap the Share button (a person profile with a "+") at the top to open the "Share" screen.
- Enter the email address of someone you want to share with in the "People" field.
- Tap the pencil icon to the right of the "People" field, to see a list of permissions (See, edit, Comment), and then choose an option.
- Tap the Send icon (a paper airplane) in the top right corner to email the link to the document.
 Click the arrow button to exit the document. When you're done with your document, go to the top left corner and click the back arrow. This will take you to your list of previous Google Docs so you can create new ones or edit old ones.
 - You can also press the home button on your phone to close the entire app.
 Edit the document in the future. When you want to work on the document, launch the Google Docs app and tap the document title in the file list. To make changes, tap the pencil icon in the lower right corner to enter edit mode.
Method 4 of 6: Create a Google Document from a Word file
 Open your Google Drive. The icon looks like a triangle made of three different colors. You can access your Drive through your Google account by going to https://www.google.com/drive/.
 - If you don't have a Google account yet, you'll need to create one before uploading your Word document.
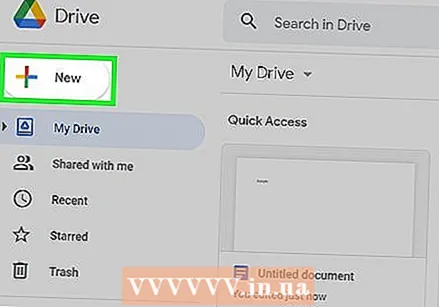 click on New. In the left corner, click the button that says New with a plus sign next to it. This will open a drop-down menu.
 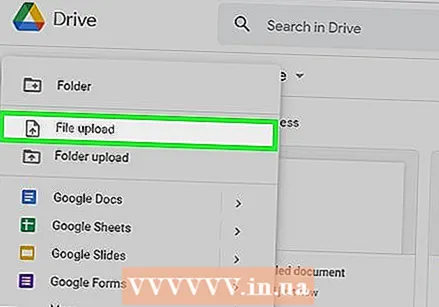 Select upload file. This will open a dialog on your computer where you can select a file to upload.
 - You can also upload entire folders to store them on your Google Drive from your computer.
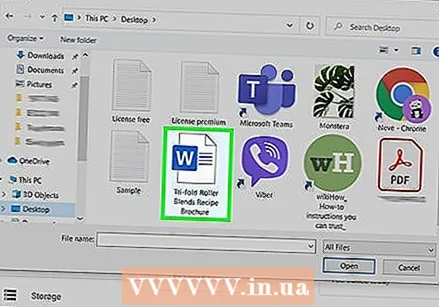 Open the Word Document saved on your computer. Select the Word Document you want to open by double clicking on it.
 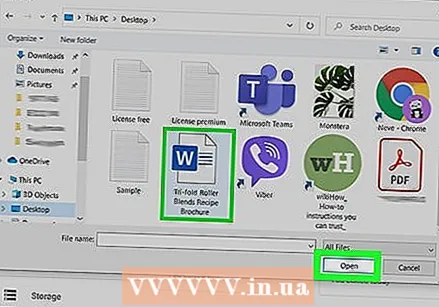 Double-click the file to open it. Your computer may take a few seconds to upload the file, so hold on. Once it's done, you can click on the file in your Google Drive to open it and start editing.
 - You can now edit, share and rename your Google Document just like you would otherwise.
Method 5 of 6: Require users to make a copy of a Google Document
 Use this trick to get recipients to make a copy of your document. When you send a document to someone via Google Docs, you may want them to make their own copy, edit it, and then send it back to you. Since Google Docs settings aren't quite set up to do this, you can change the URL and force users to make a copy instead of editing the original document.
 - You could use this if you are sending a worksheet to your students or paperwork to multiple employees.
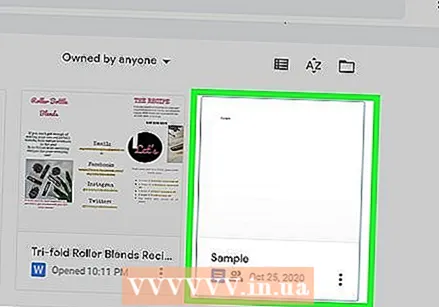 Open the document. Go to Google Docs and open the document you want to share.
  Press the button Share. It's in the top right corner and it's bright blue.
 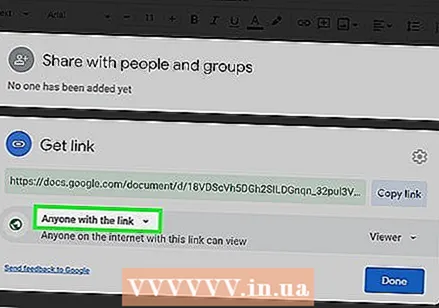 click on Change to anyone with the link. Click on the last line of the dialog at the bottom of the context menu. This will open a new box.
  Copy the link and paste it elsewhere. You can highlight the link, right click and then copy, or you can press Copy link. Paste it into a blank Google Document so you can edit it.
 - You can also paste it into a URL field at the top of a web browser.
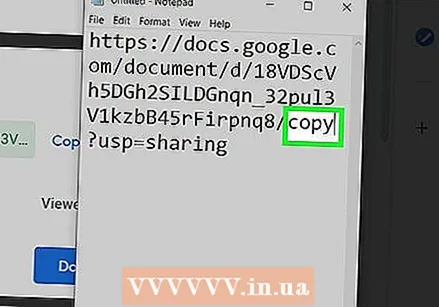 Replace "edit" with "copy" at the end of the link. Scroll to the end of the link where you see the word "edit". Delete this word and then type "copy", but be careful not to change any other part of the URL.
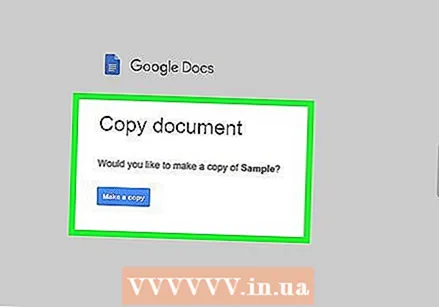
 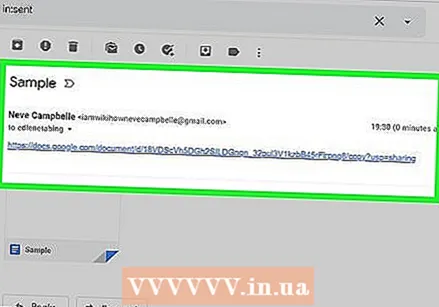 Send the modified link to your recipient. This link now automatically opens a dialog asking the recipient if he / she wants to make a copy. You can send this to as many people as you need so that they all have a copy of your document.
Method 6 of 6: Create a PDF from a Google Document
 Open the Google Document. From your Google Drive, select the document you want to save as a PDF.
  click on File, Then on Print. Go to the top left corner, then click File. Scroll down and click Print.
 - This is also how you can print a Google Document directly from your computer.
 Select "Save as PDF" as the destination. Next to "Destination", click the drop-down to view your options. Click on "Save as PDF".
 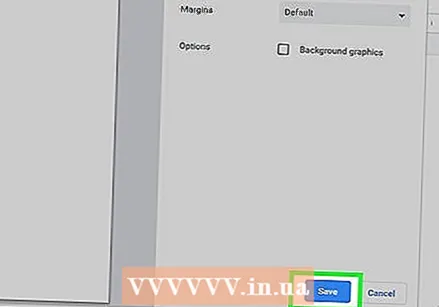 click on Save. This will save the document to your computer as a PDF, under the same name it has in Google Docs.
Tips
- Don't worry about saving your Google Docs! It is automatically saved for you every time you make a change.
- If you use Google Docs offline (without WiFi or an internet connection), it won't be saved automatically until you connect to the internet again.
- You can crop or edit images in Google Docs yourself by double-clicking the image.


