Author:
Eric Farmer
Date Of Creation:
3 March 2021
Update Date:
1 July 2024
Content
- Steps
- Part 1 of 2: Using Common Techniques
- Part 2 of 2: Using DNS Server Configuration
- On Windows
- On Mac OS X
- Tips
- Warnings
This article will show you how to increase your download speed. To do this, you can use general methods, such as reducing the number of devices connected to the network or closing running applications, and setting up a DNS server to download content over a less busy connection.
Steps
Part 1 of 2: Using Common Techniques
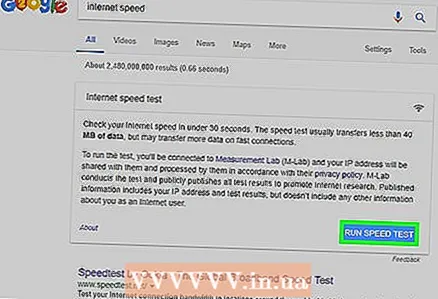 1 Check your download speed. To do this, enter in the search engine Internet speed, go to one of the sites found, and then click Measure or a similar button. The download speed of the device will be displayed on the screen.
 - If your download speed is fast and files are downloading slowly, the problem is most likely not related to your internet connection.
- If the download speed is much slower than your Internet provider and router provides, disconnect unnecessary devices from the network.
 2 Disconnect unnecessary devices from the Internet. The more devices are connected to the network, the slower the Internet works. Therefore, unplug your game consoles, phones, TVs, tablets, and other computers from the network to speed up your downloads.
  3 Close unnecessary applications. This will increase the bandwidth of your Internet connection, which will lead to faster file downloads.
 - For example, close BitTorrent that is running in the background to quickly download Windows updates.
 4 Turn off streaming services. Streaming services such as Netflix, Hulu, and YouTube on the device will seriously slow down the download speed. Even if only one streaming service is running, turn it off to speed up file downloads.
 - Also close any unnecessary windows or web browser tabs.
 5 Connect your computer to your router using Ethernet cable. Then check if the download speed has increased.
 - If your download speed has increased, you have a poor wireless connection between your device and your router. In this case, move the device and router closer together, or buy a more powerful router.
- If the download speed has not increased, the problem is either with the router or with the computer.
- Also clear the router's cache. To do this, turn off your router and modem, wait a minute, and then turn them on.
- 6 Do not share files via torrent clients while downloading something. Peer-to-peer networks are based on the fact that you need to distribute content, but if you do this at the same time as downloading files, the whole process can stretch indefinitely. Therefore, download the files first, and you can distribute them when you are not using your computer (for example, at night).
 7 Activate protocol encryption if you use torrent clients. This will hide what you download from your ISP (as a rule, ISPs reduce the bandwidth of your Internet connection if the user downloads a lot of files via torrent clients). For this:
 - In the torrent client (uTorrent) window, click Settings.
- Click on Program Settings.
- Click BitTorrent.
- Open the Outbox menu.
- Select "Force".
- Click Apply> OK.
 8 Buy a new router. If the router is more than two years old, its performance will deteriorate and it will not cope with downloading files as well as new.
 - When buying a new router, make sure it is capable of the same (or faster) operating speed that your ISP guarantees.
 9 Switch to a different internet connection plan. Some tariffs provide an Internet connection speed that is not sufficient for downloading large amounts of data (for example, for online games). Therefore, switch to a tariff with high-speed internet, but keep in mind that this tariff is much more expensive.
  10 Contact your internet service provider. If the methods described here are unsuccessful, i.e. the download speed has not increased, contact your ISP and report any problems you have encountered.
 - You may need to change your ISP.
Part 2 of 2: Using DNS Server Configuration
On Windows
 1 Open the start menu
  . To do this, click on the Windows logo in the lower left corner of the screen or click ⊞ Win.
 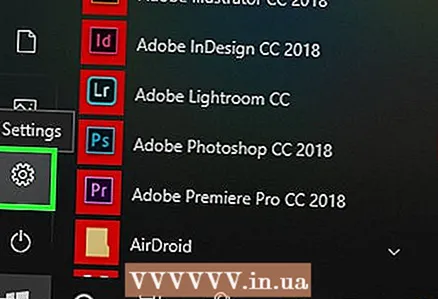 2 Click on "Options"
  . It's in the lower-left side of the Start menu.
  3 Click "Network and Internet"
  . It's near the top of the settings page.
 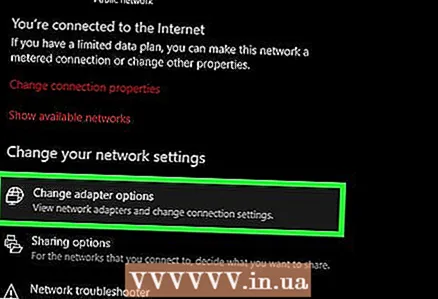 4 Click on Change adapter settings. This option is under the Change Network Settings section of the Status tab.
  5 Click on the name of an active internet connection. It appears on the Network Connections page and is highlighted.
  6 Click on Configuring connection parameters. This button is on the top line of options. The connection settings will open.
  7 Click Internet Protocol Version 4 (TCP / IPv4). This option is in the Connection Properties window.
 - First, click on the Networking tab at the top of the Connection Properties window.
 8 Click on Properties. It's near the bottom of the window.
 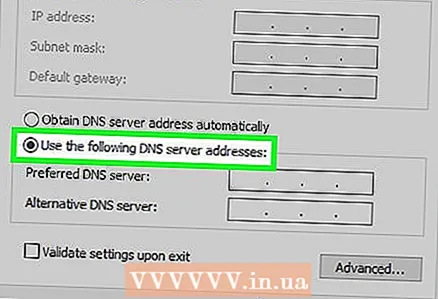 9 Check the box next to Use the following DNS server addresses. It's at the bottom of the Properties window.
 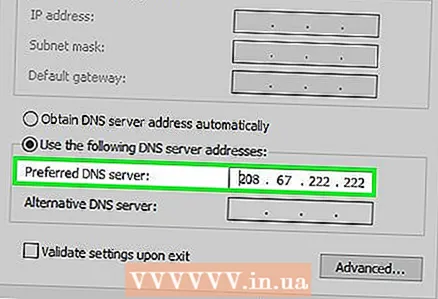 10 Enter the address of your preferred DNS server. Do this in the "Preferred DNS Server" line. The following are considered reliable DNS servers:
 - OpenDNS: enter 208.67.222.222.
- Google: enter 8.8.8.8.
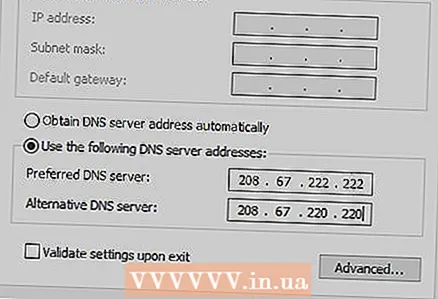
 11 Enter the address of the alternate DNS server. Do this in the "Alternate DNS Server" line:
 - OpenDNS: enter 208.67.220.220.
- Google: enter 8.8.4.4.
 12 Click on OK. The changes made will be saved.
  13 Click on Close. This button is at the bottom of the window.
  14 Reboot your computer. Now check your download speed - it should increase if the problem was with your network.
On Mac OS X
 1 Open the Apple menu
  . Click on the Apple logo in the upper left corner of the screen.
 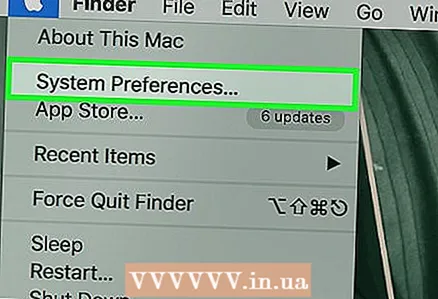 2 Click on System settings. It's near the top of the Apple drop-down menu.
 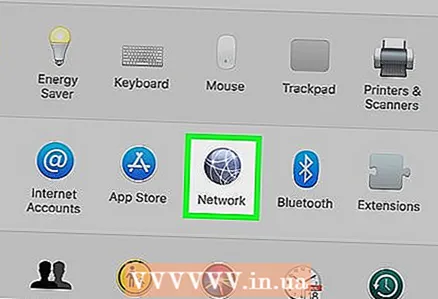 3 Click on Network. It's the globe-shaped icon in the System Preferences window.
  4 Click on an active wireless network. Its name will be displayed on the left pane of the window.
  5 Click on Additionally. You will find this option in the middle of the window.
  6 Click on the tab DNS. It's at the top of the window.
  7 Click on +. This icon is located below the DNS Server field.
  8 Enter the DNS server address. OpenDNS and Google have reliable and fast DNS servers:
 - Google: enter 8.8.8.8 or 8.8.4.4.
- OpenDNS: enter 208.67.222.222 or 208.67.220.220
- If you want to enter the address of the preferred and alternative servers, enter one address (for example, 8.8.8.8), insert a comma, press the space bar, and then enter the second address (for example, 8.8.4.4).
 9 Go to the tab Equipment. It's on the right side of the tab at the top of the window.
  10 Check the box next to "Customize" and then click on Manually. It's near the top of the Hardware page.
 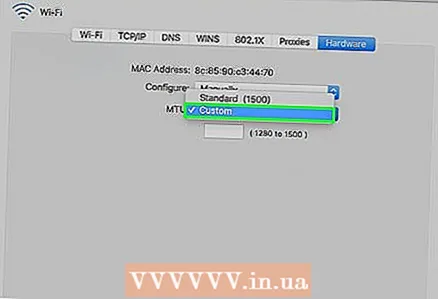 11 Click on the MTU field and then click Arbitrarily. The MTU field is located under the Configure option.
 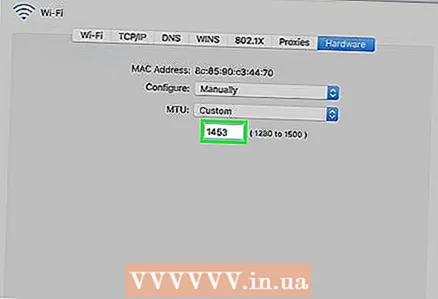 12 Enter 1453 into the text box. It is located under the MTU field.
  13 Click on OK. This button is at the bottom of the page.
  14 Click on Apply. This button is at the bottom of the page. The settings will be saved and applied to the current wireless network.
  15 Reboot your computer. Now check your download speed - it should increase if the problem was with your network.
Tips
- Most download managers are haphazard.If you decide to use one of them, download the installation file from a well-known site.
Warnings
- Be careful when installing modern software on your old computer (for example, changing Windows 7 to Windows 10). In this case, the load on the computer components increases, therefore, it is impossible to guarantee the optimal performance of the computer (both while working on the Internet and offline).


