Author:
Alice Brown
Date Of Creation:
26 May 2021
Update Date:
25 June 2024

Content
- Steps
- Part 1 of 4: Preparation
- Part 2 of 4: Installing Poles
- Part 3 of 4: Attaching the Guardrail
- Part 4 of 4: Completing the Works
- Tips
- Warnings
- What do you need
A fence can be used to fence off a yard, define the boundaries of a plot, or protect children and pets from the street. Installing an ordinary garden fence is not difficult at all, it only takes time, patience and a little handwork. Go to Step 1 to learn how to install a fence without assistance.
Steps
Part 1 of 4: Preparation
 1 Determine the location and mark the locations of underground utilities. Before erecting a fence, it is important to find and mark all underground communications on your site so as not to damage them during the work. For example, in the United States, it is enough to call 1-888-258-0808 or 811.
  2 Be a good neighbor. Before starting work, it doesn't hurt to talk to your neighbors. Make sure that you have no disagreements about the boundaries of the plot, and also ask permission to work on the neighbors plot, because it is much easier to install a fence when you can work from both sides.
  3 Check your local zoning regulations. These guidelines may require the fence to comply with a specific size and installation code, so be sure to check with your local authority before purchasing any material. This is especially true if you live in a historically important area.
  4 Obtain a building permit. In some areas it will be necessary to obtain a construction permit before building a fence. Check with your local government office to find out which application form to submit.
Part 2 of 4: Installing Poles
- 1 Determine the distance between the fence posts. Before starting excavation work, it is necessary to accurately determine the location of each fence post.
- Fence posts are usually installed at a distance of 1.8 - 2.5 meters from each other, with the corner posts installed first.

- Using wooden pegs, you can mark the location of each post, then use a center line to align the posts and draw a fence line.
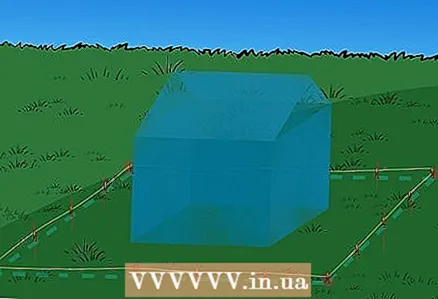
- Fence posts are usually installed at a distance of 1.8 - 2.5 meters from each other, with the corner posts installed first.
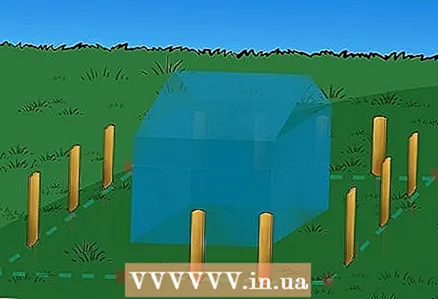
- 2 Dig holes for the posts. To dig holes under each pole, remove a wooden peg from the ground and dig a hole about 60 cm deep under it. Use a shovel and hand drill. The hand drill allows you to maintain the required pit width.
- When digging holes for pillars, we recommend applying the following rule: the depth of the pit should be such that 1/3 of the length of the pillar fits into it. This will give the posts sufficient stability to withstand heavy weights and strong winds.

- The width of the pit should be 25-30 cm.

- When digging holes for pillars, we recommend applying the following rule: the depth of the pit should be such that 1/3 of the length of the pillar fits into it. This will give the posts sufficient stability to withstand heavy weights and strong winds.
 3 Install the pillars. Place the pillars in the center of each pit, then secure them with three 5x10 cm and 1.2 m long planks, nailing them diagonally to the pillars. This will keep them upright.
 - Use a spirit level to check the verticality of each pole, rather than tilting both sides.
- 4 Backfilling holes. After installing all the pillars of the fence, the pits must be covered with concrete or a special mixture.
- If using concrete, pour a slurry into each pit (follow the instructions on the package for preparation), while compacting it in the pit with a wooden stick in parallel to avoid leaving air pockets.
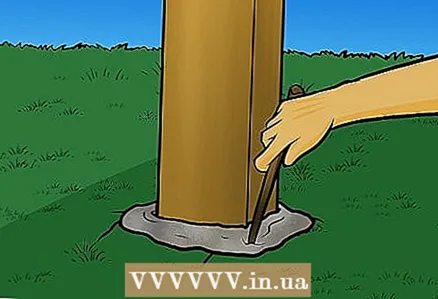
- Fill the top of the hole with concrete, then use a trowel to make a slight slope in the concrete away from the post. This will protect the post from standing water. You can also not add concrete to the very top by about 5 cm, and when the mortar dries, fill the rest of it with earth.

- When using a special mixture (which dries much faster than cement), you will need to fill the holes with water half the depth, and then fill in the special mixture until it fills the hole almost to ground level. This work is recommended to be performed with a respirator, goggles and gloves.

- If using concrete, pour a slurry into each pit (follow the instructions on the package for preparation), while compacting it in the pit with a wooden stick in parallel to avoid leaving air pockets.
 5 The concrete or mixture must dry. While the concrete or mixture is drying, check all posts again with a spirit level. Make the necessary adjustments. Next, the concrete or mixture must dry completely. The hardening time of concrete is about 48 hours.
Part 3 of 4: Attaching the Guardrail
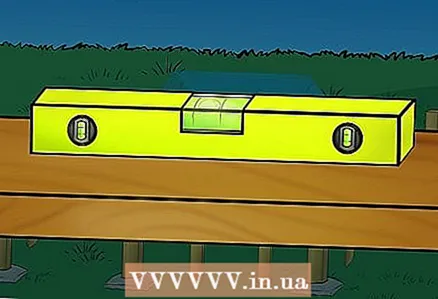 1 Make sure the posts are the same height. Place the board on top of two consecutive posts and check the levelness with a spirit level. Adjust the posts if required.
 - 2 Fastening of fencing panels. You can use nails or fastening brackets with screws to fix the railing panels to the posts.
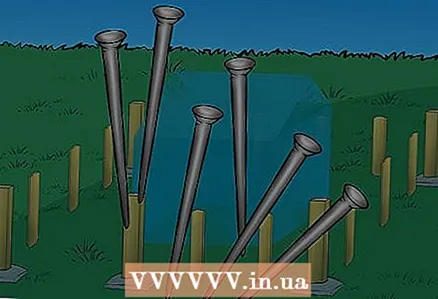
- Nails: Position the railing panels between the two posts so that the edges of the panels are in the middle of the posts. Check alignment with the top rail. To fasten the panels to the posts, use 100 mm galvanized nails, hammering them through the top and bottom support rails. You may need an assistant to support the panel.
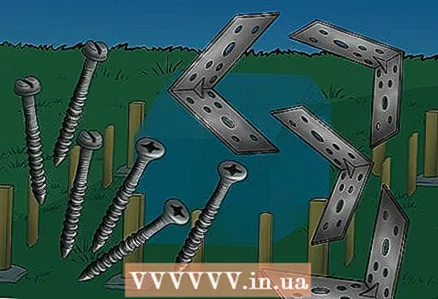
- Mounting brackets and screws: Attach three corners to the edges of each railing panel - one 20cm from the top, one 20cm from the bottom, and one in the center. You can place a couple of railing cross-piece trims under the panels at the base of the posts to anchor them at the correct height. Lower the panels onto the bottom rails and secure them to the posts with screws.
- Note: Some purchased fences have a tongue-and-groove connection, in which the fence is assembled as a constructor, without nails or screws.

- Nails: Position the railing panels between the two posts so that the edges of the panels are in the middle of the posts. Check alignment with the top rail. To fasten the panels to the posts, use 100 mm galvanized nails, hammering them through the top and bottom support rails. You may need an assistant to support the panel.
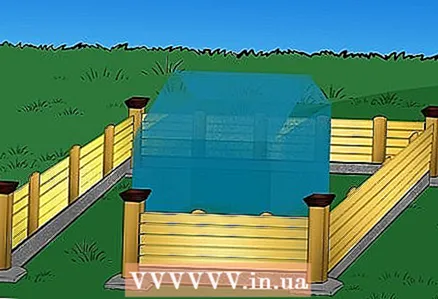
- 3 Install the lower cross member. In most cases, the bottom of the fence panel should not touch the ground, as this could damage the wood later.
- If you want to bridge the gap at the bottom of the fence, you can use the bottom rail to do this.

- Simply buy the required number of lower cross members and nail them to the fence posts between the panels and the ground.

- If you want to bridge the gap at the bottom of the fence, you can use the bottom rail to do this.
Part 4 of 4: Completing the Works
 1 Attach the pillar caps. If desired, after the completion of the work on the poles, you can fix the headgear. These are small square pieces of wood that are nailed to each post and give the fence a nicer look and extend the life of the posts.
 - 2 At the end, the fence can be painted, etched or treated with a waterproofing compound. A protective coating will help keep the fence looking good for a long time.
- The fence can be painted the same color as the house or garden furniture. Before painting, the wood must be primed and allowed to dry completely. Use outdoor latex paint.

- The stain also brightens the fence a bit, preserving the natural look of the wood and accentuating the grain structure.

- A waterproofing compound or water repellent is required for wood that does not resist moisture well and is prone to deterioration. These types of wood include spruce, poplar, birch and red oak.
- The fence can be painted the same color as the house or garden furniture. Before painting, the wood must be primed and allowed to dry completely. Use outdoor latex paint.
Tips
- When digging holes under the posts, pour the excavated soil onto a tarp.
- Instead of concrete, the pits for the posts can be filled with rubble and earth.
Warnings
- When digging holes, avoid sprinkler lines, underground cables, and drain pipes.
What do you need
- Roulette
- Shovel
- Hand drill
- Fencing posts
- Solution
- Mason's mooring cord
- Fencing panels
- Screws 6.35 cm long or nails 100 mm long
- Outdoor brackets
- Drill or hammer


")