Author:
Carl Weaver
Date Of Creation:
23 February 2021
Update Date:
28 June 2024
Content
This article will guide you on how to install Oracle Java 9 JDK on Ubuntu Linux. Please be aware that as of March 2018, only 64-bit Java 9 is available for Ubuntu.
Steps
 1 Open a terminal. Click on the "⋮⋮⋮" icon to open the menu, scroll down and then click on "Terminal"
  .
. - You can also click Alt+Ctrl+T.
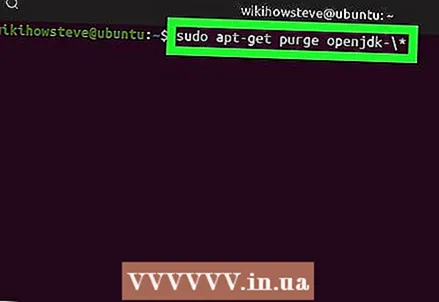 2 Remove installed Java versions. Otherwise, you won't be able to install Java 9:
 - enter sudo apt-get purge openjdk - *;
- click ↵ Enter;
- enter a password if prompted;
- click Yif prompted, then click ↵ Enter.
 3 Enter the command to install Java. Enter sudo apt-get install software-properties-common and press ↵ Enter.
 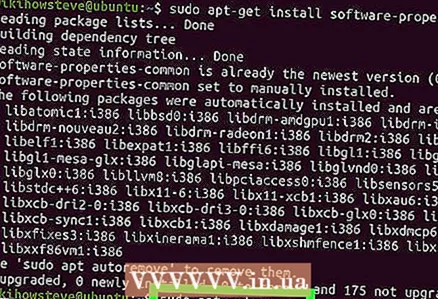 4 Remove outdated software versions. Enter sudo apt autoremove and press ↵ Enter... Wait for outdated software versions to be removed. Doing so will free up space on your computer's hard drive and be hassle-free when installing Java.
 - The uninstallation process may take several minutes.
 5 Update packages. Enter sudo apt-get update and press ↵ Enterto update the current software.
  6 Access the Oracle Java repository. Enter sudo add-apt-repository ppa: webupd8team / java and press ↵ Enter.
  7 Click on ↵ Enterwhen prompted. The message “Press [ENTER] to continue or Ctrl-c to cancel adding it” appears at the bottom of the terminal window (Press [ENTER] to continue, or Ctrl-c to cancel). Click ↵ Enter.
  8 Download Java. Enter sudo apt-get install oracle-java9-installer and press ↵ Enterand then enter y and press ↵ Enterwhen prompted. The download of the Java 9 installer will begin, and a confirmation window will open in the terminal.
 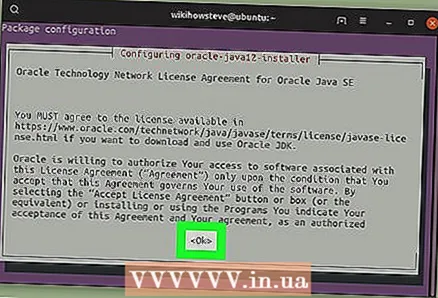 9 Agree to the Java Terms of Service. Click on ↵ Enter once to continue and then use the left arrow key to select “Yes” and press ↵ Enter again.
  10 Wait for Java to load. This will take up to 20 minutes. When your name is displayed at the bottom of the terminal, proceed to the next step.
 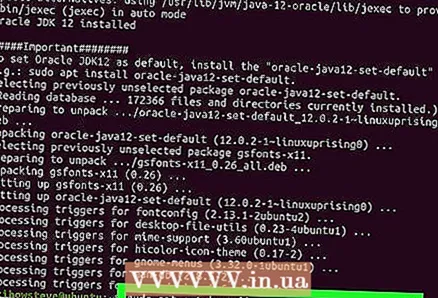 11 Install Java 9 with default options. Enter sudo apt-get install oracle-java9-set-default and press ↵ Enter, and then enter your password (if prompted).
 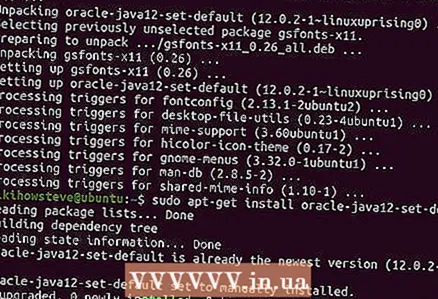 12 Check your Java version. Enter java -version and press ↵ Enter... The screen should display the following message:
 - java version "9.0.4" (java version 9.0.4)
 13 Update all packages. Enter sudo apt-get update and press ↵ Enter... Most likely nothing will happen, but this will ensure that you are using the latest Java and software. The terminal can now be closed.
Tips
- The stable version of Java 10 will be released in 2018.
Warnings
- If you are running 32-bit Ubuntu, you may not be able to install Java 9.


