Author:
Janice Evans
Date Of Creation:
3 July 2021
Update Date:
23 June 2024
Content
- Steps
- Method 1 of 3: Install the tree
- Method 2 of 3: Install wall boards
- Method 3 of 3: Postoperative Procedures
- Warnings
Luggage hooks are often used to support plants and lights that hang from chains. These hooks can be tricky to install, but here's what you need to know to get it right and make sure it stays in place. It's important to remember that the hook itself is likely to hold more weight than you ever intended to hang from it, but the materials it attaches to will wear out much sooner.
Steps
 1 Consider the weight of an object suspended from a hook. If the hook falls, can someone get hurt and will it be expensive to repair the damaged furniture? If there are plants, consider how much heavier they will become after watering, and if over-watering, would there be a risk of overflowing electrical / electronic devices?
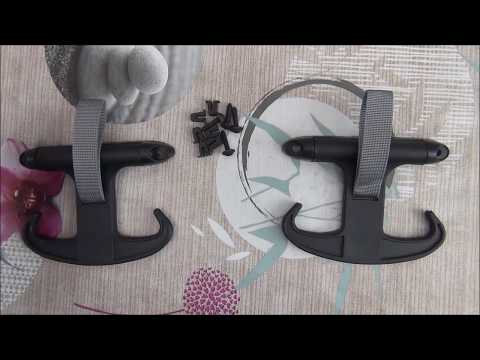
 - 2 Determine where to install the equipment to be used based on the underlay material. A typical hook will have a threaded hole and have threads inserted into the hole. One insert will have a shallow thread at one end, and a wider thread and dots at the other end. This insert is designed to be screwed directly into a wooden or plastic dowel (sometimes called a "molly") that has been made in a drilled hole in brick, concrete, etc. (not a board for walls!) Other inserts with 2 or 3 (or more) threaded rod - the threads extend along the entire length, bypassing the points. They work with a spring-loaded wing nut, and are called a "toggle" (or sometimes "butterfly") nut. Many manufacturers include them for various purposes and define them for use in wallboards. They are actually intended to be used in hollow walls "" are made of durable materials such as "cinder block". They are best used in vertical wallboards for light loads, but it is best not to use them for ceilings unless they are lightweight.

Method 1 of 3: Install the tree
 1 To support a fixture or anchor a plant to a ceiling, the only method for securely mounting on a hook is by anchoring it to a tree.
 2 Attach wood or beams to the ceiling in the desired location with a commercially available nail finder. Follow directions for correct use.
  3 Select drills small enough so that the resulting hole is less than the thickness of the pointed end of the insert. This is done by making threaded holes behind the drill - the threads should be completely visible behind the blade. Choose a smaller blade. Most importantly, not too much material will be removed from the hole so that the threads can "catch". Larger holes provide less grip strength than smaller holes.
 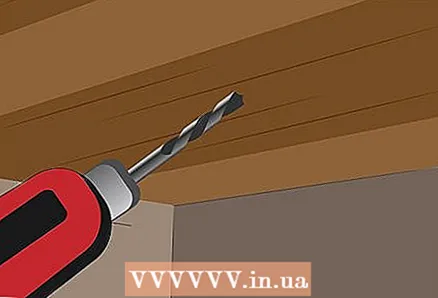 4 Drill in the center of the harness where you found the stud earlier, slightly longer than the pointed end of the threaded portion of the insert (about 2 ").
 5 Thread the non-tapered end of the insert into the hook.
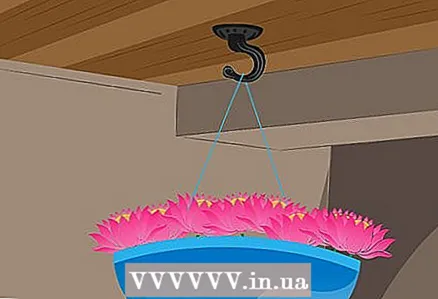
 6 Thread the hook into the newly drilled hole until the flange or base of the hook is pressed firmly against the ceiling.
 7 After securing on the ceiling, a downward pressure (greater than the weight of the fixture / unit) is applied on the hook to check the strength.
 8 If the hook is pulled out, check the position of the harness with the nail again and drill another hole with a smaller drill and reinstall the hook next to it. Repeat until the hook is secured.
  9 Additional hooks are used to support the chain and power cable of the luminaire, and can be supported by a bolt lever if desired - as this weight is a small part of the luminaire.
 10 Check for straps or nail joists where additional hooks are desired. Repeat the above procedure if necessary.
Method 2 of 3: Install wall boards
 1 If there are no bunches (wall installation), railings or slabs (ceiling), the switching method can be used. This method requires the installation of a threaded nail in the hook, the switch nut rotates so far that the threaded rod protrudes from the end by about two or three threads. The nut toggle switch must be set so that the wings can be pressed on the nail (against the base of the hook). This same method is used to remove objects from the hooks in the ceiling. When using this method for ceiling installations, the lightest load cases or decorative loads should be considered as this is the least reliable support method.
  2 Keeping the wings against the stud, determine the diameter of the hole that would be required to push the nut. 1/2 "orifices are no longer uncommon.
 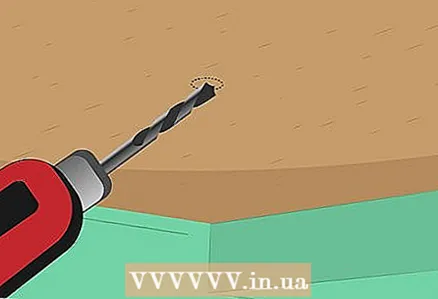 3 Drill the ceiling deep enough to penetrate the wall panel.
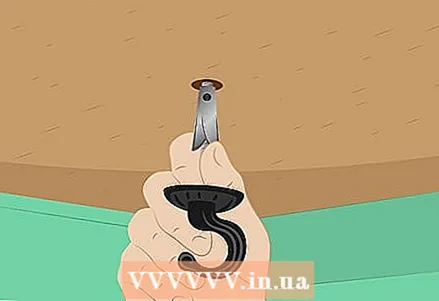 4 Squeeze the wings against the threaded rod and push the nut fully into the hole. Press the hook against the ceiling to make sure the wings are open. Twist the hook clockwise, pulling gently downward.
  5 Twist the hook until the flange or base is firmly against the ceiling.
 6 Do as many times as necessary.
Method 3 of 3: Postoperative Procedures
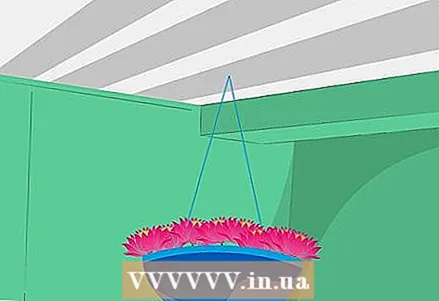
 1 Hang a lamp / freshly watered plant on a hook - without lifting your hands just underneath - to catch if the load is very heavy, so the hooks will be mounted.
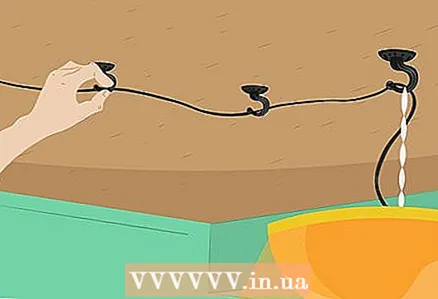 2 After verifying that the load is safe, connect any circuit / power cable through any optional hooks.
 3 Check the hooks regularly for strength (bulging or cracked ceilings around the hook), and if found, take corrective action right away.
Warnings
- Never rely on existing hooks to be anchored into the tree.
- Do not try to hang anything substantial from the ceiling using a hook. Make sure the hook is screwed into the timber or beams behind the ceiling surface.


