Author:
Alice Brown
Date Of Creation:
27 May 2021
Update Date:
23 June 2024

Content
- Steps
- Method 1 of 3: How to get ink printing off a sheet of paper
- Method 2 of 3: How to get inked out of a book
- Method 3 of 3: How to remove ink marks from the edges of a book
- What do you need
- Removing ink stamps from a sheet of paper
- Removing ink seals from books
- Removing ink marks from the edges of a book
- Tips
Everyone considers ink to be a sustainable material, but is it really so? If you've ever wondered how to remove ink stamps from sheets of paper, book covers, and page edges in a book, then you're in luck. There is a non-toxic and inexpensive way to effectively erase ink from paper using everyday items. This process is also suitable for removing marker, pen marks and charcoal and crayon pencils. The end result depends on the type of ink and paper used.
Steps
Method 1 of 3: How to get ink printing off a sheet of paper
 1 Get started with an eraser. If the print is light enough, you can erase it with a regular eraser. And the paper will not suffer too much. Try erasing the print with a soft pencil eraser. If after five minutes you have not achieved results, use a more abrasive material.
  2 Buy sandpaper with a grit between 150 and 400. The lower the grit, the higher the abrasiveness of the sandpaper. If you need to remove print from thin paper (such as a page in a notebook), the higher the grain, the better.
  3 Tear off a piece of sandpaper about 2.5 x 2.5 cm. This should be enough to wipe the ink seal away from the rest of the surface.
  4 Prepare your work surface. Line your work surface with several sheets of paper. Lay them out in several layers. This should soften the contact of the paper with the hard table surface and thereby increase its tear resistance. The number of layers depends on the thickness of the working document.
 - Make sure the work surface is solid enough. The table must be in good condition. Remove anything that will bother you from the table.
 5 Prepare printed paper. Place it face up on a work surface. Press it down firmly with your free hand. Hold it with your whole hand, not just your fingertips. Position your hand so that the area of paper to be cut is visible between your thumb and forefinger. Make sure the paper is completely flush with the table.
 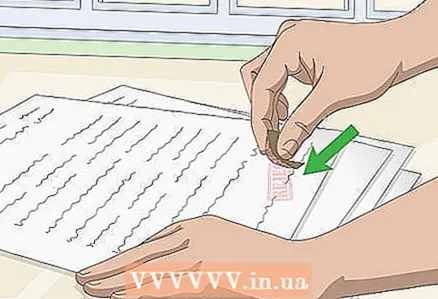 6 Strip the ink off the paper. Use smooth movements away from you. Don't press too hard. Do not hurry. This method can be quite time consuming.
 - Keep the paper exposed to light to avoid accidentally rubbing a hole in the sheet.
- When the abrasiveness of the sandpaper has decreased, shake it off to remove dust and dirt.
 7 Use an eraser. Try rubbing off the ink with an eraser when it gets lighter. The roughness of the paper after sanding will only increase the effectiveness of the eraser. Continue the grouting process. When the ink is lighter, use an eraser to remove any debris.
 - As the paper will begin to thin at the grout, be as careful and patient as possible.
Method 2 of 3: How to get inked out of a book
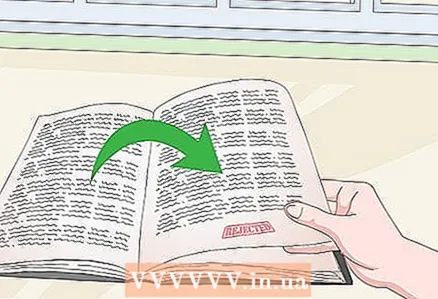 1 Open the book to the desired page. Align the page as best you can without bending the spine of the book.
 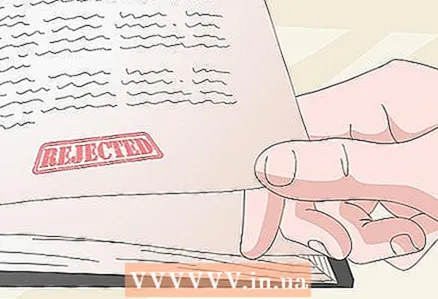 2 Check the paper thickness. Make sure the page is as thick as the pages at the beginning and end of a typical library book. This method is suitable for both white and colored paper. It can also be applied to the inner cover of a book.
 - For added protection, place a few sheets of paper under the inked page.
- If the page thickness is comparable to thin fanfold or notepad paper, use an eraser or sandpaper for better results.
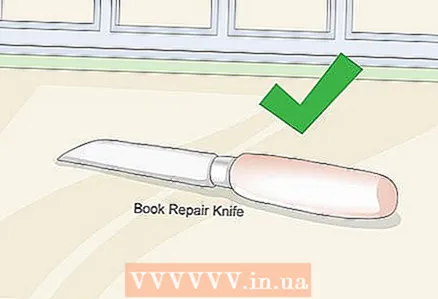 3 Get a book repair knife. They can be found in specialty stores or on the Internet. The knife should have a completely flat blade on one side and a deeply beveled edge on the other. It can be used to remove ink print without damaging the page.
 - Do not use a modeling or butter knife. If they are removed, they may damage the page.
 4 Take the knife in your dominant hand, as if holding a pen or pencil. Grasp the knife as close to the blade as possible. Hold the blade vertically, horizontally, or at an angle.
 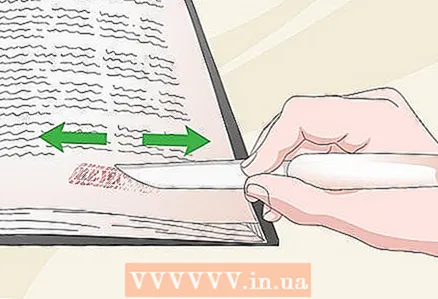 5 Start scraping off the seal. Start with a letter or small shape in print. Carefully trace the outline of the letter or shape. Back and forth with the tip of the blade. Be patient. This method can take a long time, but the result is worth it.
 - For example, if you need to remove the capital G, slide the blade vertically along the long stem and then horizontally along the short branch.
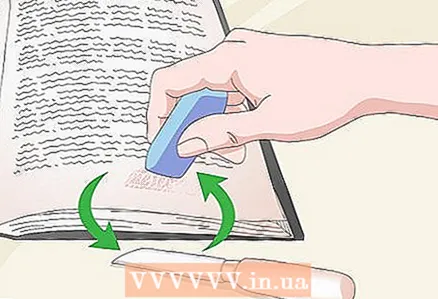 6 Erase the remaining ink with an eraser. When the letters or lines start to lighten, try carefully erasing them. Make such movements as if you were erasing a pencil. This will prevent possible damage from additional scratches. Continue to remove ink.
 - Continue to erase individual letters or print elements with a knife. When they are lighter, use an eraser to erase the residue.
 7 Place the finishing touches. When you're done with printing, go over the work area with the eraser in quick but gentle strokes. Wipe away any debris from the back of your hand.
Method 3 of 3: How to remove ink marks from the edges of a book
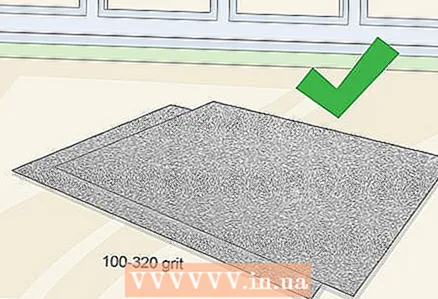 1 Buy 100 grit and 320 grit sandpaper. Sandpaper is usually sold in sheets, but a roll is much more convenient to use. The roll shape allows you to attach the sandpaper to your finger while stripping the ink.
  2 Tear the 100-grit sandpaper into pieces. With this stiffer paper, we will remove the seal. Use a strip that is no wider than your index finger and slightly longer than your fingertip (from tip to first knuckle).
  3 Remove the dust jacket from the book so it doesn't get damaged during the sanding process. Set it aside to avoid accidentally hitting it.
 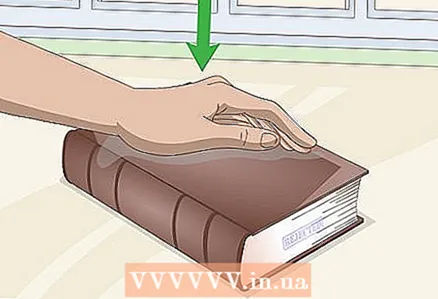 4 Take the book in your left hand. Turn the book over with the seal facing you. Hold the book firmly so it does not fall out of your hand.
  5 Press down on the sandpaper with your index finger. Make sure that it does not go beyond the boundaries of the rubbed surface. Otherwise, you risk damaging the book cover.
 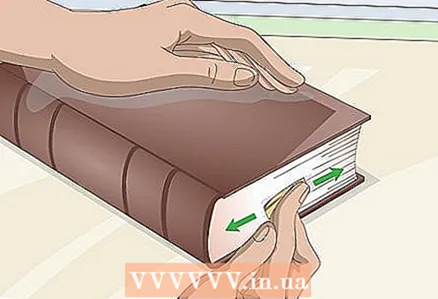 6 Start overwriting the print. Use a back-and-forth motion. Do not stop until the ink marks have completely disappeared. When the ink starts to fade, lightly sweep the rest of the page to align it to the width of the page.
 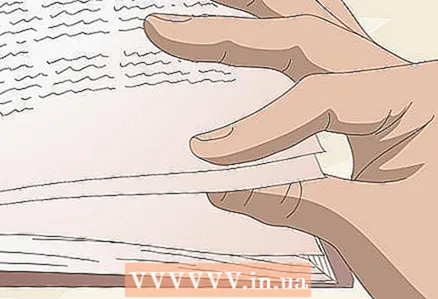 7 Check both remaining edges of the page. Look for any hint of discoloration. If found, sand the area until discoloration disappears. This will create an even color along all 3 edges of the page.
  8 Tear off a piece of 320 grit sandpaper. Its finer texture will smooth out the pages. Tear off a piece of the same length and width as the last time. Press this sandpaper with your finger too.
  9 Rub the surface of the edges by sliding your finger back and forth. If you only sanded the inked side, only sand it. If you sanded 2 or all 3 sides, rub them too.
What do you need
Removing ink stamps from a sheet of paper
- Pencil eraser
- 150 and 400 grit sandpaper
- Sheets of paper
Removing ink seals from books
- Book repair knife
- Pencil eraser
Removing ink marks from the edges of a book
- 100 and 320 grit sandpaper
Tips
- If you need to remove a seal from a single sheet of paper roughly the thickness of a page in a library book, use a book repair knife to remove any traces of ink from it.


