Author:
Gregory Harris
Date Of Creation:
12 August 2021
Update Date:
1 July 2024

Content
Do you know the expression "Sits like a glove"? Tried to knit a glove, but something always came out that did not fit even the most average hand? The size of a knitted glove or mitten depends on many parameters: the type of crochet and yarn, as well as the knitting method.
This article explains the basic knitting structure of such mittens / gloves. We'll also show you how to knit your gloves so that they fit perfectly to your hand, regardless of material and hooks. You can use this pattern to knit any type of gloves, mittens, hand warmers or slippers.
Click on the pictures to zoom in.
Steps
- 1 Learn how to crochet and increase / decrease stitches as you knit. Hone your skills to perfection by knitting a few simpler things before starting gloves.
- Understand the crocheting technique in a circle and how to keep the crochet square as you knit row by row.
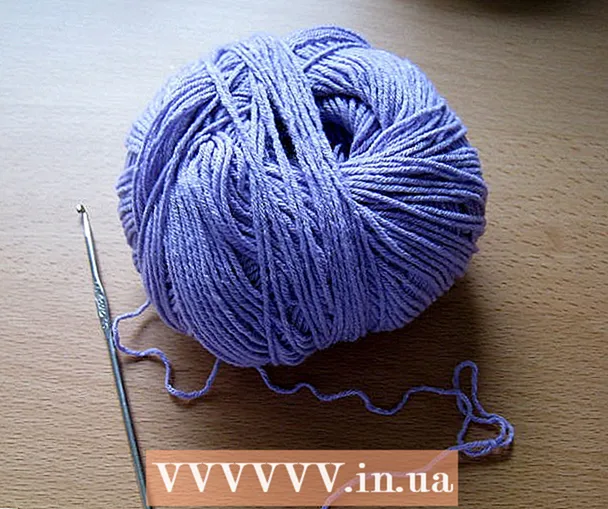 2 '' '' Choose the yarn you like best for knitting gloves.’’ ’The thicker the yarn, the bulkier your mittens will be. This also means that they will be warmer, but may give the hands less movement.
 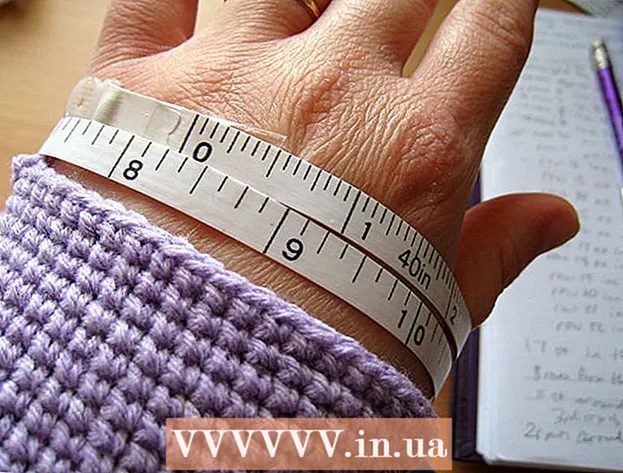 3 '' '' Tie a piece to sample.'' '' Make a few links and then tie the second and third row to them. With this, you can measure how wide you have one row of knitting and how wide each link is.
- You can knit your gloves by trying them on every now and then and checking to see if they fit comfortably on your hand. Alternatively, you can take measurements and follow them.
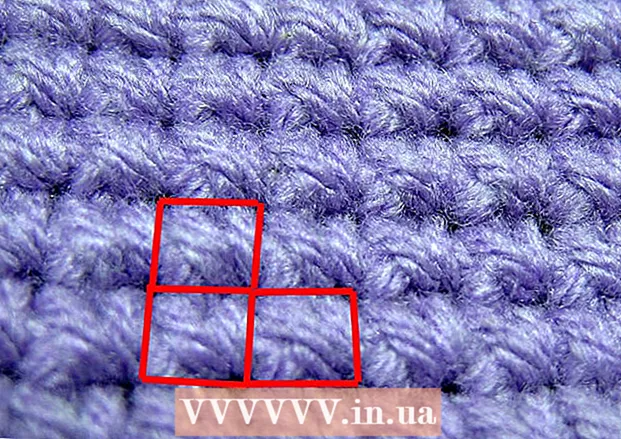 4 ’’ ’Learn to count links’ ’’, across the width of the fabric and around the edge. It will be easier to fit both gloves to the same size if you measure the number of links and stitches.
 - 5 Decide for yourself how long you want the sleeves of your glove: up to the elbow, up to the wrist or otherwise.
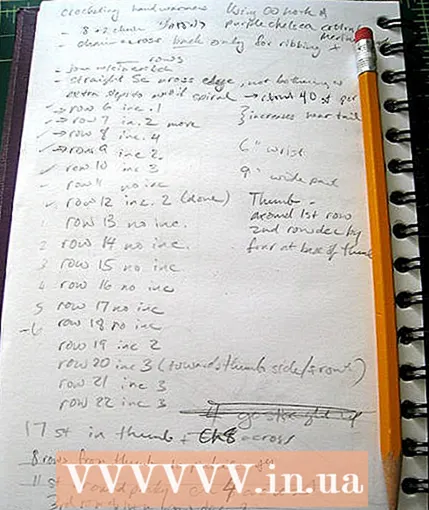 6 ’’ ’Write down the number of links as you knit the first glove.’’ ’You will measure the first glove while keeping track of the number of rows and additional links in each new row. Also note how many rows are in front of and after the thumb hole. You will need these numbers to make a second glove the same size as the first.
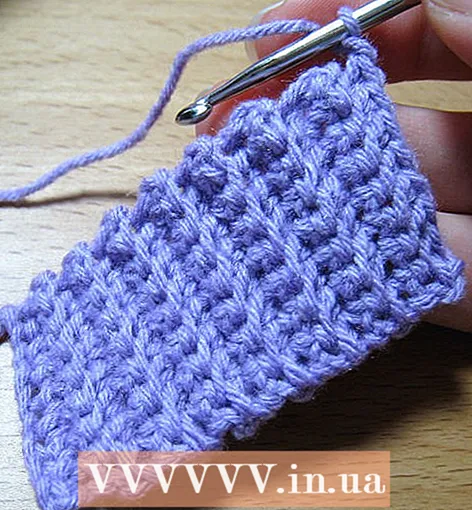
 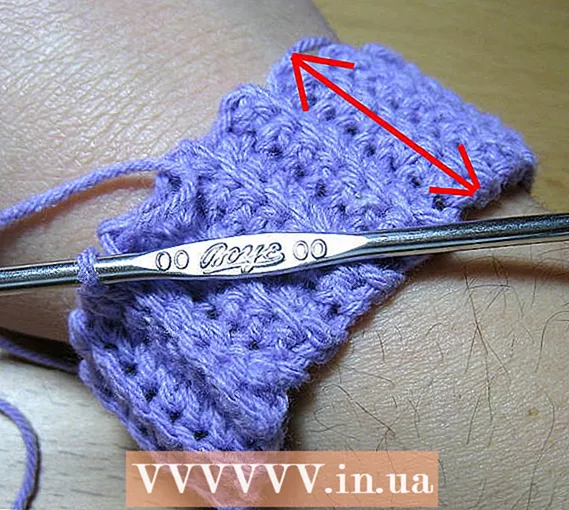 7 ’’ ’Glove sleeve. The sleeve is knitted by lining up successive knitting links, so that you end up with a rectangular piece, which you then wrap around your arm.
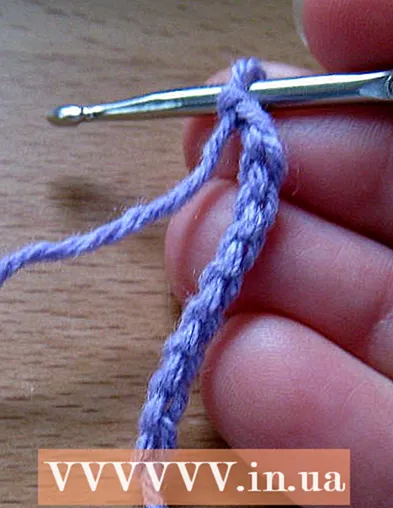 8 '' '' Cast on a certain number of links '' '' depending on the desired sleeve width.
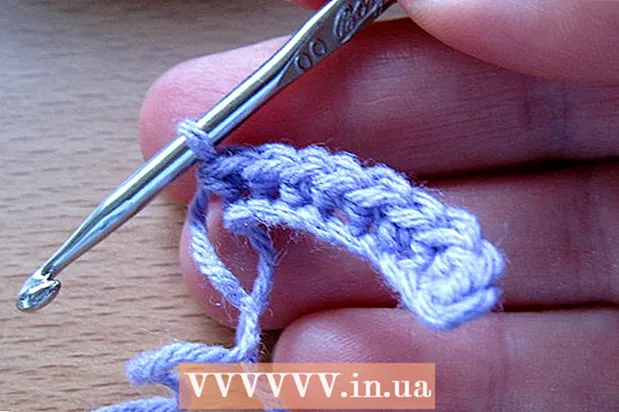 9 '' '' Tie three more links (for pivoting) '' '' and then work in reverse, starting at the third link of the first tied row. The length of this row will determine the length of your sleeve, so be sure to measure the number of links.
 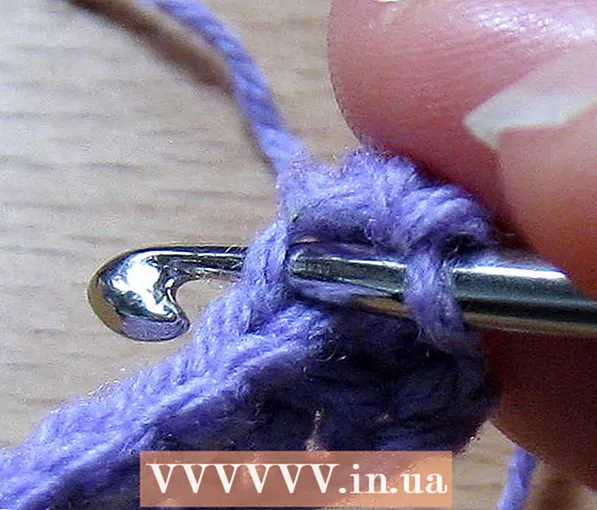 10 '' '' One link in each direction '' 'along the start row.
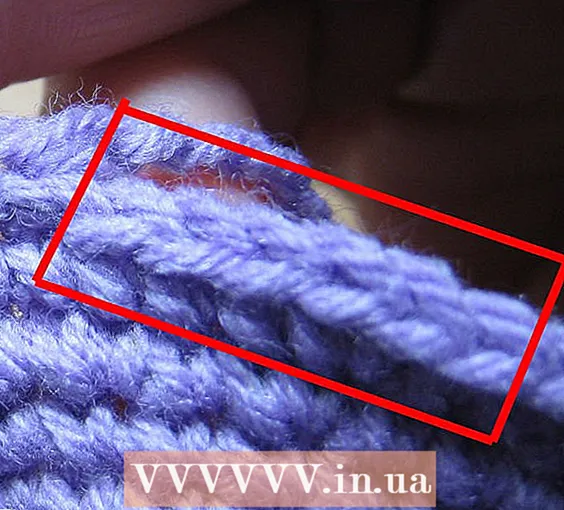
- '' Knit only through the back loop ''. Combined with a flip at the end of each row, this will give the knitted rows a grooved look.
- At the end of each row, leave one link as a transition link.
- Tie the same number of links in each row. If you started with a strip of 8 links (plus the initial three), then all subsequent rows should contain 8 links.If your knitting does not come out rectangular, count the number of links in each row and make sure you allocate one link for the transition.
 11 '' '' Tie as many rows as needed to wrap around your wrist. You can measure the length of your wrist and divide by the width of the linked row to determine the exact number of rows you want. Or just knit until you reach the desired length.
 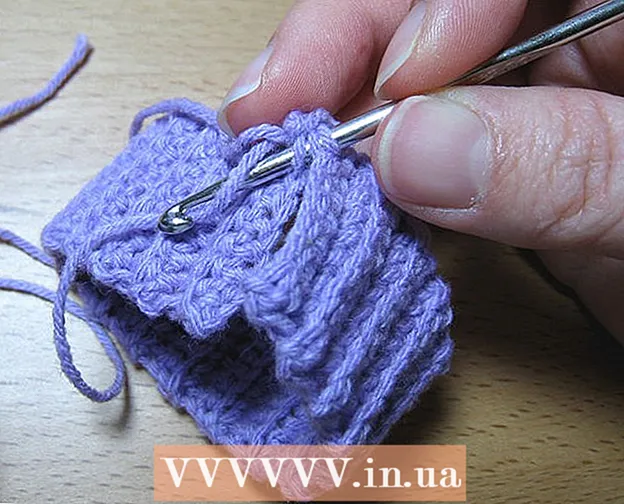 12 '' '' Join one end of the tied strip’With its beginning. Use skip stitches or single crochets to bring the edges together.
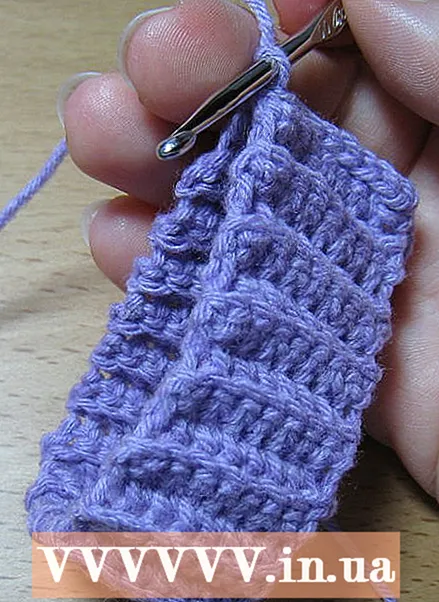 Finished sleeve. Let the tail of thread remain from the beginning of the first row at the bottom of your sleeve. Use skipped stitches from bottom to top. You may need to add or subtract an extra row of knit to keep the sleeve facing in the correct direction.
- Try on your future glove again or measure it. Do not forget that in diameter it should not only fit the hand of the future wearer, but also be wide enough to stick out the palm.
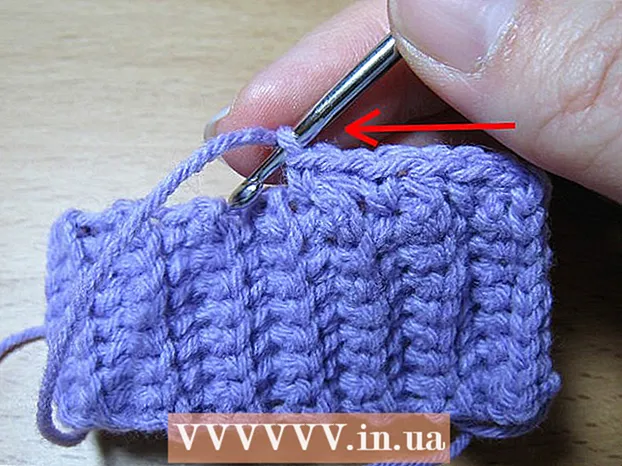 13 '' '' Turn the crocheted sleeve to the other side '' 'and start sewing the hem. With a single crochet, knit around the circumference. Each row of the sleeves represents a "bump" and "groove", and the stitches will lie exactly between them.
 - 14 Try on or measure the sleeve again by adding or removing extra rows of knit. Make sure to use the same units of measurement in all measurements, be it centimeters or stitches.
- stitches = stitches per centimeter or cm by wrist width in cm or inches
- You can also widen or narrow the subsequent rows a little if the first row does not fit well enough into the circumference of the sleeve.
- Usually, if your sleeve contains as many rows as there are stitches in the first row of the glove, then you are on the right track.
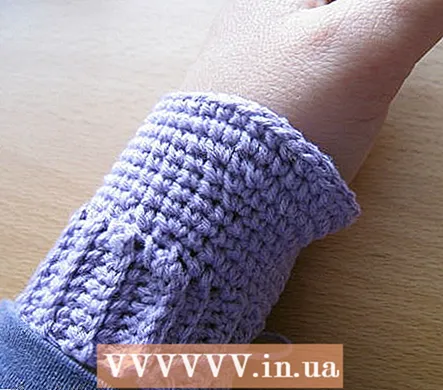
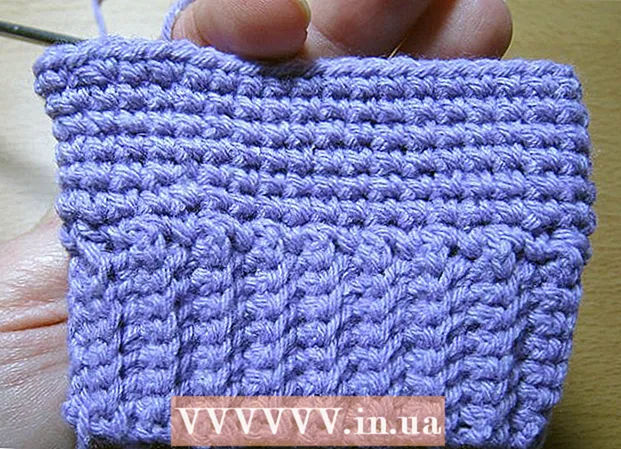 15 Knit around the circumference '' '' with a single crochet to achieve the desired length.
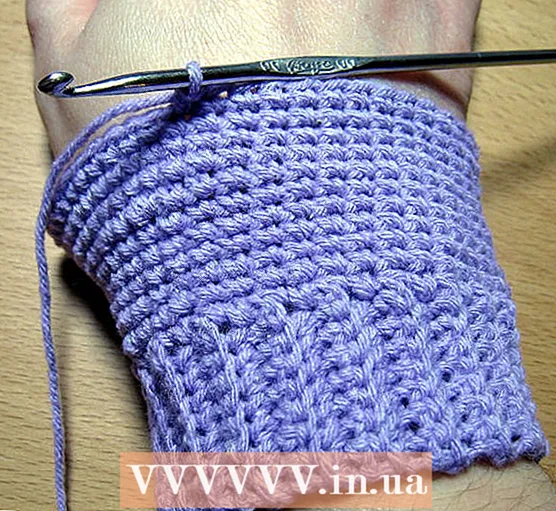 16 ’Slowly and gradually expand / contract your glove as needed.’’ ’Tighten all the way from elbow to wrist, then extend from wrist to thumb.
- Constrictions and extensions can be done by measurement or by constantly trying on a glove.
 Sew any additional extension stitches at thumb level. Focus on the ponytail. Extend the rows towards the place where the thumb will be. Add one to four additional stitches per row. Use the tail of the thread as a guide.
- When dividing the gloves specifically for the right and left hands, add extra stitches before the line of the thumb on one hand or after the line of the thumb on the other hand. This will allow you to create extra space at the base of your thumb, while hiding the extra stitching on the top of the glove.
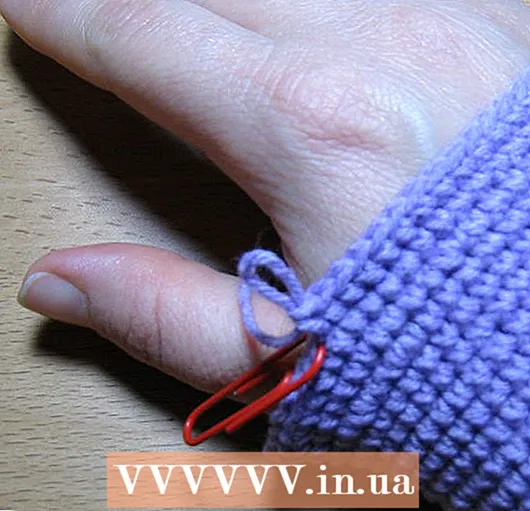 17 '' '' Tie the separating row at the base of the thumb.’’ ’Try on the glove again until the tied cylinder of the thumb reaches the tip of the finger or slightly above it. Then pull the thread from one end to the other and tie the top of your thumb where you feel comfortable.
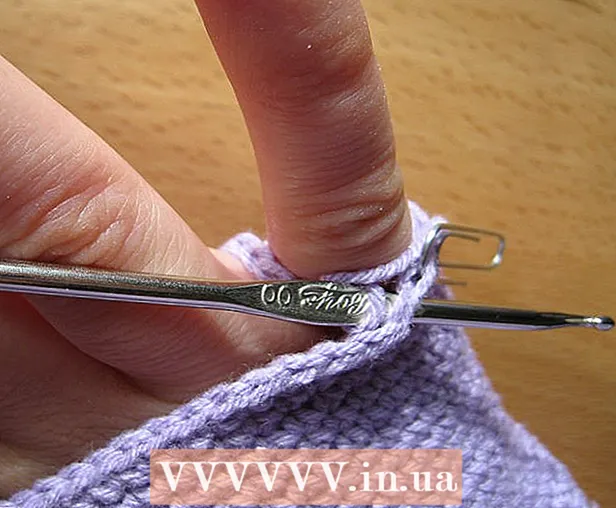
 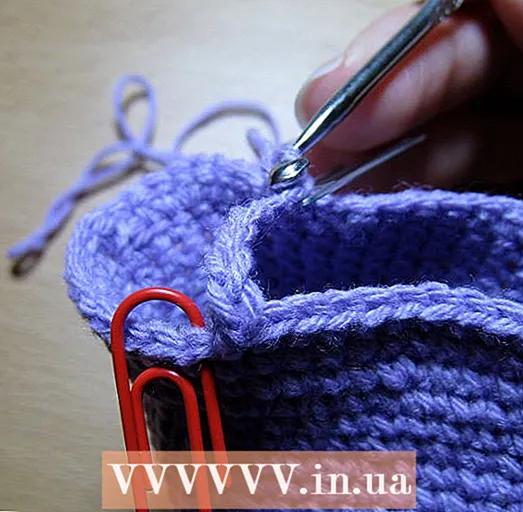 18 '' 'Tie the line up to the first marked stitch.’’ ’Then stop and tie the edges at the top of the thumb. Use blind stitches to join the links to the marked stitch on the other side.
 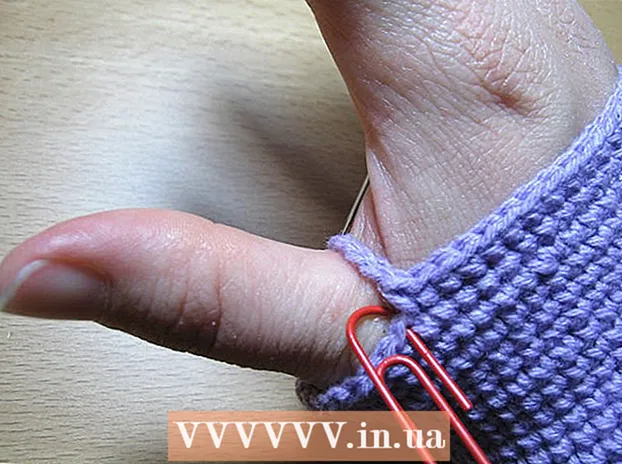 19 Put on the glove again and add or remove stitches from the chain if it is too tight or too narrow.
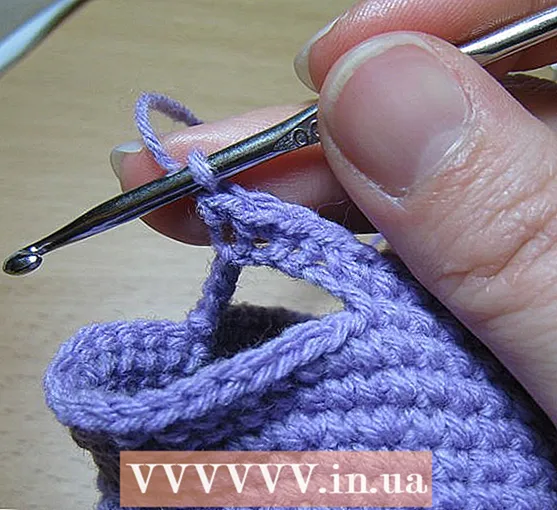 20 “From here, continue to chain around the toes”, but only at the base of the fingers - except for the thumb. There won't be many extensions or contractions in this area.
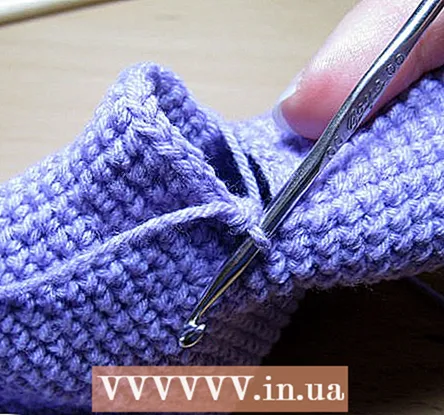 Then add knitting around the thumb. You can tie your thumb later.
 21 '' '' Optional for fingerless mittens:’’ ’Make a hole for the little finger. This works exactly the same as the thumb hole. This will allow you to raise the level of your thumb and also allow the rest of your fingers to move freely.This will help you if you want to knit gloves that will allow you to play a musical instrument, print, knit or do other delicate work.
- Try on the glove again to make a hole for the little finger. The thumb is at a different level from the rest of the fingers, so be sure to thread it through the hole so that the pinky hole is in place.
- Skip this step if knitting gloves with fingers.
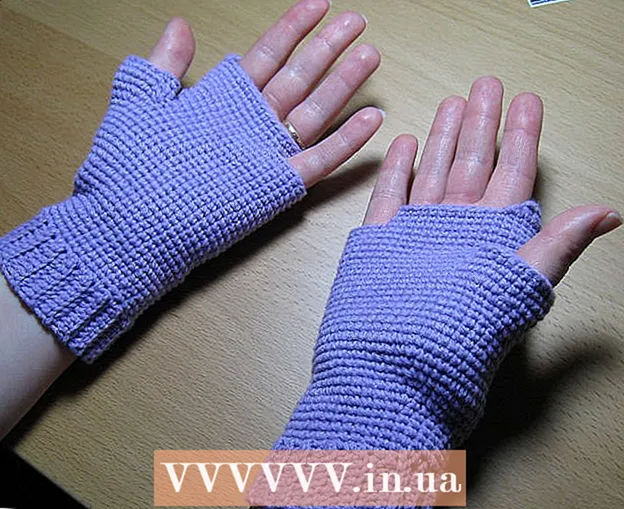 22 '' '' Optional, for fingerless gloves:'' '' Stop knitting on your knuckles. Tie a few rows back and forth on the back of your gloves to keep your gloves warm.
Tips
- If you are unsure of your measurements, knit the gloves as narrow as possible. The knitted fabric can always be stretched.
- To knit closed gloves, continue to knit cylinders for each finger, tapering towards the end, especially around the little finger.
What do you need
- Pencil and paper
- Paper clips
- Yarn of your choice and crochet
- Roulette
- Scissors


