Author:
Eric Farmer
Date Of Creation:
11 March 2021
Update Date:
1 July 2024
![DIY 15″ LAPTOP BAG | Large LapTop Case Sewing Tutorial [sewingtimes]](https://i.ytimg.com/vi/pFVbhfHzh70/hqdefault.jpg)
Content
- Steps
- Part 1 of 6: Preparatory Steps
- Part 2 of 6: Sewing the outside of the bag
- Part 3 of 6: Sewing the inside of the bag
- Part 4 of 6: Assembling the Bag
- Part 5 of 6: Making pens
- Part 6 of 6: Slightly modified version of the bag (for fewer seams)
- Tips
- Warnings
- What do you need
Even in its simplest design, a laptop bag will be slightly more difficult to sew than a regular quilted bag. Despite the need for precise cutting and thoughtful sewing, the task may be feasible even for a beginner in sewing. Follow our directions to customize your laptop bag.
Steps
Part 1 of 6: Preparatory Steps
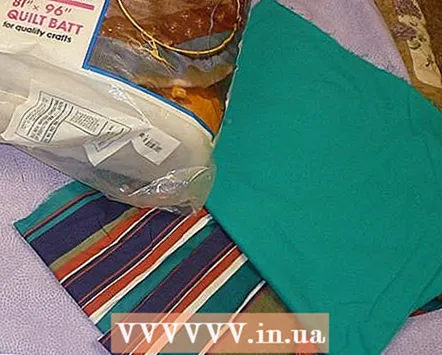 1 Pick up materials.
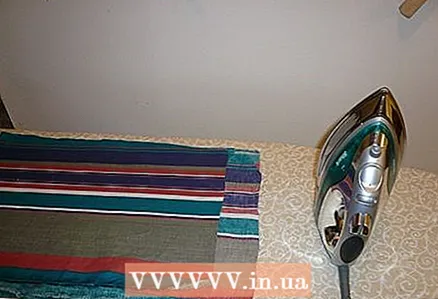 2 Wash and iron the fabric you will be using.
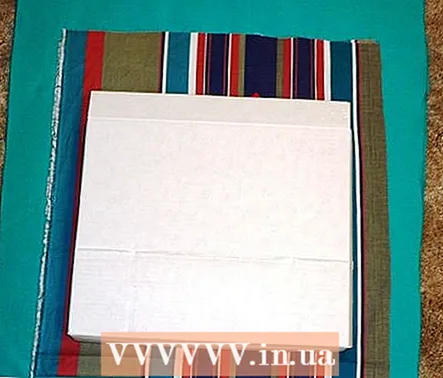 3 Measure your laptop. To determine the dimensions, you can use a cardboard box from the laptop, or simply measure its girth from the side with the hinges, through the drop-down side and back to the hinges. This will give you the length of the fabric you need. Then measure the width of your laptop with the thickness at the sides, this will give you the width of the fabric.
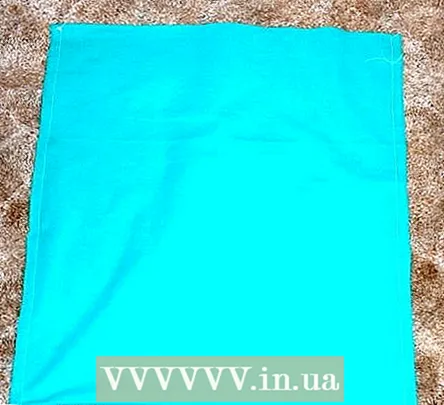
 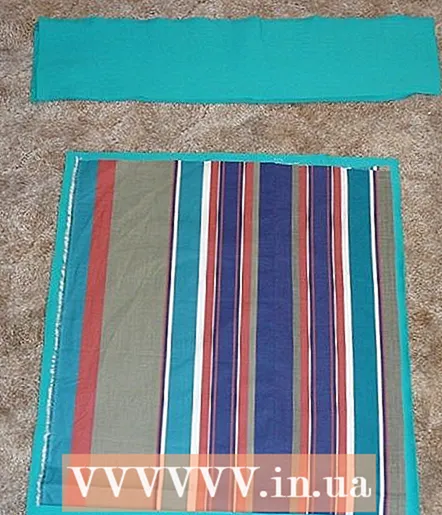 4 Cut two pieces out of the fabric. One should be large enough to wrap the laptop in, plus an inch in each direction (this will be the inner layer of the bag.The second piece should be 1 cm larger than the first in all directions, it will serve as the outer layer of the bag. Parts can be of the same color or matching colors. It is best if the outer fabric is water-repellent.
 - 5Cut two layers of batting to fit the smallest fabric piece.
- 6Cut the lining fabric to fit the smallest fabric piece.
Part 2 of 6: Sewing the outside of the bag
 1 Sew the sides of the outside of the bag, leaving the top open.
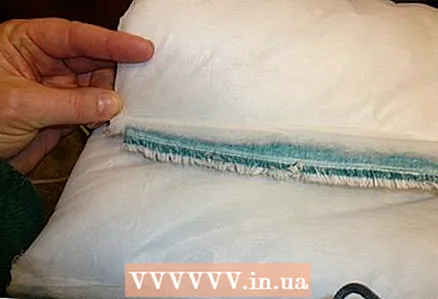
 2 Bevel the corners at a 45-degree angle. Spread one corner of the bag so that the side seam visually divides it in half. Sew the corner with a stitch that will be perpendicular to the side seam (as shown in the image). Repeat with the second corner. When you turn the bag right-side up, the corners will be slightly dull.
 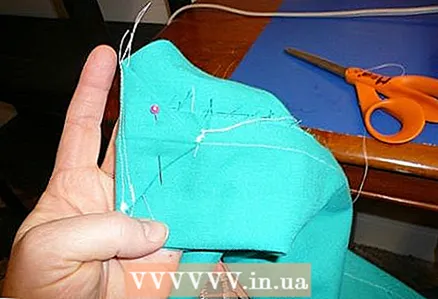 3 Fold and sew the corners to the seam allowances.
- 4 Turn the bag right out and try it on for a test. Make adjustments if necessary.
Part 3 of 6: Sewing the inside of the bag
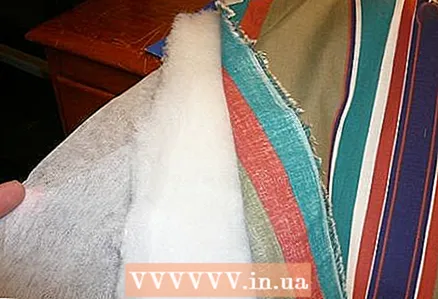 1 Place the lining, batting, and inner layer of the bag on top of each other. Be sure to line them up.
 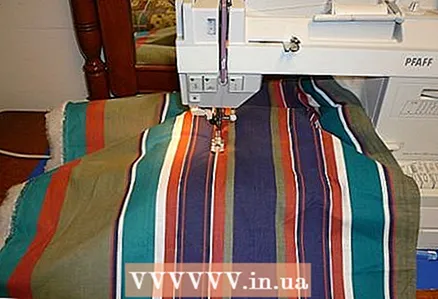 2 Sew all three layers by hand or with a sewing machine.
- 3Fold the quilt in half and sew the side seams, leaving the top open.
 4 Cut the batting and lining close to the seam.
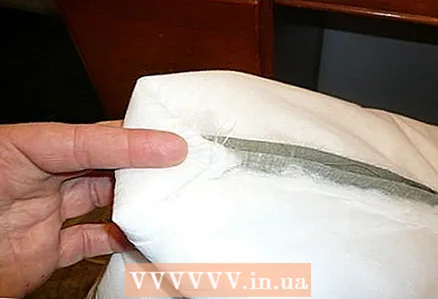 5 Bevel the corners in the same way as before, and sew the ends to the side seam.
 6 Try it on by lowering the laptop into the inside of the bag. Make the necessary adjustments to fit the bag properly.
Part 4 of 6: Assembling the Bag
 1 Slide the inside of the bag into the outside.
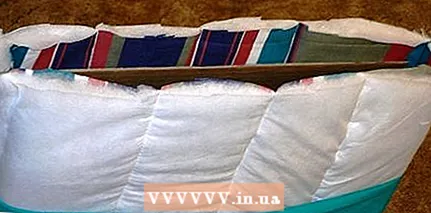 2 Cut the inside so that it is 5 cm higher than the edge of the laptop in the bag.
 3 Make the outer part of the bag 5 cm higher than the inner part.
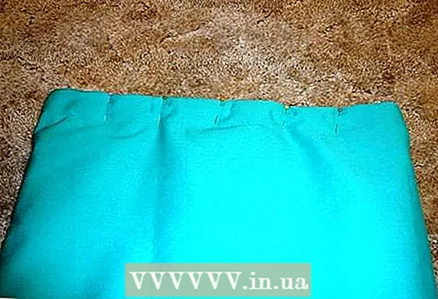 4 Tuck the outside of the bag twice: once on itself, and the second time on the inner layer; and pin for stitching. This will hide the raw edges of both parts of the bag.
 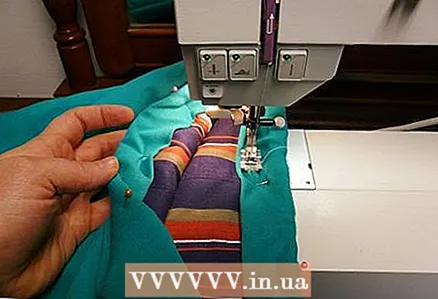 5 Sew the layers of the bag along the bottom edge of the fold.
Part 5 of 6: Making pens
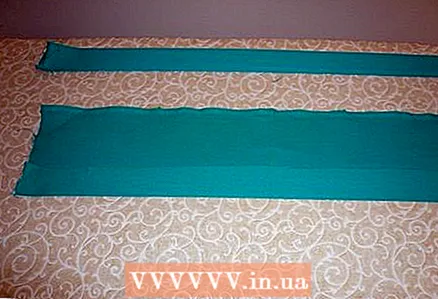
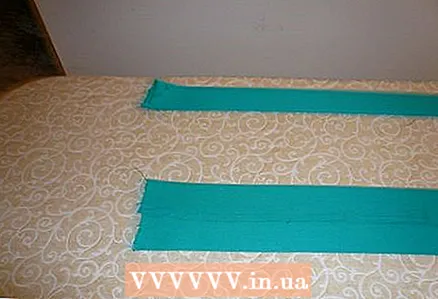
- 1 For handles, cut strips 10-13 cm wide from the fabric. Make them as long as you like (for short handles, a length of 30 cm is suitable, for a shoulder strap - more than 70 cm).
- 2 Fold and iron the handle details.
- Fold one side of the strip towards the center.
- Fold the other side of the strip towards the center.
- Fold the entire strip in half and iron for evenness.
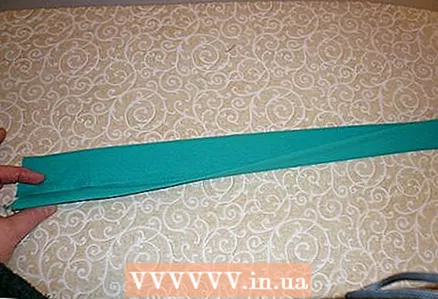
- Fold one side of the strip towards the center.
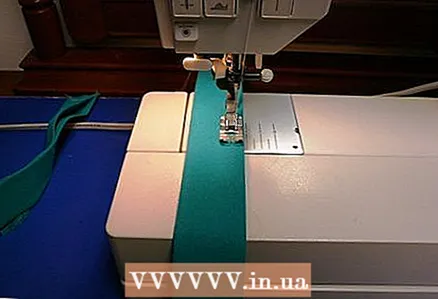 3 Stitch the stripes to maintain their shape.
- 4 Measure the width of one side of your bag at the top and divide into thirds. Mark these parts with pins on either side of the bag.
 5 Place the ends of the pens directly on the pins. You should leave enough margin at the ends of the tuck and sew handles.
 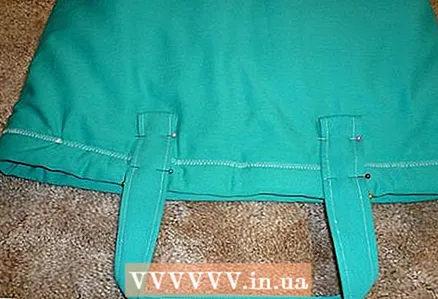 6 Pin the handles, tuck the raw ends, and pin the folds.
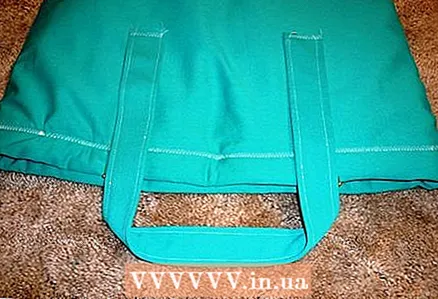
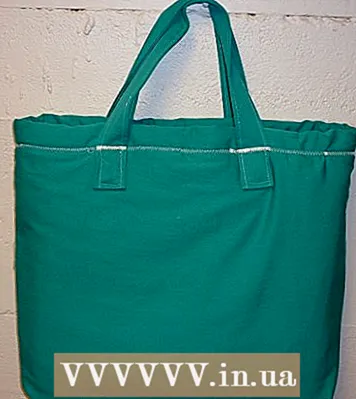 7 Stitch off the ends of the handles. In the example shown, the handles are sewn with a zigzag stitch at the top and simple stitching along the sides and bottom edge. Choose for yourself what you like best.
  8 Cut off all the threads. Now you have your own unique laptop bag.
Part 6 of 6: Slightly modified version of the bag (for fewer seams)
- 1 When sewing the lining, leave a hole in the bottom. If you are using batting or other packing stuffing, remember that you will have to push it through this hole afterwards. There is no right or wrong size for this hole, it all depends on the materials used.
- 2Turn the lining to the outside and sew to the outside of the handle.
- 3Turn the liner right side in so that the handle is on the inside.
- 4Place the outside of the bag inside the lining with the right side out.
- 5 Sew a seam along the top edge, attaching the inside of the bag and handles to the outside. You will now have a bag with a lining that is completely inside out (you will see the inside of both the outside and the inside of the bag, and the handles will be hidden inside between them).
- 6 Find the hole in the lining and twist the bag through it. The front side of the fabric and handle will now show.
- 7 Sew the hole in the lining by hand or with a sewing machine. The seam does not have to be perfect, it will be inside the bag.
Tips
- The project can be done by hand, but it is better to work with a sewing machine.
- The bag can be sewn without batting.
- For a project, you can use the inside of a laptop carton to make the bag more durable and finished.
Warnings
- Depending on the amount of batting you use, the bag may not be as protective of your laptop as purchased options.
- Observe safety precautions when handling scissors and needles.
- Be sure to check the stitching strength. Sudden ripping can cost you a lot of money.
What do you need
- 1.8 m of fabric (you can take 90 cm of different fabrics)
- 0.9 m batting
- 0.9 m of lining or other fine fabric
- Sewing machine
- Tape measure
- Threads


