Author:
Eric Farmer
Date Of Creation:
11 March 2021
Update Date:
1 July 2024

Content
When you first start Eclipse, there will be an empty workspace on the screen. To start writing a program, you need to create a new project and customize it to fit your needs. You can easily create a new Java project using Eclipse Ganymede 3.4.0.
Steps
 1 Open the window for creating a new Java project. This can be done in two ways:
 - Click on File -> New -> Java Project.
- Click the "New" icon in the upper left corner, and select Java Project.
 2 Enter a name for the project.
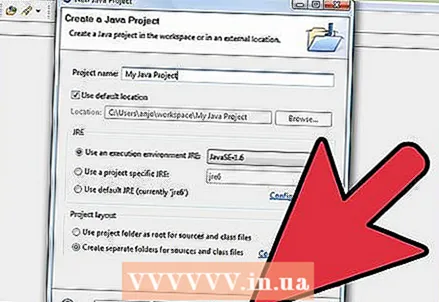 3 Click Finish to complete the creation of the project with the default settings, or click Next to configure additional options (for example, add libraries, or bind other source folders).
 4 Make sure the project is created, it should appear in the list on the left.
Tips
- If you want to change the project settings after creation, right-click on its name in the list, then find the required settings.


