Author:
Ellen Moore
Date Of Creation:
20 January 2021
Update Date:
29 June 2024
![How to Create Apple ID / iCloud Account [3 Methods]](https://i.ytimg.com/vi/1TjeiIFLkmU/hqdefault.jpg)
Content
This article will show you how to create an iCloud account on iOS. To do this, you need to create a new Apple ID. When you create a new account, sign in with your new Apple ID and then configure your iCloud settings.
Steps
Part 1 of 2: How to Create an iCloud Account
 1 Launch the Settings app. Click the gray gears icon (⚙️) on the home screen.
 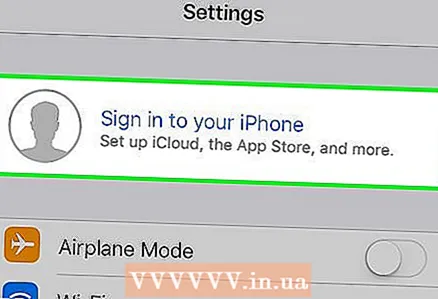 2 Tap Sign in to (Device). It's near the top of the settings page.
 - If you're currently signed in with a different Apple ID but want to create a different one, tap the Apple ID, then tap Sign out at the bottom of the menu and follow the onscreen instructions.
- If you're using an older version of iOS, tap iCloud> Create New Apple ID instead.
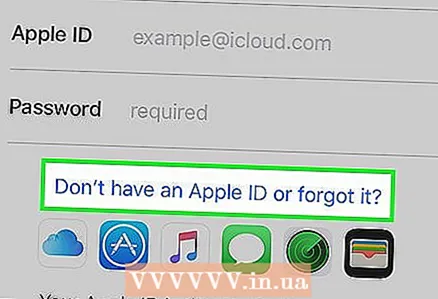 3 Tap Don't have an Apple ID or have you forgotten it?". This option is located below the password entry line.
 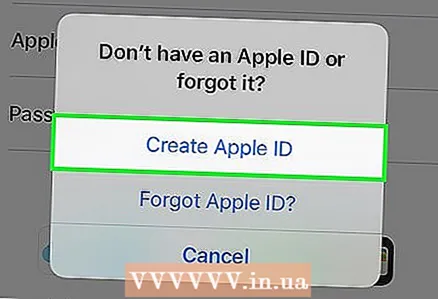 4 Tap Create Apple ID.
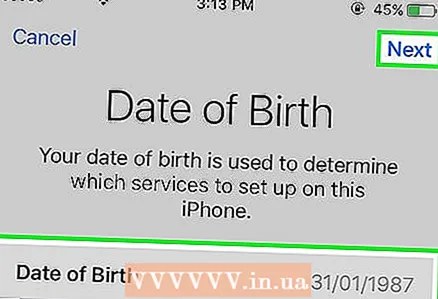 5 Enter your date of birth and then tap Next.
- Swipe up or down the Month, Day, and Year boxes to select your date of birth.
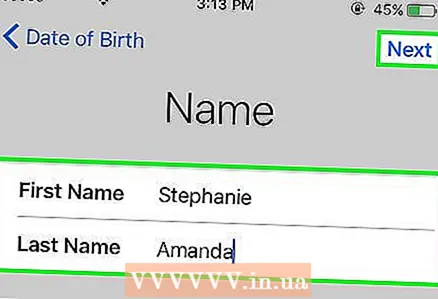 6 Enter your first and last name, and then click Next.
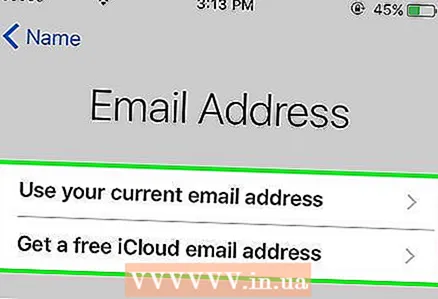 7 Enter your email address or create a new iCloud email address.
- To use an existing email address, click Use Current Email Address and enter your email address. Then click Next.
- To create a new iCloud email address, click Create Free iCloud Email Address and enter a new email address. Then click Next> Continue.
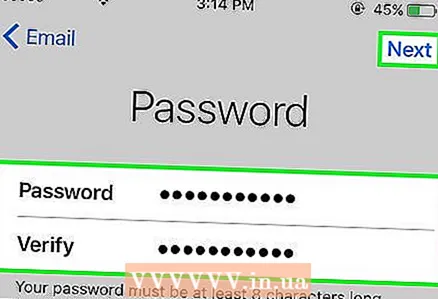 8 Enter your new password and click Next.
- Make sure the password is:
- consists of at least 8 characters;
- contains at least one digit;
- contains at least one uppercase letter;
- contains at least one lowercase letter.
- Make sure the password is:
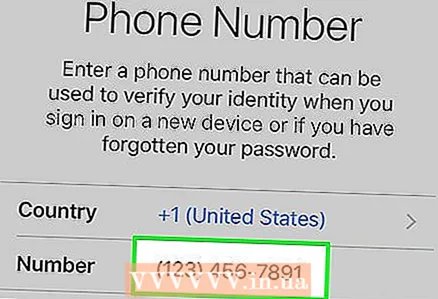 9 Enter your phone number. Select the appropriate country and the method for verifying your number - via SMS or phone call. Then click Next.
 - Check the box next to the required confirmation method.
 10 Confirm your phone number. If you chose to confirm via SMS, the process may be automatic on iPhone.
 - If you selected confirmation via text message, a message with a 6-digit code will be sent to your phone number, which must be entered in the corresponding line.
- If you have chosen to confirm with a phone call, the bot will call you and dictate a 6-digit code twice, which must be entered in the corresponding line.
 11 Agree to the iCloud Terms of Service. Read them and click Accept.
 - Also agree to Apple's terms.
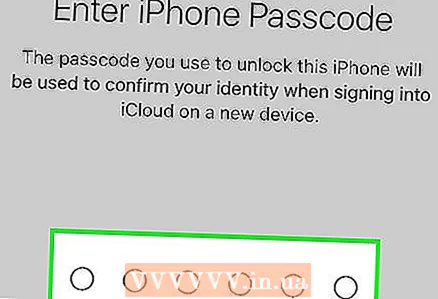 12 Enter your password to unlock your device. You installed it when you first set up your device. This will sign in to your new Apple ID.
 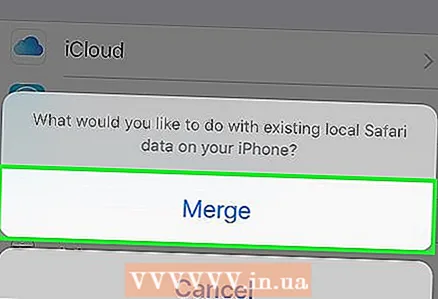 13 Combine the data. To merge calendar entries, reminders, contacts, notes, and other data stored on your device with your new iCloud account, click Merge; otherwise, click Do Not Merge.
Part 2 of 2: How to Set Up an iCloud Account
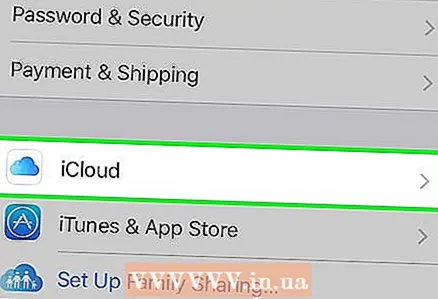 1 Tap iCloud. It's in the second section of the Apple ID page in the Settings app.
 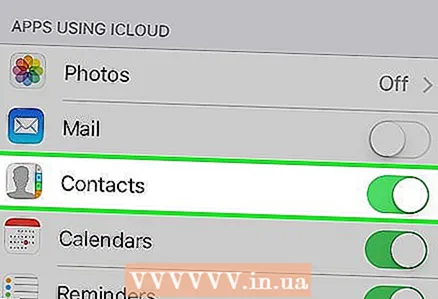 2 Select the type of data you want to save to iCloud. In the Applications Using iCloud section, move the data type sliders to On (green) or Off (white).
 - Scroll down to see the entire list of apps that can access iCloud.
 3 Tap Photos. It's near the top of the Apps Using iCloud section.
 - Turn on iCloud Photo Library to automatically upload and save photos from your Camera Roll to iCloud. If this option is activated, your photos and videos will be available on all your mobile devices and computers.
- Turn on My Photo Stream to automatically upload new photos to iCloud every time you connect to your wireless network.
- Turn on iCloud Photo Sharing to create photo albums for your friends to share.
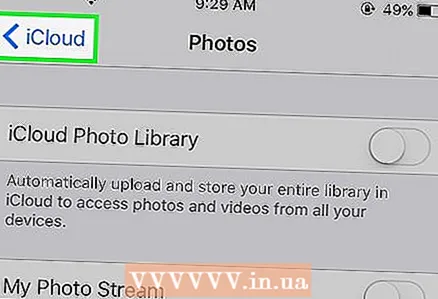 4 Tap iCloud. It's an option in the upper left corner of the screen. You will be returned to the main iCloud settings page.
 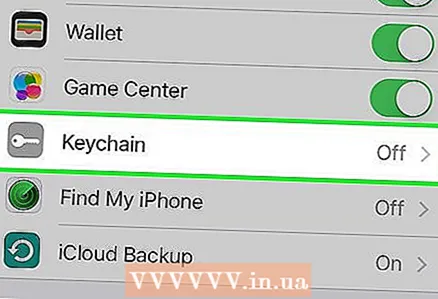 5 Scroll down and tap Keychain Access. It's near the bottom of the Programs Using iCloud section.
 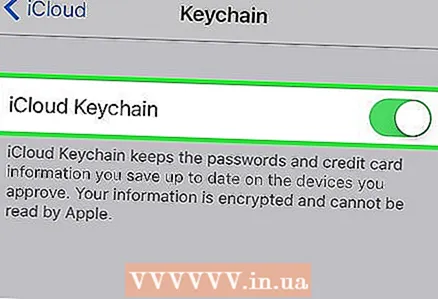 6 Move the slider next to iCloud Keychain to the On position. It will turn green. Your saved passwords and billing information will now be available on any device you sign in with your Apple ID.
 - Apple will not have access to this encrypted information.
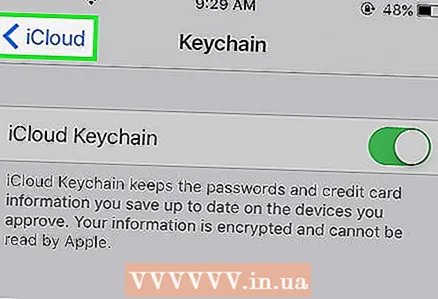 7 Tap iCloud. It's in the upper-left corner of the screen; you will be taken back to the main iCloud settings page.
 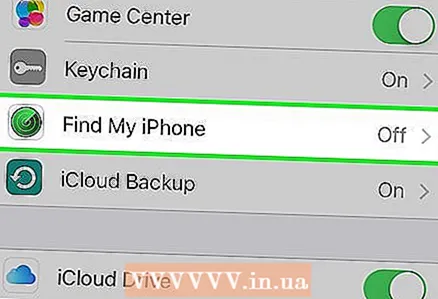 8 Scroll down and click Find iPhone. It's near the bottom of the Programs Using iCloud section.
 - Move the slider next to Find My iPhone to the On position. Now, to find your device, sign in to iCloud on your computer or mobile device and then click Find iPhone.
- Turn on Last Location to allow the device to send its location to Apple when the battery is critically low.
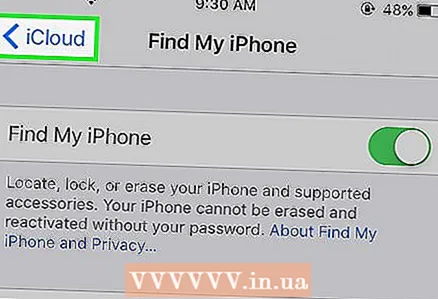 9 Tap iCloud. It's in the upper-left corner of the screen; you will be taken back to the main iCloud settings page.
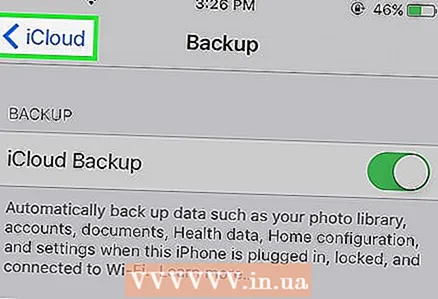
 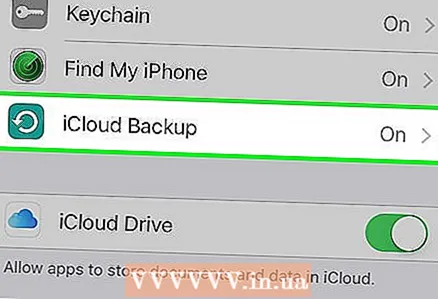 10 Scroll down and tap iCloud Copy. It's near the bottom of the Programs Using iCloud section.
 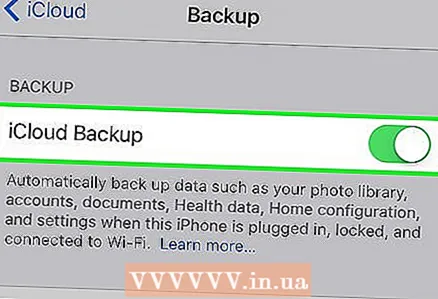 11 Move the slider next to iCloud Copy to the On position. Do this to automatically save all files, settings, app data, pictures, and music to iCloud when your device is plugged in, locked, and connected to a wireless network.
 - A copy of iCloud will allow you to recover your data from iCloud if you change or erase all data on your device.
 12 Tap iCloud. It's in the upper-left corner of the screen; you will be taken back to the main iCloud settings page.
 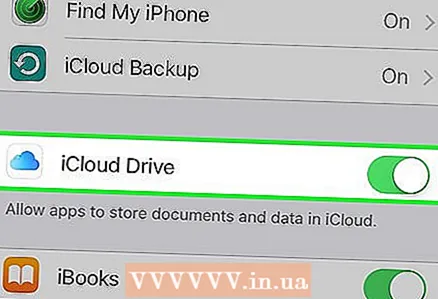 13 Move the slider next to iCloud Drive to the On position. It's just below the Programs Using iCloud section.
 - Apps will now access and store data in your iCloud Drive.
- Apps that are in the "iCloud Drive" section with their sliders set to "On" (green) can store documents and data in iCloud. Move the sliders next to the apps you want to share your iCloud Drive with.
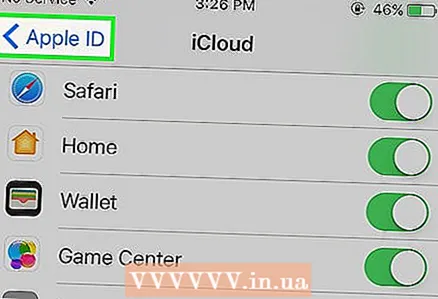 14 Tap Apple ID. It's in the upper-left corner of the screen; you will be returned to the Apple ID settings page.
 - So you've created and set up a new iCloud account with your Apple ID.


