Author:
Ellen Moore
Date Of Creation:
13 January 2021
Update Date:
1 July 2024

Content
- Steps
- Method 1 of 6: Method One: Create a Gmail Email Account
- Method 2 of 6: Method Two: Create a Yahoo Email Account
- Method 3 of 6: Method Three: Create an Outlook Email Account
- Method 4 of 6: Method Four: Create an iCloud Email Account on Mac
- Method 5 of 6: Method Five: Create a Mail.com Email Account
- Method 6 of 6: Method Six: Create Your Internet Service Provider (ISP) Email Account
- Tips
Email is one of the most popular and used communication methods around the world. There are many different email services and providers that you can use to create an email account, including web-based services like Gmail and Yahoo, and email services provided by your ISP.
Steps
Method 1 of 6: Method One: Create a Gmail Email Account
 1 Go to the official Gmail website at http://gmail.com.
 2 Click “Create.”
 3 Fill in the required fields on your Google account page. You will need to provide a first and last name, create an email address and password, as well as date of birth, gender and mobile phone number.
  4 Click Next”.
 5 Click “Add Photo” to upload the photo to your Google account. The photo will be available to other people and your Google contacts with whom you will communicate.
 - If you don't want to upload photos yet, just click “Next”.
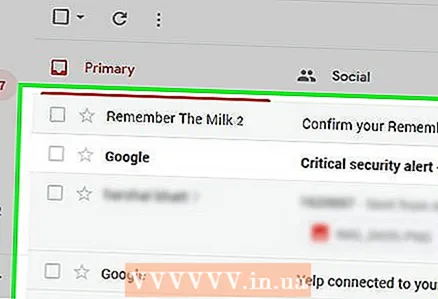 6 Check your new email address almost and click “Go to Gmail.” The mail interface will open and you can send and receive emails.
Method 2 of 6: Method Two: Create a Yahoo Email Account
 1 Go to the official Yahoo Mail website at http://us.mail.yahoo.com/.
 2 Click “Sign Up” (Register).
 3 Complete all fields on the Yahoo registration page. You will need to enter your first and last name, create an email address and password, enter your date of birth, gender and mobile phone number.
  4 Click “Create Account” (Create an account).
 5 Wait for Yahoo to load your new mail account. You will receive a mailing address with the indicated mailing address and domain “@ yahoo.com,” and you can use it immediately.
Method 3 of 6: Method Three: Create an Outlook Email Account
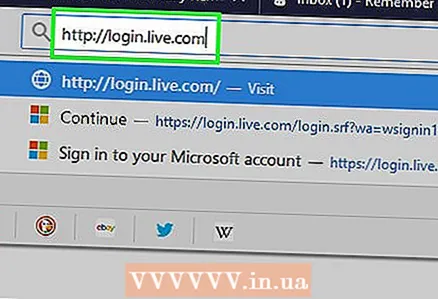 1 Go to the official Microsoft Outlook website.
 2 Click on “Register” at the bottom right of the page.
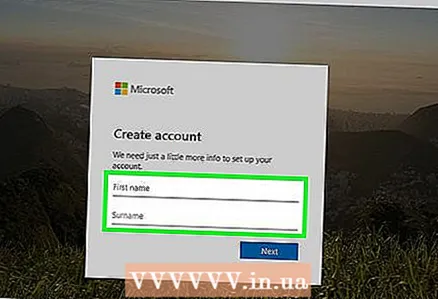 3 Enter your first name, last name and other required information.
 4 Click Get a New Email Address under the username field.
 5 Enter your desired email address in the Username field.
 6 Click on the drop-down menu next to the username and select the type of mailing address. you can choose “@ outlook.com,” “@ hotmail.com,” and another one.
  7 Complete the rest of the fields on the Outlook registration page. You will need to provide a password, zip code, enter your date of birth, gender and phone number.
  8 Click “Create Account”.
 9 Wait for the Microsoft account information to be displayed on the screen. Your new email address will appear under “Account aliases” and ready to use.
Method 4 of 6: Method Four: Create an iCloud Email Account on Mac
 1 On your Mac, choose System Preferences from the Apple menu.
 2 Click the iCloud icon and enter your Apple ID and password.
- If you do not have an Apple ID and password, select the "Create Apple ID" option and follow the instructions to create an account.
- If there is no iCloud item in the System Preferences menu, you may have an old version of Mac OS X that is not compatible with iCloud.
 3 Check if the checkbox is checked next to “Mail” in the iCloud menu and click “Continue”.
 4 Enter the desired iCloud email address in the corresponding field and click “OK.” Your new email address will match the username entered with the domain “@ iCloud.com.”
  5 Go to the iCloud Mail website at https://www.icloud.com/# mail and sign in with your Apple ID. You can use your new mail account.
Method 5 of 6: Method Five: Create a Mail.com Email Account
 1 Go to the official Mail.com website at http://www.mail.com/us/.
 2Click the “Sign up”
 3 Enter your personal data in the appropriate fields on the registration page. You will need to indicate your first and last name, date of birth and gender.
  4 Type your desired email address in the required field.
 5 Select the type of mail domain from the drop-down menu next to the mailbox name. You can choose any mail domain based on your personal interests, for example “@ mail.com,” “@ cheerful.com” “@ elvisfan.com” and so on.
 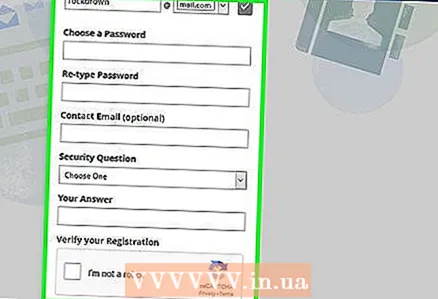 6 Fill in the rest of the registration form. You will need to create a password and an answer to the verification question.
  7 Review the service terms and conditions and click “I Accept. Create My Account” (I agree, create an account). The information about the created account will be loaded and displayed on the screen.
 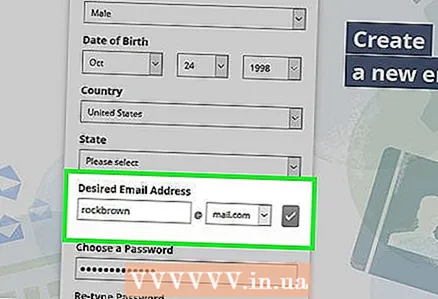 8 Review it and click “Continue to inbox” (Go to Inbox). Your new mailing address is ready to use.
Method 6 of 6: Method Six: Create Your Internet Service Provider (ISP) Email Account
 1 Find out your account number in the customer base of your Internet provider. Typically, this number is listed on your monthly service bill.
  2 Find your internet provider's website. For example, if the provider is CenturyLink, go to http://www.centurylink.com/.
 - If you do not know the website address of your ISP, type in the name of your ISP into Google or another search engine.
 3 On your ISP's website page, find a link under the heading “Email”, “Mail” or "email". Sometimes this service may be called “WebMail” or “Inbox”.
 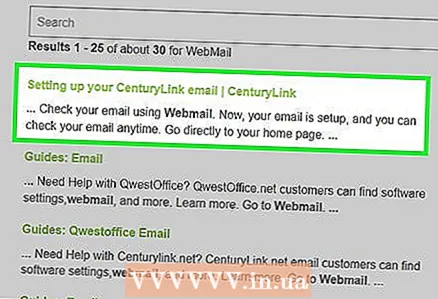 4 Select the option to create or register an email account.
 5 Follow the instructions on the screen to create a mailbox with your ISP. The process differs depending on the requirements of the ISP.
 - Contact your ISP's support team if you need help registering and setting up your email account.
Tips
- Make a password from a combination of letters of different case, numbers and special characters so that it is difficult for outsiders to guess it. A strong password will help you secure your email and personal information.


