Author:
William Ramirez
Date Of Creation:
19 September 2021
Update Date:
21 June 2024

Content
- Steps
- Method 1 of 3: Buying the Products You Need
- Method 2 of 3: Preparing your hair
- Method 3 of 3: Straighten your hair
- Tips
- Warnings
Straightening can make your hair look smooth and shiny. However, if you do this too often and without proper care, your hair will become dry and damaged - the exact opposite of what you want to achieve. Straightening your hair every day and not turning it into a shaggy nest is possible: for this, you need to take several very important steps before exposing your hair to heat.
Steps
Method 1 of 3: Buying the Products You Need
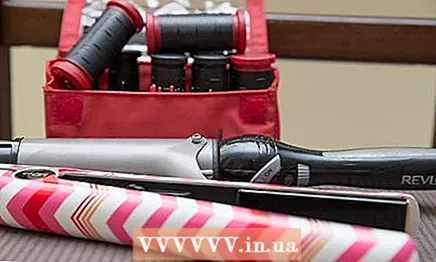 1 Find a quality hair straightener. High-quality irons are ceramic, tourmaline or titanium. There should be a temperature regulator in the settings so that you can choose the right mode depending on the texture and density of the hair. Irons like these can be expensive, but most inexpensive irons only heat to one temperature, which is too high (usually 230 degrees Celsius) and will damage hair over time.
 - Ideally, you should choose an iron where the temperature is indicated in degrees, and not just written "On", "Off", "Low" and "High". This way you will know exactly what temperature the hair is exposed to.
- Find an iron that is 3 cm wide or less. A wider iron will make it difficult to straighten your hair near the roots.
- Ceramic plates allow heat to be evenly distributed throughout the hair during straightening, so ceramic is optimal for most hair types and textures. Stay away from “ceramic coated” irons, however, as they dry out your hair.
- If you have curly hair, you may need gold or titanium plates.
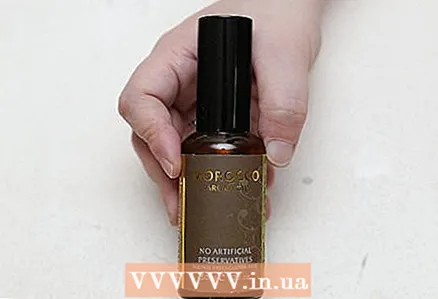 2 Buy a heat protectant. You can find heat protection sprays specifically for straightening your hair with an iron. In addition, there are many creams and serums, as well as thermal protection mousses.
 - You can try Living Proof's Straight Spray or any other hair protection, Moroccan argan oil (for thick or unruly hair), or products that contain silicone.
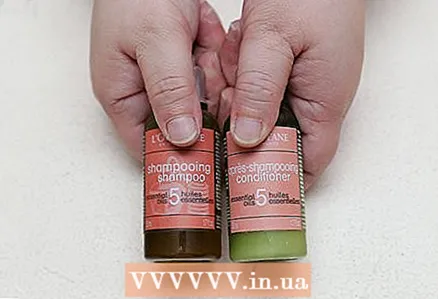 3 Buy a smoothing shampoo or conditioner. While this won't leave your hair completely smooth, it will additionally moisturize and prepare it for the straightening process.
 - Alternatively, you can try a firming shampoo if using a flat iron every day makes your hair look weak.
 4 Buy a new hairbrush. Conventional brushes made of nylon or plastic electrify the hair. A boar bristle and nylon brush will give your hair its shape and shine, and the hair will be less knocked out of the style.
 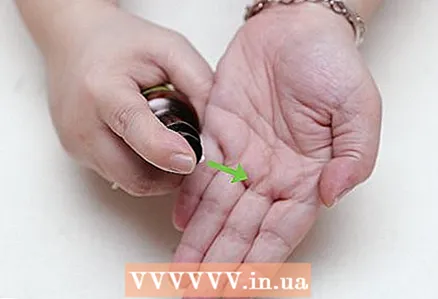 5 Consider buying a hair moisturizer. Such products keep hair healthy, additionally moisturizing it. However, you shouldn't use a moisturizer more than once a week, as it tends to make your hair look greasy or heavier.
 - You can try Luster's Pink Original Oil Moisturizer, Aveda's Dry Remedy, or any other product you like. serving in your city.
Method 2 of 3: Preparing your hair
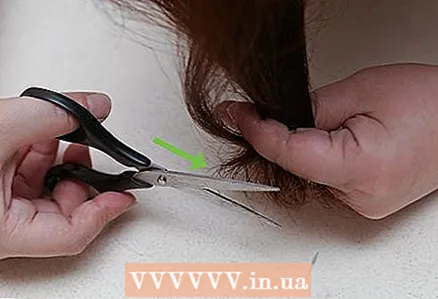 1 Always cut your hair. Damaged hair deteriorates even more with daily straightening, as a result of which you will no longer be able to achieve smoothness. If you have split ends or other damage, see your hairdresser for a cut.
 - If you don't want to cut your hair, you may be able to heal it with an oil-based repairing agent and moisturizer. However, this is not a quick process. It may take two to three months for you to see improvement.
 2 Wash your hair. Use a smoothing (or firming) shampoo and conditioner and rinse thoroughly.
  3 Apply heat protectant. Depending on the product you choose, you can apply it to damp hair as well. Some products need to be used immediately on wet hair, others on dry hair, just before using the iron. Therefore, follow the instructions on the packaging for the best results.
 - Use as much product as needed for your hair type and length, but not more. If you overdo it, your hair will become heavy and look greasy rather than sleek and shiny.
 4 Blot your hair with a towel and let it dry naturally. This will reduce the time your hair is exposed to heat, preventing dryness. If your hair is manageable and ready to style after it has completely air-dried, this is the best option for reducing damage.
 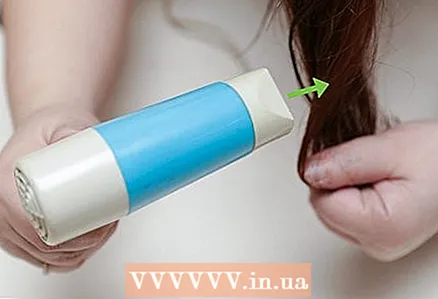 5 Dry your hair with a hair dryer. Blow drying adds heat to your hair, causing more damage. However, many people need to use a hair dryer in order to achieve the desired ironing later.
 - To create volume, dry your hair by lifting the roots.
- If you have thick hair, use a brush while blow-drying to smooth your hair as much as possible.
- Do not try to straighten your hair if it is not completely dry. If you hear a hissing sound, stop!
Method 3 of 3: Straighten your hair
 1 Set the desired temperature. To avoid damage, set the iron to the lowest temperature that can handle your hair. Its level depends on the individual properties of your hair.
 - The thinner your hair, the lower the temperature should be. For fine or very damaged hair, use the “low” level or set the temperature to 110-150 degrees Celsius. For medium hair, use an intermediate temperature of 150-180 degrees.
- Even if you have very thick or unmanageable hair, you can use temperatures below the maximum temperature. Try 180-200 degrees if your iron supports these settings. Experiment with settings between medium and high temperatures before going to maximum, otherwise you will soon damage your hair severely.
- If your hair has been chemically treated (dyed, permed), it will be even more sensitive to heat. The same goes for severely damaged hair.
 2 Part your hair. Divide your hair into strands 1 to 5 cm. Pin or pull up the rest of your hair, starting with the lower strands, which are closer to the neck.
 - The more hair you have, the more strands you get.
- Try not to straighten your hair by pulling out random strands all over your head. This will make the process endless, and the quality of straightening is unlikely to satisfy you.
 3 Start straightening. Squeeze a strand of hair with an iron and smoothly run from top to bottom. Start about an inch from the roots of your hair to add volume.
 - Apply light pressure to achieve the desired straightening.
 4 Act quickly. Do not let the iron stay on any part of your hair for more than 3-4 seconds, otherwise you will damage or burn your hair.
  5 Repeat the same on other strands. Go from strand to strand, moving from the bottom layers to the middle.
 - Try not to go over the same strand several times, as this will increase the damage in this area. However, if you have curly hair, you may need to iron over the same area several times.
 6 Straighten your hair at the crown. Once you've straightened the top strands, place the iron as close to the roots as possible and run through your hair. This will add the final smoothness.
Tips
- Use the iron only on clean hair. This way your styling will last longer, and the iron will not interact with other hair products, which can cause damage.
- You may want to seek help from a hairdresser to learn how to straighten your hair. Even if you've been doing it yourself for years, a professional can suggest better ways or recommend new hair health products.
- It would be good to periodically give your hair a rest and not straighten it for at least one day.
- Once the iron has cooled down, you should clean it with a special cleaner or running water. So nothing will accumulate on the plates and affect the hair.
Warnings
- If your iron is broken or chipped, it could be dangerous. Buy a new one instead.


