Author:
Alice Brown
Date Of Creation:
24 May 2021
Update Date:
1 July 2024
Content
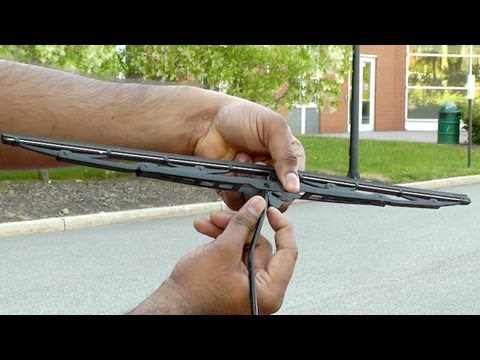
You probably know how to "update" the wiper blades or change them to the winter version, but how to remove the entire system when the wiper arm is bent or not working? Read on to learn about nut, latch and other fastening systems - the problem will be solved sooner than you think!
Steps
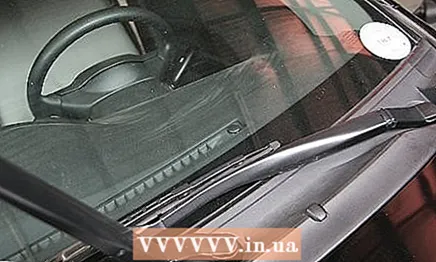 1 Place a small mark (with soap or wax) on the windshield (or bonnet) where the wiper blade is. If the wiper arm is loose on the drive shaft, read on.
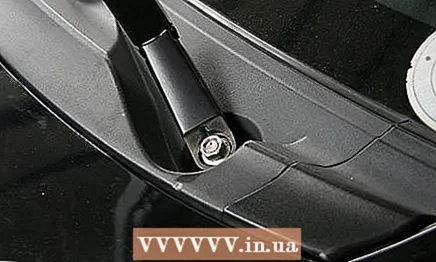
 - 2 For nut system:
- Inspect the wiper from the wiper blade to the attachment point. You may need to open the hood to do this.
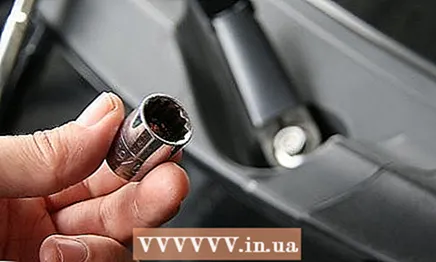
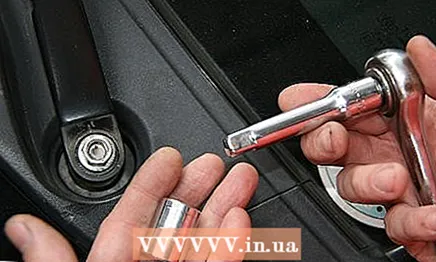
- Slide a hex socket of the correct size over the socket wrench (or extension).
- Take a position from which it will be convenient for you to work with the nut (from under the hood or above the windshield).
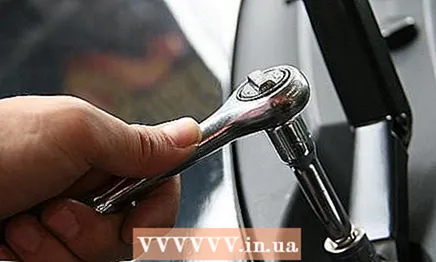
- Set the key to counterclockwise unscrewing mode.
- With one hand, slide the key with the extension over the nut.
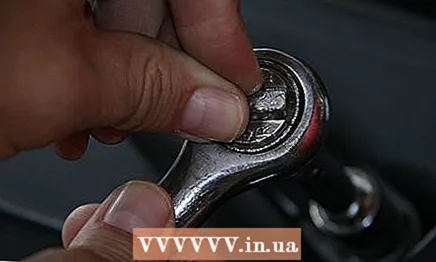
- Gently hold the wiper with your other hand. Thus, when you unscrew the nut, the wiper arm will not move and will not get into a position that is not provided for by the design.
- Unscrew the nut with a wrench one and a half turns counterclockwise.
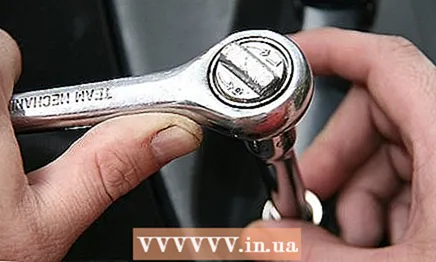
- Once the nut is loosened, release the wiper arm and set the wrench aside.
- Unscrew the nut by hand and set aside.
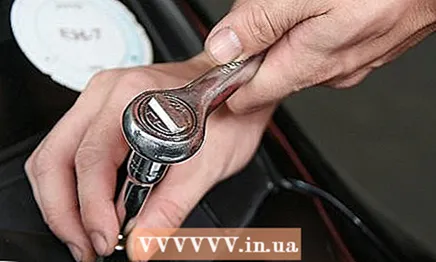
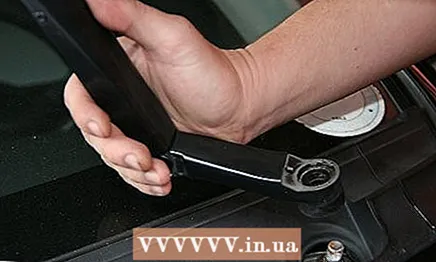
- Grasp the attachment point with one hand and lift the wiper blade with the other.
- Gently "wiggle" the lever with both hands and remove it from the drive shaft.
- Inspect the wiper from the wiper blade to the attachment point. You may need to open the hood to do this.
- 3 For a snap-on system:
- Inspect the wiper from the wiper blade to the attachment point. You may need to open the hood to do this.
- Try to find flanges or protrusions on the sides of the base closer to the bottom, inspect them.
- Insert a medium-sized screwdriver (about 6 mm) with a straight slot between the base and the flange or tab.
- Optionally, you can insert a piece of cardboard or rag between the screwdriver and the base to avoid damaging the finish.
- To increase the distance between the base and the flange or edge, turn the screwdriver or use it as a lever.
- Try to increase the distance as much as possible (6-9.5mm) by hand, screwdriver or pliers.
- Grasp the attachment point with one hand and lift the brush with the other.
- Gently "wiggle" the lever with both hands and remove it from the drive shaft.
- If the wiper cannot be removed, try increasing the distance between the base and the flange or edge.
- 4 For other systems:
- Find the hinge near the attachment point.
- On both sides of the lever, near the pivot pin, you will see holes.
- Move the wiper arm completely away from the windshield.
- Find a small diameter steel (or other sturdy) trim stud or pin and insert into one of the holes so that the end appears on the other side. It may be necessary to move the wiper a little in the direction of the windshield and back in order for the nail to fully enter.
- Release the wiper arm - it should stay away from the windshield - the wiper will stick to the stud.
- Wiggle the wiper arm with both hands - hold the lever with one hand and pull with the other at the attachment point until the lever is removed from the drive axle
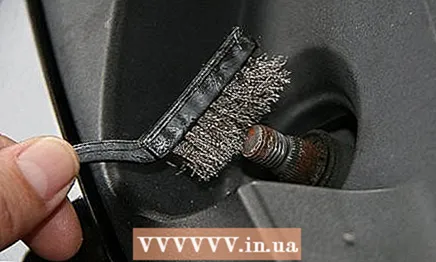 5 If you need to clean the surface of the drive shaft, use a wire brush. Some actuators have a thread on the axle surface that "bites" into the soft material of the wiper arm to keep it in the right direction. Clogged grooves prevent screwing in, which can quickly lead to inoperability. Remove all rust and dirt from the threads with a wire brush. Place a few drops of oil (or other grease) on the drive shaft before reinstalling the wiper arm.
 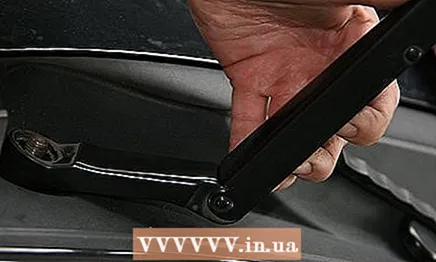 6 Now, in reverse order, install new wipers. Align the brush with the marks left on the windshield in the first step. If before that the lever "walked" on the axis of the drive, try turning on the wipers at minimum speed to turn the drive or lower the second wiper to the lower position. Install the new part so that it is at the lowest point of the windshield. Tap lightly on the top of the arm where it attaches to the actuator shaft until it snaps into place. To latch the wipers, slide the base of the arm fully onto the drive shaft and squeeze or tap on the flange or edge.
Tips
- In some cases, you will need an assistant to hold the wiper while you unscrew it. The size of some vehicles makes it difficult to accomplish both tasks alone.
- To avoid damaging the brushes, adapter, arms and drive, move the brushes away from the windshield during the winter months - especially if snow is expected. This way it will be easier for you to remove snow and ice from the windshield without damaging the brush. You will also prevent unnecessary stress on moving parts when starting the car after a snowfall (if you left the snow thrower on when you parked and the wipers were frozen to the glass).
- Wiping the wiper blades with alcohol-based wipes or simply lubricating them with alcohol will keep them working for a season or two.
- Be sure to turn off your wipers before you turn off your vehicle. Breakage of the wiper arm in most cases occurs in winter, when you turn off the engine while the wipers are running. When you turn on the ignition, the drive tries to move the wipers, but only rips the levers off the axle, because the brushes are frozen to the glass.
Warnings
- Do not drop the car with the wiper arms raised to the top, because if the wiper arm suddenly returns to its normal position, the impact could leave cracks in the windshield.


