Author:
Marcus Baldwin
Date Of Creation:
14 June 2021
Update Date:
1 July 2024
Content
- Steps
- Part 1 of 3: Preparing to Create a Cartoon
- Part 2 of 3: Planning the plot
- Part 3 of 3: Shooting the Cartoon
- Tips
- What do you need
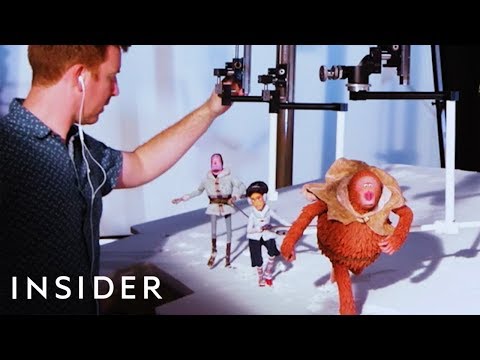
Making a plasticine cartoon is a great way to try your hand at animation. This will take a lot of time and effort, so be patient. You will also need a computer program to process the video, suitable plasticine or polymer clay for the character figures, and materials to create the background. In addition, you will need to think over the plot of the cartoon to the smallest detail. Creating a storyboard will help you in planning your plot. Once the planning phase is complete, you can set up your camera and start taking photos. And when you shoot all the necessary material, you just have to edit it in the program to get the finished cartoon!
Steps
Part 1 of 3: Preparing to Create a Cartoon
 1 Install a video processing program on your computer to be able to edit the footage for the cartoon. You can use any camera to create animations from plasticine, but you need a suitable video processing software so that you can merge the disparate frames together. Some of these programs may already be preinstalled on your computer. For example, Mac users will have iMovie, while other desktops may have Quicktime. You can also download and install an application such as Picasa on your computer. You will probably need to experiment a little before you figure out which works best for you.
 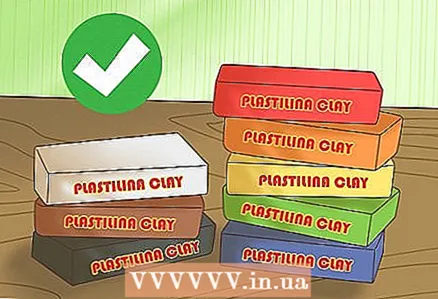 2 Use wax clay if you want to be able to mix the colors of the clay. Use inexpensive classic plasticine for work, since until now it is produced in almost the same form in which it was used to create the first plasticine cartoons. It is made on the basis of wax and melts easily in a water bath. You can find it at most stationery, craft and toy stores.
 - To create a water bath for melting plasticine, fill one pot halfway with water. Place it on the stove. Then place another slightly smaller pot on top of the first pan so that it can fit snugly inside. Put the plasticine you want to mix in the top pot and turn on the hotplate. The boiling water in the lower pot will allow you to melt the clay and mix it easily.
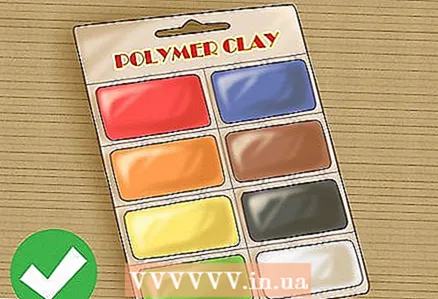 3 Use polymer clay if you want the character figures to hold their shape better. The composition of polymer plasticine contains plastic, which makes it more durable than wax plasticine. If you are working on a long project, polymer clay, for example, the Sculpey brand, will be the best choice for you, as the figures from it will hold the shape you need longer.
 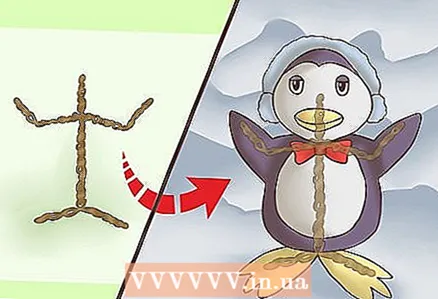 4 Create character figurines. When you finally decide on the choice of plasticine, you can start sculpting the figures of the characters. Make sure that you have made absolutely all the figures that you need. This applies to all characters, as well as any accessories or furnishings that, in your opinion, should be plasticine.
 - You may find it more convenient to pre-create a wire frame for each of the characters. To do this, form the base of the body from the wire with arms and legs. If you are not creating figures, but someone else, use the wire in order to form the basic shape of the corresponding figure.
- When the wire frame is ready, stick it with plasticine. You will need to create hands, feet, feet and palms with fingers from plasticine, as well as any other parts that should be made from this material.
- If you are new to plasticine animation, try to use figurines with simple shapes. They will be easier to create and manipulate. Also remember that some of the most famous plasticine cartoons were also created from simple figurines - just think of "Plasticine Crow"!
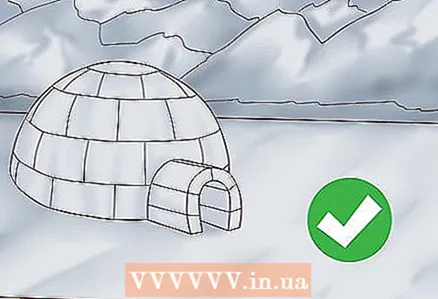 5 Prepare or construct additional items from other materials. If you are not going to create absolutely everything from plasticine, you will need to assemble or independently design everything else from other materials. For this, Lego or other similar construction sets may be a good fit. You will probably also want to create a background for your cartoon (depending on the plot). Pictures on thick cardboard can be an excellent background.
 - For example, if your cartoon is about a dog and its owner walking in a park, you need a set of trees, perhaps a pond, and probably a few more buildings in the background.Trees can be assembled from the constructor, and the pond and background can be made of cardboard.
- If you plan to shoot near a wall, you can tape the background to the wall.
- Before you start shooting, make sure that all the additional decorations from the construction set are assembled. This will reduce the overall time that will need to be spent on filming.
Part 2 of 3: Planning the plot
 1 Make sure the cartoon's story isn't too long. Since plasticine animation requires photographing any slightest movement, this process takes a lot of time. Keep this in mind when planning your plot. Even for a 30-minute cartoon, you need more than 20 thousand frames. Therefore, you can start with some very short story, and move on to longer plots when you have more experience.
 - To calculate the approximate number of frames that you will need to shoot, know that for every second of the cartoon you will need to prepare about 12 photographs. Multiply this figure by 60 seconds, and then by the estimated duration of the cartoon in minutes, and you will get the total number of frames that will need to be prepared.
 2 Stick to a simple plot. The more confusing the plot is, the more characters and their movements you will need to recreate. Instead, opt for a simple plot with a few characters and one or two kinds of movement.
 - For example, a story might be about a boy talking to his dog for a walk. For it you only need the figures of a boy and a dog, as well as a background.
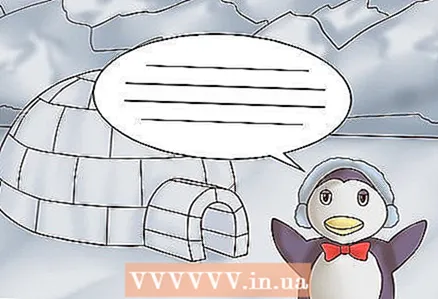 3 Consider adding dialogue to your cartoon during the editing phase. If you are just trying your hand at plasticine animation, recreating the movements of a character's mouth in a conversation will take you a lot of time and energy. For simplicity, you can simply add dialog bubbles to the cartoon during the editing step.
 - For example, if you are creating a cartoon about a boy walking a dog, perhaps in the story at some point this dog starts chasing a bird. During the editing phase of the footage, draw or insert (depending on the software you are using) a dialogue bubble next to the boy. Inside, you can write the following text: "Ball, stop chasing birds!"
- If you decide to create dialogue bubbles, remember that they must be placed in several frames in a row. Otherwise, they will appear in the cartoon too fleetingly for the viewer to read them.
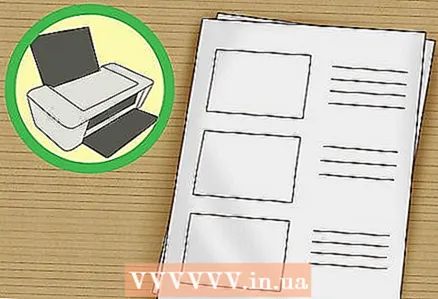 4 Create or print a storyboard. To create plasticine animation, you will need to photograph every slightest movement of the figures. For this reason, it is required to plan in advance the entire plot of the cartoon by scenes. You can find and download free storyboard templates on the internet. Storyboards can also be ordered through major handicraft stores.
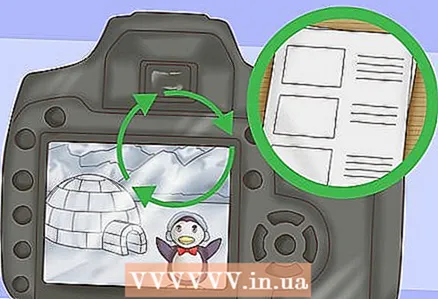
 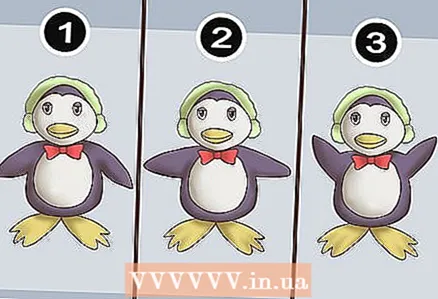 5 Think over the order of shooting all the movements of the figures. Any movement of the figurine is useful to reflect frame by frame on separate cards of the storyboard. Each such card should include a description of the scene, frame numbering, and any notes you need, including the number of the actual photograph. Perhaps, as you work on the cartoon, it will turn out that you need to add or remove some of the cards. This is completely normal, just remember to correct the frame numbering while doing this!
 - The difference between adjacent frames will be extremely insignificant. For example, you cannot make the main character stand in one place on the first frame, and on the second - has already moved a whole step. Instead, you need to envisage a whole series of sequential shots where one of his legs begins to bend at the knee, then bends even more, then comes off the floor, and so on.
Part 3 of 3: Shooting the Cartoon
 1 Place the camera on a tripod. Due to the fact that each frame of the cartoon reflects the slightest movement of the figures, it is very important to make sure that the camera remains in a fixed position at all times. To do this, you need to install it on a tripod. You may also want to shoot some test shots to make sure the tripod is at the correct height and angle to the scene you are filming.
 - Any digital camera can be used to shoot a plasticine cartoon. A larger DSLR will give you more editing options, but you can shoot with a basic digital camera.
- You can also use your smartphone's camera, just remember to save your photos to an external storage medium or cloud service. Otherwise, you simply won't have enough space on your phone.
- From time to time you will need to change the position of the camera depending on what you want to focus on in each scene. Be sure to tell the storyboard when and where you want to move the camera.
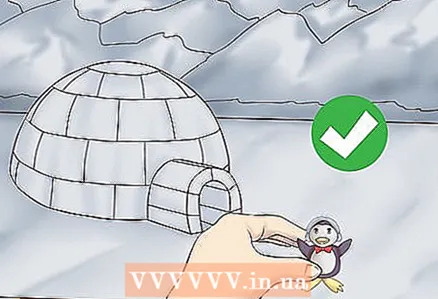 2 Prepare the first cartoon scene. Prepare everything that you are going to use for the first scene, and then arrange the characters on it according to the first frame of the storyboard. After the actual arrangement of objects and figures in the scene, you may decide to change something slightly. This is fine, just remember to make sure that the changes are present in subsequent frames (if necessary).
 - The first scene should lay the foundation for your story. For example, if you're filming a cartoon about a boy taking his dog for a walk, the first scene might be a side view of the boy's house. There should also be a boy with a leash in his hand and his dog, ready to go for a walk.
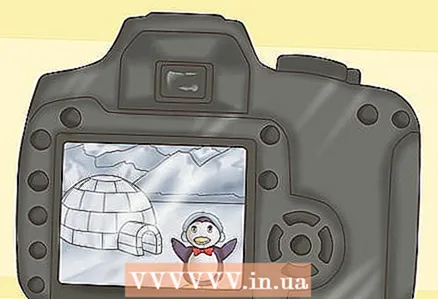 3 Take the first shot. When the first scene is finally set, you can shoot the first frame of the cartoon! Press the camera shutter button. Check the resulting image to make sure it looks exactly as you intended, including lighting, position of figures and other objects in the frame.
 - The entire scene of the cartoon should be well lit, but at the same time it should simulate the situation that you are recreating. Therefore, if you are shooting a street scene, choose the location of the sun in the sky and set the backlight there. This will create realistic shadows in your frame.
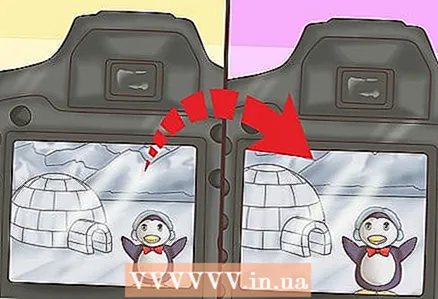 4 Adjust the position of the figures according to their movements. Use a storyboard of specific movements of the figures to prepare the next frame of the cartoon. Again, remember that the changes in the second frame from the first should be minimal. When you are ready for the second shot, take another shot with the camera. Keep checking every photo you take.
 - For example, if your cartoon is about a boy taking the dog out for a walk, the second shot may begin the process of attaching the leash to the dog's collar.
- When setting up the next shot, take into account the events in the background. If there are other animals in the background, do not forget to move them as well.
 5 Repeat the above steps as many times as necessary. Follow your prepared storyboard to capture all the frames you need to create your cartoon. You may not be able to shoot the entire cartoon in one day. In this case, it would be better to arrange the stage with the figures where no one will disturb it.
  6 Load the photos into your video editing software. When all the photos are ready, load them from the camera into the video processing software that you are going to use to create the cartoon. This can be done either by connecting the camera to a computer via a USB cable, or by inserting an SD card with photos into it.After connecting the camera or SD card, the software will ask if you want to import. Click Import or Yes.
  7 Edit the cartoon. After importing photos into the program, you can start editing the cartoon. The easiest way to edit photos is to create a slideshow with the shortest possible frame duration. Some video processing software will have other methods of working with images. You will need to experiment a little with the capabilities of a particular program to find out which image processing methods are best for you.
Tips
- It is better to shoot in the absence of natural light. Otherwise, due to the shifting of the sun, the spots of light and shadow will change during the shooting.
- Do not use air-cured clay. It will be more difficult to work with, and the figures will dry out during the animation.
What do you need
- Plastic wire
- Plasticine or polymer clay
- Camera
- Video processing software
- Computer
- Lego or other constructor
- Thick cardboard for background decorations
- Crayons, crayons, wax, or felt-tip pens


