Author:
Florence Bailey
Date Of Creation:
25 March 2021
Update Date:
1 July 2024

Content
Photoshop lets you mix colors in dozens of ways. Take advantage of a few of them that you feel work best for your goals. Over time, you will master all the techniques and learn to combine them to create unique styles.
Steps
Method 1 of 2: Color Blending Modes
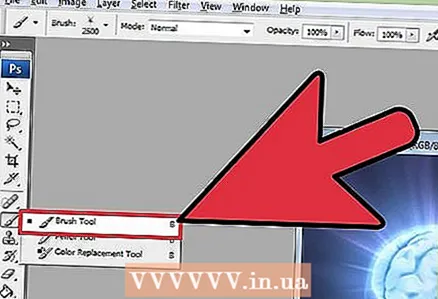 1 Modify the Brush tool (if you like). Select the Brush or Pencil tool from the toolbar on the left. Open the Brush tool preferences by clicking Window → Brush in the top menu or by clicking the sheet of paper icon in the top options bar. Adjust the size and shape of the Brush tool.
 - If you're new to Photoshop, use the default Brush Tool. When you realize that your brush is too big or too small, you can always return to this menu to make changes.
- Set the hardness of the brush - set the maximum value for a brush with a clear path, and a minimum value for a brush with a blurred path.
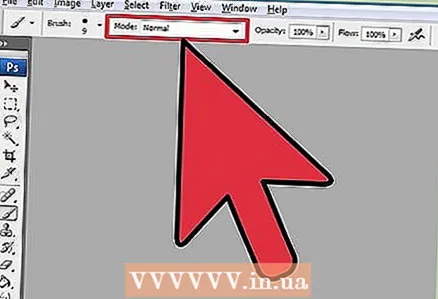 2 Find color blending modes. With a brush or pencil selected, you can change the blending mode using the drop-down menu in the top options bar. Each mode uses a different color mixing method. The most common modes are described below.
 - In some versions of Photoshop, you can change the blending mode in the Brush tool preferences.
- In older versions of Photoshop, some of the described modes may be missing.
 3 Select "Normal" mode to separate colors. Photoshop does not mix colors in normal mode.When using a brush, its color will completely cover the base color. When using the Edit menu, the value being modified overrides the existing color. You probably won't use this mode for mixing colors, but it is useful for understanding how the default color mixing mode works.
 - When working with bitmaps or indexed images, this is called a “threshold”. In this case, the final color will match a specific color from the color table.
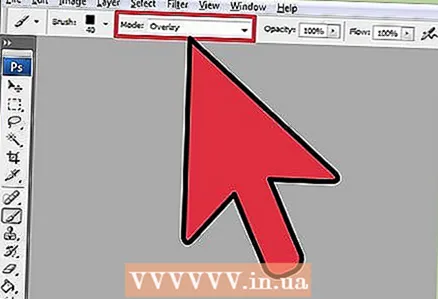 4 Blending colors in "Overlay" mode. This very popular color mixing mode makes highlights lighter and dark areas darker. The end result will be an image with enhanced highlights and shadows and corrected deficiencies due to overexposure and underexposure.
 - If you're interested in the details, this mode uses the formula for the Multiply and Dodge modes, which are described below.
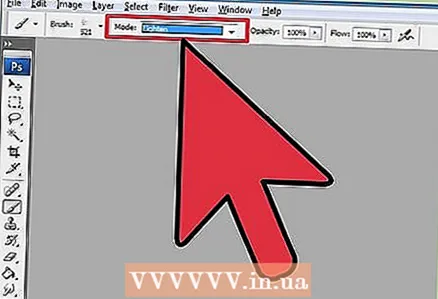
 5 Darkening the image. This can be done in several ways.
 - Darken mode compares the value of each red, green, and blue pixel to the new color you add. As a result, the values of the darkest pixels are selected.
- In Multiply mode, for each brushstroke, the brightness of the new color and base color will be multiplied. You can keep adding strokes to darken the image.
- Darken is similar to Darken, except that two pixels are compared instead of three pixels. Each pixel takes on either a base color or a new color, whichever is darker.
- Linear Dimmer darkens all colors, but generally results in darker areas than other modes.
- Base Dimmer is similar to Linear Dimmer, but has less effect on lighter colors. This can lead to more contrast and saturation.
 6 Lightening the image. Each dimming mode has an opposite dimming mode:
 - Light Swap compares the value of each red, green, and blue pixel to the new color you add. As a result, the values of the lightest pixels are selected.
- Dodge mode makes any color darker than white less visible.
- Lighter mode replaces dark areas with a blended color.
- Linear Dodge compares two colors. If one of them is white, the mixed color will be white; if one of them is black, the color does not change.
- Color Dodge has less effect on darker colors, resulting in more contrast.
 7 Change the color of the foreground and background. The Matte and Cleanup modes are available in layered images. In Matte mode, the color changes layer by layer and appears only in transparent areas. The Erase mode is essentially an eraser, making all pixels in front of the background transparent.
  8 Adjust brightness in Difference mode. This compares the luminance values of the base and blended colors, and the final result is the difference between the higher and lower values. The resulting brightness will be closer to the blended color regardless of whether it is darker or lighter than the base color.
  9 Removing colors in the "Subtraction" and "Division" modes. The Subtract mode darkens these colors, and the Divide mode makes them lighter.
 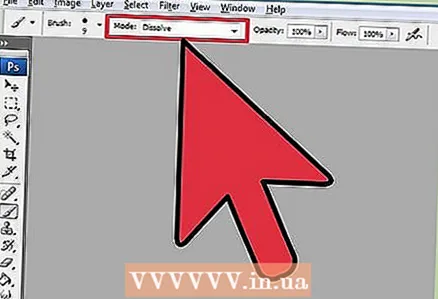 10 Color diffusion in Dissolve mode. This mode is used to create special effects. The blended color will appear diffuse (instead of a smooth transition). Try this mode for an old-fashioned effect.
 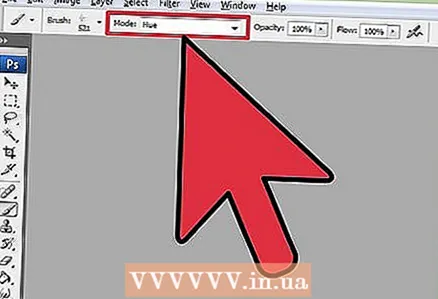 11 Change specific values. The rest of the modes change one base color value to the corresponding blended color value. All other characteristics remain unchanged.
 - Hue (for example, a specific shade of red).
- Saturation (low saturation adds gray tones, and high saturation makes colors more vivid).
- Brightness (brightens or dims the color).
 12 Add color to the black and white image. In Color mode, the base color hue and saturation values are changed to the corresponding blended color values, while the brightness remains unchanged.
Method 2 of 2: Other color mixing methods
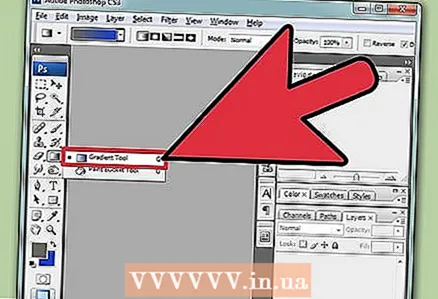 1 Try mixing gradients. Find the Paint Bucket tool in the toolbar. Press and hold it until the tool options open. Select "Gradient" and then click on the gradient bar at the top of the window. Set tints and other values. Use the Lasso tool or Magic Wand tool to select an area of the image, and then apply a gradient by dragging it into the selection. The result will be a smooth transition between the two colors.
  2 Make a copy and erase. Make a copy of the layer or area of the image you are trying to change. Transfer the copy to a new layer above the original. Select the Eraser tool with soft paths and opacity between 5 and 20%. Erase the top layer gradually until you get the desired effect.
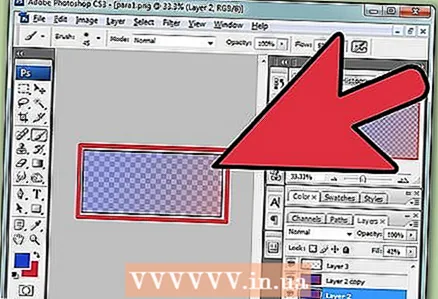
 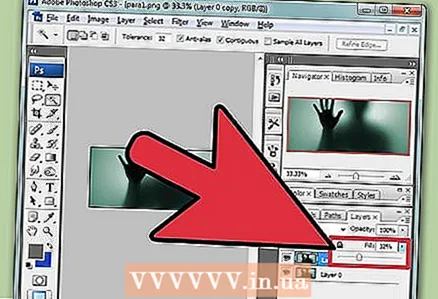 3 Set the opacity of the layer. If your image has two or more layers that you want to overlap, adjust the opacity slider above the name of each layer.
 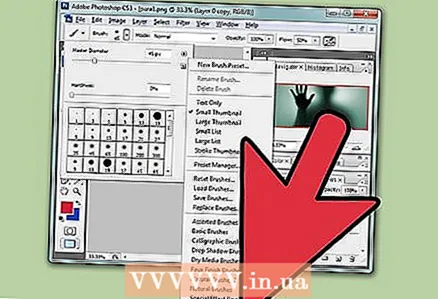 4 Adjust mixing parameters on the tablet. Select the Brush tool and in its settings find the tablet options. Activate the Transfer option and adjust the opacity of the brush based on the level of pressure on the tablet screen. You can use any brush shape and size, but you can find additional brush options online that provide a milky or buttery effect.
 - With the brush selected, select the color you want to add and lightly click on the base color.
 5 Blur tool. Select this tool from the toolbar (finger icon). In its settings (top) select a soft round shape and set the diffusion level to 20%. Blur the colors near the borders of their transition into each other.
 - You may have to experiment with the stiffness value of this tool to achieve the desired effect.
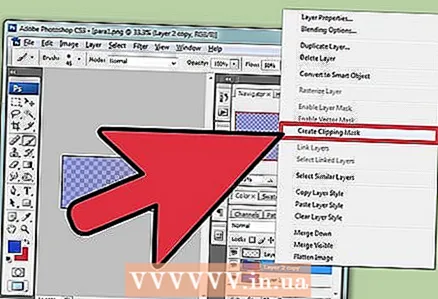 6 Blend the layer masks. Place one color on top of the other on two layers. Click Create Layer Mask in the left pane next to the top layer. Select the mask and apply a black to white gradient to it. The bottom layer will display only black, and the top one will only display white.
  7 Apply a blur filter. Select the area where you want to blend colors. In the top menu, click "Filter" - "Blur" - "Gaussian Blur". Adjust the slider to your liking. To repeat this process, select the additional area with the lasso and then press Ctrl + F.
 - Press Command + F on Mac OS.
 8 Blur vector images into one image. If you are using vector graphics, create two vector shapes with different colors. Change the properties to add a blur radius. The contours of the shapes are blurred, and they blend where they are next to each other. Increase the value of the blur radius for more effect.
 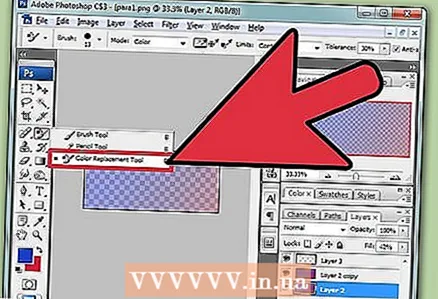 9 Simulate the effect of painting with a brush. Select the Blending Brush tool (brush and paint drop icon; in some versions of Photoshop, hold down the brush icon to access this brush). Open the brush settings menu to see a few new options. Each is designed to mimic a painter's technique, such as mixing two wet paint colors.
Tips
- After blending, for a more even blend, select the blended color (with the eyedropper) and mix the colors again. Repeat the process until you get a smooth transition.
- If the tool doesn't work the way you want, look for the Tool Presets icon (on the left in the tool options bar). Right click on this icon and select "Reset Tool" to return to the default settings.
- Pay attention to the surface quality of the material you are simulating. Different materials have different reflections, shades and other values. Also think about what kind of light sources the subject is under. Warm or cold? Dull or bright?


