Author:
William Ramirez
Date Of Creation:
18 September 2021
Update Date:
1 July 2024

Content
- Steps
- Method 1 of 8: Trifold / Standard Diaper Fold
- Method 2 of 8: Triangle fold
- Method 3 of 8: Bikini fold
- Method 4 of 8: Mount like a kite
- Method 5 of 8: Origami folding
- Method 6 of 8: Square Terry Cloth Swaddle
- Method 7 of 8: Folding Like Angel Wings
- Method 8 of 8: Folding with a navel guard
- Tips
- Warnings
- What do you need
Before you need to change diapers, you must learn how to fold them correctly.In this article, you will learn how to fold a cloth diaper before using it, including the different ways to fold cloth diapers.
Steps
Method 1 of 8: Trifold / Standard Diaper Fold
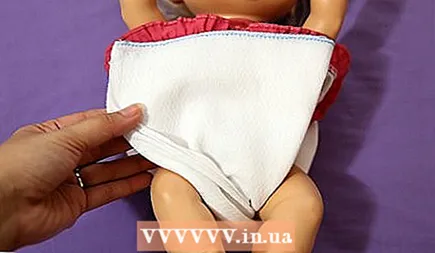
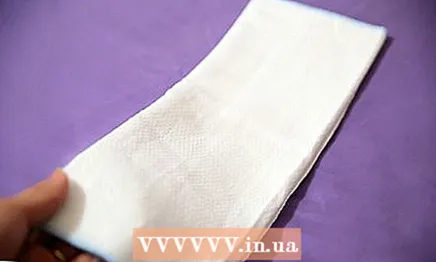
 1 Buy one or two cloth diapers (or at least one bag). Bring them to where you are changing diapers. A good place is one with a flat surface and sides so that the child cannot roll over.
  2 Open the cover bag and take out the diapers.
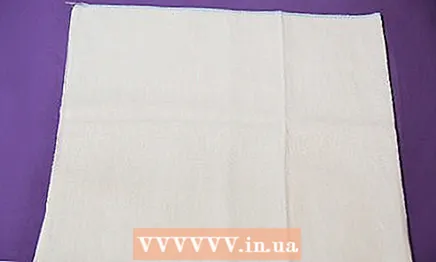 3 Take out one or two diapers and place them flat on the table. Fold out the diaper in a vertical rectangle. If you are using two, they must be one on top of the other. Using two diapers is good for extra absorption.
  4 Lift the bottom left corner of the diaper and fold it about one third diagonally. The upper left corner should not move.
  5 Raise the bottom right corner and repeat what you did from the beginning. The two folds end up overlapping at the bottom in the center of the rectangle.
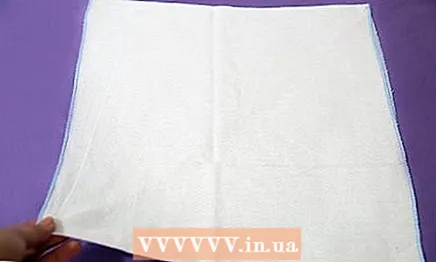
 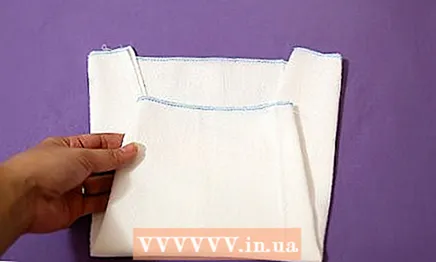 6 Fold the bottom of the rectangle up a third to create a 6-ply diaper (or if you used two diapers, a 12-ply).
Method 2 of 8: Triangle fold
 1 Starting with a square with one corner (bottom) that points towards you, fold the top corner down in half towards you, towards the bottom corner, to form a triangle.
 2 Tighten the crease in the fold.
 3 Place the baby in a diaper. The bottom end should be pointing towards you.
  4 Pull all three ends of the triangle inward (bottom, left, then right) and secure the diaper with a diaper pin in the center where all three corners overlap.
Method 3 of 8: Bikini fold
 1 Spread the diaper on a flat surface to form a vertical rectangle.
 2 Twist the base into a kind of trendy criss-cross weave. When using a fleece lining, it should be placed longitudinally in the center (over the curled area) to keep the baby dry if the front of the diaper is pulled up when the baby walks. If you are adding a second diaper for extra wicking, place directly lengthwise under the baby in the same way as the fleece lining.
 - If the diapers are not thin and tight, this method is not very suitable.
- If the diapers are not thin and tight, this method is not very suitable.
 3 Place the baby on top and fold the bottom edge of the fabric, curling it up.
 4 Fold the new top hem (and back if necessary) at the waist, where it will sit comfortably and snugly under the diaper cover. This will also help secure the twisted piece in place.
  5 Wrap the left and right fenders tightly, pulling up more to make the hip fit even tighter. Secure both sides with diaper pins.
 - If necessary, lay layers on your feet to provide "containment" of disturbances.
- Wrap the rear fenders around the baby, they can be attached using the safety fasteners on the diapers, through the front part that has been folded.

- If pinning, don't try to pin through all layers, just catch one or two. Keep your fingers under the layers of the diaper to make sure you don't prick your baby.

Method 4 of 8: Mount like a kite
 1 Place the rectangular cloth diaper horizontally on the table.
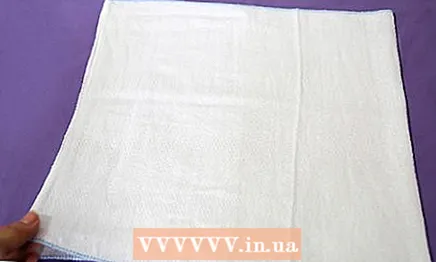 2 Fold one side (right or left) of the diaper inward about a quarter to create a square.
 3 Rotate it by one point or corner of the square towards you. Fold the right corner roughly to the center.
 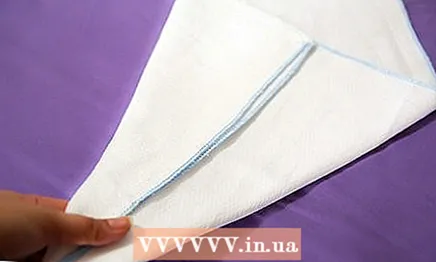 4 Fold the left corner in the same area (center of the diaper). Make sure the sides of the left and right folds overlap slightly in the center. It should look like a kite.
 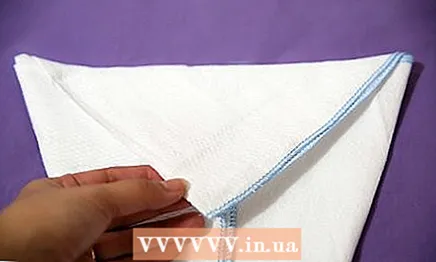 5 Lay the top corner down, over the first two folds.
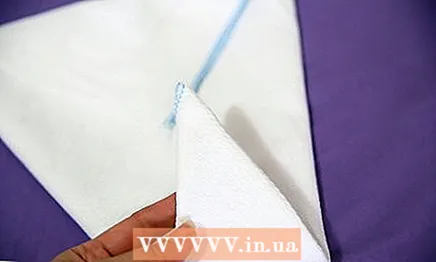 6 Place about a quarter of the bottom tip on top.
 7 Fold this piece again with a little extra space so that the folded section creates a trapezoidal shape.
 8 Memorize the trapezoidal shape and open the folded diaper again. Place the baby on a diaper. Fold the bottom back and behind the child (in a trapezoidal shape) and secure with pins on both sides.
Method 5 of 8: Origami folding
 1 This is the same as the kite way, except that the bottom is secured to the top of the left and right overlay with only one diaper pin in the center.
Method 6 of 8: Square Terry Cloth Swaddle
 1 Make a square diaper as you did in the first two steps, in a kite-like fashion. Rotate it so the folded side is at the bottom.
  2 Fold the bottom-left and bottom-right corners diagonally over a quarter square. These corners should be in the center of the square (so that the base of the triangle points towards you).
  3 Fold the bottom point to the center.
 4 Fold the left and right sides so that they meet in the middle. Try not to move the top two corners too much.
  5 Place the baby on a diaper. Fold from bottom to top and over. Fold the left and right corners towards the center. Secure with two diaper pins.
Method 7 of 8: Folding Like Angel Wings
 1 Looking at the vertical rectangle, fold the diaper one third - fold the left and right sides of the diaper so that they overlap in the center to form a pad.
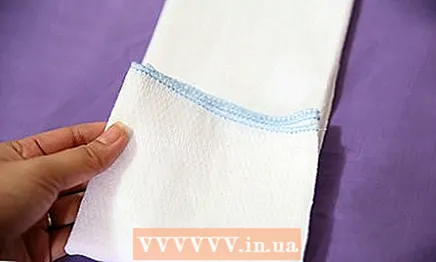 2 Fold so that the bottom quarter is at the top.
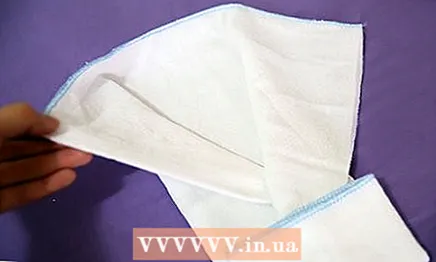 3 Unfold or fan out, open the top (for maximum coverage), forming two wings.
 4 Place the diaper under the baby.
 5 Place the bottom up between the baby's legs. Fold the two wings around from the back and secure with a pin.
 - Again, remember to pin only through a few layers of fabric. You can also use the Snappi fastener on the diaper instead of pins.
- Again, remember to pin only through a few layers of fabric. You can also use the Snappi fastener on the diaper instead of pins.
 6 Use two diapers if your baby gets very wet. Follow all the steps outlined in the Fold Like Angel Wings section so that the two diapers overlap.
Method 8 of 8: Folding with a navel guard
 1 Lay out the diaper on the changing table, flat and horizontally.
 2 Fold the sides over so they overlap in the middle.
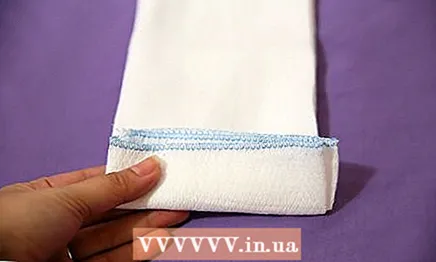 3 Fold the fifth piece from bottom to top.
 4 Spread the top.
 5 Place the baby on a diaper.
 6 Fold from bottom to top between your child's legs. Fold the sides inward and pin on each side.
Tips
- As the child grows, you may need to release the first and second main boards a little, but make sure to fold the third at least once to provide more absorption.
- Cloth diapers usually come pre-folded, 14 "by 20" (35.5 cm by 50.8 cm), but you may need to fold them more to ensure comfort. Most diapers are sold pre-folded, but you can fold them yourself for a better fit on your baby.
- To fold a cloth diaper, it really doesn't matter who folds it. Whether it is a husband or wife (or even a small child in elementary or high school or a student), the linen of the diaper can be folded by anyone with the ability and things to be folded. And even if you are hindered, you can do it too, it is as simple as that.
Warnings
- Never leave your baby unattended when changing diapers on a surface above the ground. Your child can easily roll or fall without even having time to turn around.
- The navel protection method is recommended to be used only during the period when the baby's navel is healing - in the first few weeks of life. If you have used this method, switch to the standard method or any other method when the navel has healed partially or completely.
What do you need
- 1 cloth diaper
- 1 flat surface to keep your baby safe - a padded changing table is best
- A pair of scissors or cutting accessories (optional, only if needed)


