Author:
Bobbie Johnson
Date Of Creation:
8 April 2021
Update Date:
1 July 2024

Content
- Steps
- Method 1 of 6: Using Water Repellent Sprays and Seam Sealers
- Method 2 of 6: Using a laundry detergent and alum
- Method 3 of 6: Using Turpentine and Soybean Oil
- Method 4 of 6: Laminating fabric with vinyl
- Method 5 of 6: Waxing the fabric
- Method 6 of 6: Using flaxseed oil
- Tips
- Warnings
- What do you need
- Using water-repellent sprays and seam sealers
- Laundry detergent and alum use
- Using turpentine and soybean oil
- Lamination of fabric with vinyl film
- Waxing fabric
- The use of linseed oil
Whether you've bought yourself a new tarpaulin or just want to protect your boat's canvas cover from the weather, it will be necessary to make the fabric water repellent to improve the functional properties of the fabric and extend its lifespan. In this article, you will learn how you can protect fabrics from water using water repellent impregnation, wax, and a variety of other methods.
Steps
Method 1 of 6: Using Water Repellent Sprays and Seam Sealers
 1 Get ready to process your fabric on a dry, windless day. You will be working with an aerosol spray that is sensitive to moisture. Also, when working outdoors in windy weather, dust will certainly adhere to the fabric.
  2 Clean the fabric if it gets dirty. If the fabric cannot be washed and is just dusty or slightly dirty, use a vacuum cleaner or brush to clean it. If the fabric is heavily soiled, use a special textile cleaner.
 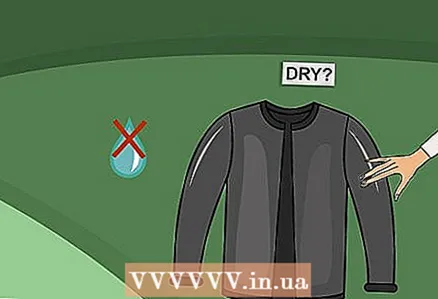 3 Make sure the fabric is dry. Remember that you will be working with a spray and sealant that repels water. If the fabric is wet or wet, then these substances will not adhere to its surface.
  4 Spread the fabric where there is good air circulation. Try to work outdoors whenever possible. If this is not possible, then open the windows in the room. In addition, you can wear protective goggles and gloves, especially if you have sensitive skin or a serious allergy. The substances you have to work with can be quite corrosive.
  5 Prepare a water repellent impregnation and joint sealant. You can find these funds in the tourist equipment departments of various stores. If the fabric you are processing will be outdoors for a long time in the sun, consider using a water repellent with additional UV protection. So the canvas will fade less.
 - Water repellents and sealants are most effective on materials such as nylon, burlap and leather.
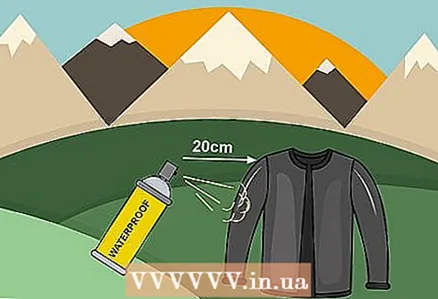 6 Take the impregnation bottle in your hands and from a distance of 15-20 cm spray the protective substance onto the fabric so as to apply it in a thin even layer. Apply the product in stripes and be sure to make a small overlap between them.
 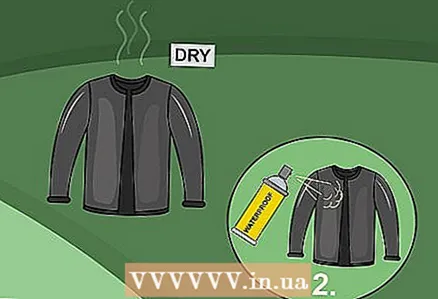 7 Wait for the substance to dry and then apply it in a second coat. Wait until the fabric is completely dry before using it. Most water repellent products will dry completely in 4 hours, but it is best to read the instructions on the bottle of the product you are using as they may vary slightly depending on the brand of product.
  8 Seal all seams. Joint sealant is usually sold in a small tube with an applicator. Just run the applicator along all seams, applying a little pressure on the tube. This step will strengthen the seams in the fabric and prevent water from penetrating through them.
Method 2 of 6: Using a laundry detergent and alum
 1 Take a clean cloth. If the fabric you intend to work with gets dirty, wash it. If the fabric cannot be washed and is just dusty or slightly dirty, use a vacuum cleaner or brush to clean it. If the fabric is heavily soiled and cannot be washed, use a special textile cleaner.
  2 In a large container, mix 450 g of laundry detergent with 7.5 liters of hot water. The container should be large enough so that you can completely submerge the fabric in the soap solution you have prepared.
 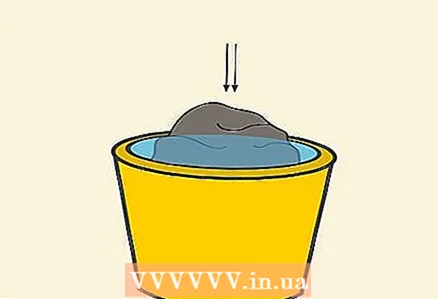 3 Soak a cloth completely in soapy water. If parts of it float to the surface, weigh them down with a glass jar or bottle to allow them to soak in the solution.
  4 Hang the fabric to dry in the sun. Do not fold it while hanging on the dryer, otherwise it will stick together and stick together. Just hang it by the edge with clothespins. If the canvas is too large to fit on the dryer, pull the rope between two posts or trees and hang the fabric from it. The canvas should hang freely in one layer.
  5 Mix 250 g of alum with 7.5 liters of hot water in a clean container. Stir the ingredients to dissolve the powder. You can buy alum at a beauty supply store or pharmacy.
  6 Soak the cloth in the alum solution for at least 2 hours. Make sure the fabric is completely submerged in the solution. If parts of it float to the surface, weigh them down with a glass jar or bottle.
  7 Hang the fabric to dry in the sun until completely dry. Again, make sure the fabric dries in one layer. Use clothespins to secure it to a tumble dryer or string.
Method 3 of 6: Using Turpentine and Soybean Oil
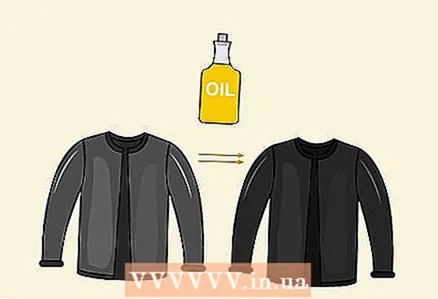 1 Be aware that this method may darken the fabric. This is due to the fact that you will soak the fabric with oil diluted in turpentine. Oil usually makes fabric colors one or two shades darker. It is important to remember this.
  2 Use a clean cloth for work. If the fabric is dirty, wash it. If the fabric cannot be washed and is only slightly dusty or dirty, vacuum or brush it. If the fabric cannot be washed and is heavily soiled, clean it with a special textile cleaner.
  3 Allow the fabric to dry completely after cleaning. Remember that you will be working with substances that repel water. If the fabric is wet or wet, then these substances simply will not adhere to it.
  4 Spread the fabric where there is good air circulation. Try to work outdoors whenever possible. If this is not possible, then open the windows in the room. Turpentine has a rather pungent odor.
 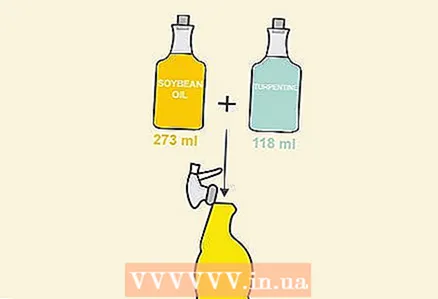 5 Mix 240 ml of soybean oil with 120 ml of turpentine. To do this, pour both substances into a sturdy plastic container and stir with a wooden stick. In the future, you will apply the resulting composition to the fabric using a large brush.
 - If you need to process only a small piece of fabric, then the composition can be poured into a spray bottle and simply sprayed onto the fabric. Just remember to securely screw the spray bottle onto the spray bottle and shake it well to mix the components of the solution.
 6 Place the fabric on a horizontal surface. Turpentine and oil can stain porous surfaces, including wood and concrete. If you are concerned about this, you can pre-protect these surfaces with plastic wrap. Do not use newspapers for this purpose - printing ink from them can transfer to the fabric.
  7 Paint the fabric with the solution using a wide brush. Dip a large brush into the solution and wipe off excess liquid on the rim of the container. Paint the fabric with long, straight, even brush strokes. Work until the entire area of the fabric is covered with the solution. Be sure to follow one direction of the strokes. Try to make sure that the strokes are performed with a slight overlap and there are no unpainted gaps.
 - A wide, flat brush works best for this work. Avoid using soft brushes such as camel hair.
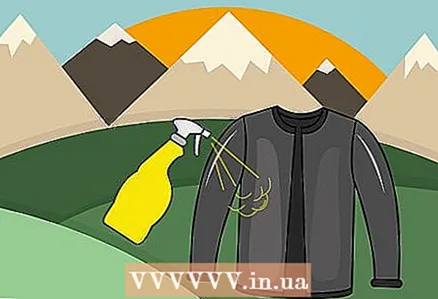
- If you decide to use a spray bottle, just moisten the cloth with it. Try to make sure that each new spray zone overlaps the previous one and does not leave untreated areas on the fabric.
 8 Leave the fabric on a horizontal surface until dry. This process can take from several hours to several days. Again, remember that turpentine and oil can stain, so it is wise to protect the drying surface with polyethylene.
Method 4 of 6: Laminating fabric with vinyl
 1 Purchase vinyl wrap to laminate your fabric from a fabric store. This film does not change the appearance of the fabric and is excellent at protecting items such as baby bibs and food container bags from dirt.
 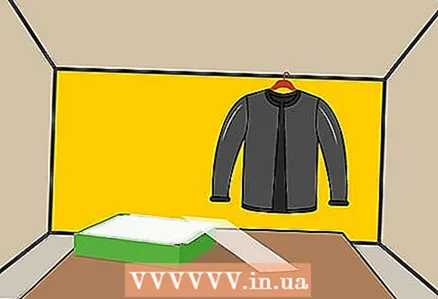 2 Prepare the fabric, but do not cut it out if you are going to sew further on the patterns. Once the fabric has been laminated, it can be used as a tablecloth or cut to make something like a water-repellent bag.
  3 Make sure the fabric is dry and clean. If your fabric gets dirty, wash it and dry it completely.
 - If the fabric cannot be washed, vacuum or brush it. Heavily stained fabric can also be cleaned with a special textile cleaner.
 4 Spread the fabric out on a flat surface. This will make it easier for you to work with it. Any wrinkles or wrinkles will remain on the treated fabric, so iron it as best as possible if necessary.
 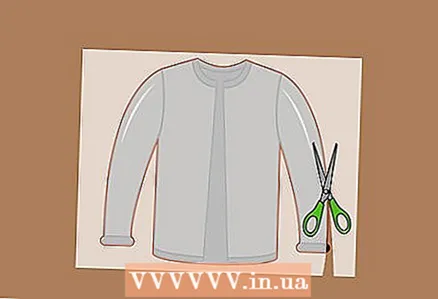 5 Cut the vinyl for lamination to the size of your fabric patch. If the vinyl is too narrow for your fabric, cut a few strips to the desired length. In the future, you will apply them to the fabric with an overlap.
 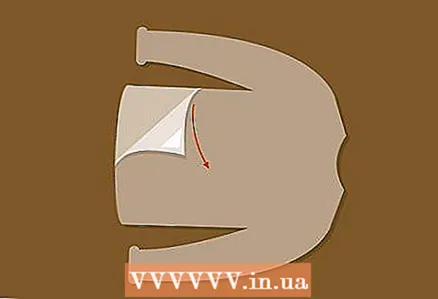 6 Peel off the protective backing from the film. Please note that the protective backing has two sides with different properties: smooth glossy and matte. Also note that vinyl surfaces differ in their properties, one is sticky and the other is glossy.
 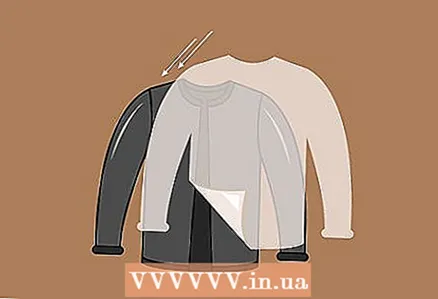 7 Place the sticky side of the vinyl on the right side of the fabric. If the film is not wide enough, lay the vinyl strips parallel to each other with a slight overlap (about 5 mm).
 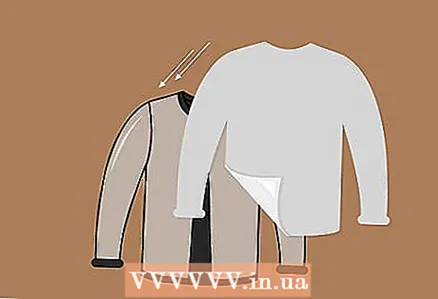 8 Cover the vinyl with a paper backing. Make sure the glossy side of the liner is facing down and that the paper completely covers the vinyl. Next, you will iron the vinyl, and a layer of paper will prevent it from melting and transferring to the iron.
  9 Iron the film over the paper. Turn on the iron and set it to medium heat. Do not set the temperature to maximum or the vinyl will melt. Iron the transparencies gently through the paper.Do not hold the iron in one place for too long and do not use steam.
 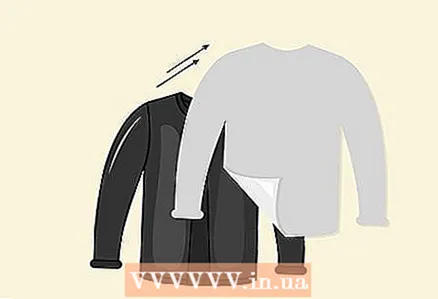 10 Peel off the paper. The heat from the iron will melt the adhesive on the vinyl and thereby melt it into the fabric.
Method 5 of 6: Waxing the fabric
 1 Take a clean cloth. If the fabric is dirty, wash and dry it. This method is best for fabric shoes and bags.
  2 Buy a bar of natural beeswax. To do the job, it is advisable to use pure beeswax without any additives. Additives can contain harmful chemicals.
  3 Heat the fabric and wax a little. To do this, they can be blown with a stream of warm air from a hairdryer or left for a few minutes in direct sunlight. The softer wax will be easier to apply to the fabric. However, the fabric should not be hot and the wax should not be melted.
  4 Wax the fabric along and across the lobular thread. Rub the fabric from side to side first, then up and down. This will allow the wax to penetrate between the weaves of the woven yarns. If you are processing a finished fabric or bag, use the corners of the wax block to finish seams and other hidden areas.
  5 Use your fingers to smooth out the wax layer to make it more even. Gently rub wax into hard-to-reach and hidden areas, such as seams, corners, and pockets. If the item you are processing has buttons, be sure to wipe off the wax from them.
  6 Heat the fabric with a hair dryer for five minutes. This will allow the wax to melt and saturate the fabric. You will notice that the fabric will become slightly darker.
  7 Use your fingers to spread the melted wax as needed. If puddles of liquid wax form on the fabric, use a circular motion to spread them over the surface of the fabric. This will make the coating more even.
  8 Leave the fabric in a dry and warm place for a while to fix the wax. For this, 24 hours will be enough. After this time, the item can be used. After waxing, the fabric will become somewhat coarser and darker than before. This is fine. Over time, the stiffness will pass, but the color will never lighten again.
Method 6 of 6: Using flaxseed oil
 1 Take a clean cloth. If the fabric is dirty, wash and dry it.
  2 Try to work where there is good air circulation. Linseed oil can have a pungent odor, so extra ventilation can help prevent dizziness. When working outdoors, choose a clean place without dust and wait for calm weather, otherwise dust particles may adhere to the surface of the fabric. If you are unable to work outdoors, work indoors with open windows.
  3 Stretch the fabric over a rectangular frame and secure with clamps. For a small flap, you can even use a regular photo frame, after removing the back pad and glass from it. Make sure the fabric allows you to fully pull it over the frame. If the flap is too large for the frame, you will need to work with it in parts.
  4 Buy flaxseed oil. You can also use jojoba oil. In texture, it will be slightly lighter than linseed oil, which will simplify the work.
 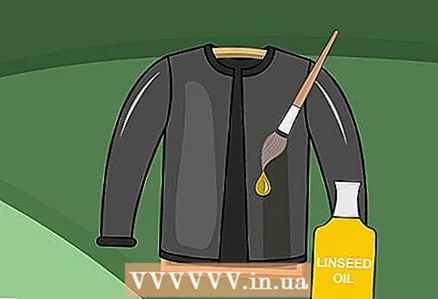 5 Begin to apply a thick layer of oil to the fabric. The canvas should be completely saturated with oil. Don't worry if you think you have applied too much oil, then you will wipe off the excess. You can apply the oil with a wide boar bristle brush or with a rag.
 - Do not use camel hair brushes. Soft fibers are too weak to handle oil.
- If you purchased your oil in a small bottle, pour it into a wide cup for convenience.
 6 Wait 30 minutes before wiping off excess oil from the fabric with a clean cloth. This gives the oil enough time to saturate the fabric. After the specified period, you may notice excess oil remaining on the surface of the fabric.Use a clean rag to wipe them off.
  7 Leave the fabric to dry for 24 hours and then re-oil. Once the fabric is dry, take out the linseed oil again and apply it to the fabric. Wait 30 minutes and then wipe off the excess with a clean cloth. One or two additional coats of oil can be applied.
  8 Consider applying the pattern to the fabric with oil paint in between linseed oil treatments. Use an appropriate oil paint brush to apply oil paint. Oil paint brushes have natural (boar) or synthetic stiff bristles. When applying linseed oil over paint, use only a brush - you can smear the drawing with a rag.
Tips
- To protect your footwear from moisture, it can be rubbed with lard, but this coating must be renewed every time you get into rain or snow. In this case, the fat should be rubbed thoroughly.
- Over time, the wax can wear out. In this case, re-treat the fabric.
- If you've waxed the fabric and you don't like the smell, wait for the wax to dry and then place the fabric in the freezer overnight.
- The waxed fabric can hold its desired shape. You can simply spread the fabric until smooth with your hands.
Warnings
- Dispose of turpentine residues appropriately. Do not empty it down the drain.
- Do not wash waxed cloth in warm water. Use only spot cleaning with cold water.
- Turpentine and water-repellent aerosols can have a pungent odor. If you experience a headache while working with these substances, take a break and get some fresh air. Try to work in an area with good air circulation.
- Do not leave waxed cloth in the sun or near heat sources. The wax will soften and become sticky.
What do you need
Using water-repellent sprays and seam sealers
- Textile
- Water repellent spray or aerosol
- Seam Sealer
Laundry detergent and alum use
- Textile
- 450 g detergent and 7.5 l water
- 250 g of alum and 7.5 liters of water
- Plastic container
Using turpentine and soybean oil
- Textile
- 240 ml soybean oil
- 120 ml turpentine
- Strong plastic container
- Wooden stick for stirring ingredients
- Wide brush
- Polyethylene sheet (optional)
Lamination of fabric with vinyl film
- Textile
- Vinyl for fabric lamination
- Iron
Waxing fabric
- Textile
- Natural Beeswax Bar
- Hair dryer
The use of linseed oil
- Textile
- Frame
- Clamps
- Flaxseed oil or jojoba oil
- Wide brush or rag
- A clean rag to remove excess oil
- Oil paint and oil painting brushes (optional)


