Author:
Sara Rhodes
Date Of Creation:
10 February 2021
Update Date:
1 July 2024

Content
- Steps
- Method 1 of 5: Selecting Content for Your Shadowbox
- Method 2 of 5: Making the back wall of the shadowbox
- Method 3 of 5: Adding a backing paper
- Method 4 of 5: Create a Shadowbox Exposure
- Method 5 of 5: Installing the back wall in the shadowbox
- Tips
- Warnings
- What do you need
A shadowbox is a work of art, akin to a "deep frame", that is used to present 3D images or objects. This piece of handicraft probably appeared many centuries ago, when people had enough time to collect souvenirs, and sailors and military personnel displayed their insignia, medals and other things reminiscent of the service. The beauty of using a shadowbox to present items is that it looks neat and "finished" when hung on a wall or on a shelf. Using a shadowbox will allow you to create an entire theme for your crafts, similar to scrapbooking. Note: This guide is for making a box with a prefabricated frame. To learn how to make a shadowbox from scratch (wood), see How to Make a Shadowbox Frame.
Steps
Method 1 of 5: Selecting Content for Your Shadowbox
 1 First, decide what you would like to place in the shadowbox. The content will determine the size and shape of the shadowbox you want to make. An example of typical shadowbox content people use includes:
 - Marine souvenirs: Shells, corals, pebbles, etc.
- Dolls: Some people make entire dollhouses / showcases / miniature scenes in the shadowbox.
- Objects of nature: Acorns, leaves, herbs, flowers, seeds, pods, etc.
- Collectibles: Stamps, spoons, coins, stickers, etc.
- Scrapbooking: Shadowbox is a great showcase cover for any kind of scrapbooking element.
- Insects: This could be your collection of butterflies or beetles. However, take good care of the animal kingdom. Just as interesting can be a paper cut collection or a photo collection.
- Military items: Medals, insignia, buckles, awards, badges, etc.
 2 Think over the design in advance. This way you will know where to stick what. Either lay out the actual objects on a piece of paper about the same size as the inside of the frame, or draw an image on a blank piece of paper for later guidance in distribution.
 - 3 Choose a frame that has deep sides. If it is not deep, then it will not be suitable for the purposes of this guide.
Method 2 of 5: Making the back wall of the shadowbox
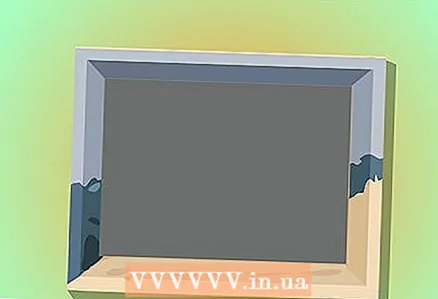
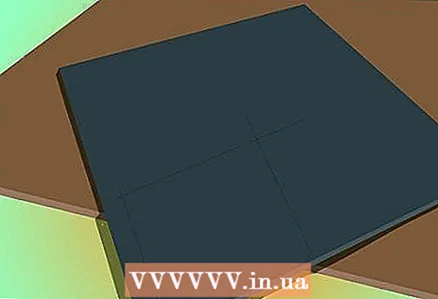 1 Remove the lining or wrapping from the photo frame. This, as a rule, is cardboard or pressboard, which is located between the image and the substrate. Remove the backing to use soon (open all fasteners or holders).
 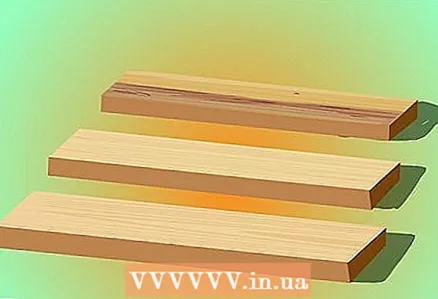 2 Make the back wall of the shadowbox. The underlay will be at the back of the frame, resting on four inserted pieces of softwood.
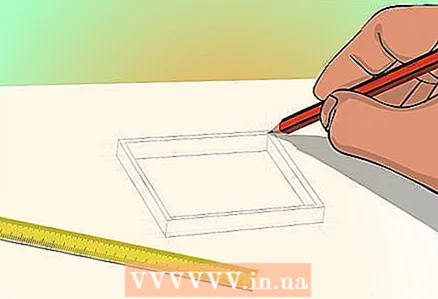
 - Measure the edges of the frame.
- Using your measurements, measure out four pieces of softwood that you want to fit inside the frame (on the inside), about 3mm from the edges of the frame.
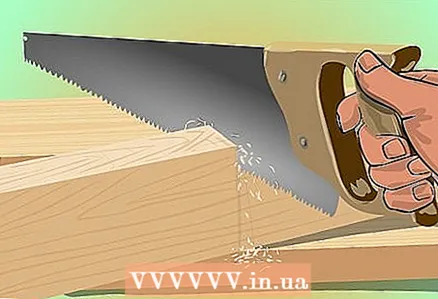 3 Saw off pieces of softwood. When doing this, make the pieces of wood the same length as the frame. Make the cross pieces a little shorter as these pieces should slide inside the other two longer pieces.
 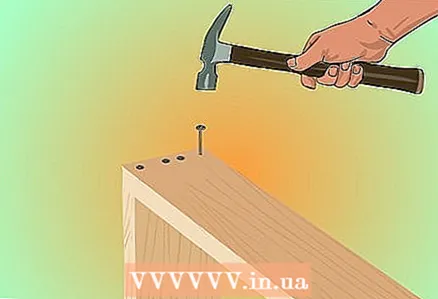 4 Attach pieces of wood to the frame. Use double-sided tape to keep them tight. The longer parts must be attached first. Then insert the transverse dividers.
Method 3 of 5: Adding a backing paper
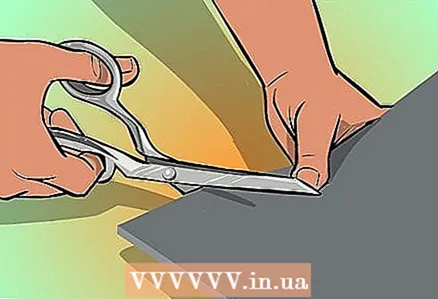 1 Cut out a piece of backing paper. Measure the inside of the frame, which has now been reduced slightly by adding wood dividers. Use this measurement to correctly calculate the size of the backing paper. Then cut the backing paper to the correct size.
 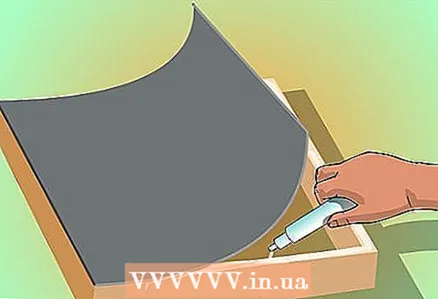 2 Glue the backing paper to the back of the frame. Use craft or spray glue to attach the paper to the back of the frame.
Method 4 of 5: Create a Shadowbox Exposure
 1 Following your plan, add items to the shadowbox. Stick them on or pin them.
 - Allow the glue to dry before inserting the back of the shadowbox into the frame.
- If you are going to pin things, you may need to add a thin sheet of foam packing foam to the back of the shadowbox before gluing the backing paper to keep the pins in place.
 2 Add any labels, decorative items or lace / ribbon edging. This is optional, but may match the style of your shadowbox.
Method 5 of 5: Installing the back wall in the shadowbox
 1 Insert the rear panel carefully into the frame. Place it on the pre-attached pieces of wood.
 - Adjust the back wall if necessary so that it lies flat.
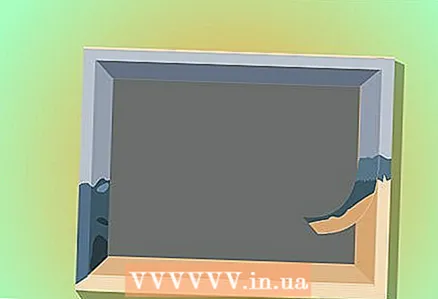
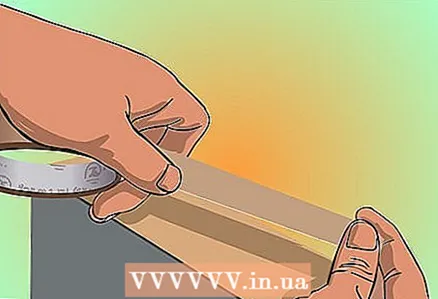 2 Attach the back wall firmly to the frame. Use heavy duty tape such as double-sided tape, brown packing tape, or heavy duct tape. The adhesive tape should fix the frame for a long time.
 - If you are going to hang the shadowbox, you may need to attach the fasteners in the right place, unless you have already done so.
- If part of the frame has come off because you removed the fasteners or brackets, cover that part with duct tape.
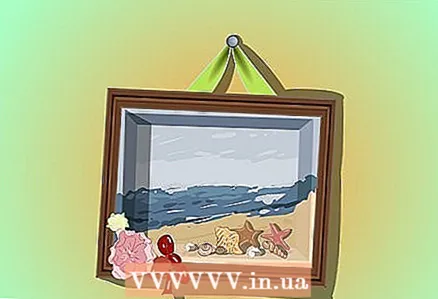 3 Ready. Now you can hang, lean or place the frame, depending on its type.
Tips
- Insert the back panel into the shadowbox only when you are absolutely sure that the items are glued to prevent them from falling out.
- You can also make a shadowbox from scratch using wide pieces of softwood glued together in a rectangle or square shape and attached to a heavy cardboard backing. The back cover and attachment of the box will be the same as described above.
Warnings
- If you are going to install the box on a slope and it contains heavy or fragile objects, there is a risk that they will break if you lift the box.
- When using aerosol adhesive, work in a well-ventilated area.
What do you need
- Deep wooden photo frame with wide edges (you can find them for next to nothing in discount stores or thrift stores)
- Softwood
- Ruler
- Double-sided adhesive tape
- Pencil
- Paints or markers
- Stationery knife
- Craft glue suitable for the materials used
- Label (optional)
- Items for display.
- Paper backing
- Decorative elements (optional)


