Author:
William Ramirez
Date Of Creation:
18 September 2021
Update Date:
1 July 2024

Content
- Steps
- Method 1 of 5: Look Your Best
- Method 2 of 5: Composing
- Method 3 of 5: Find the perfect pose
- Method 4 of 5: Taking a photo
- Method 5 of 5: Editing a photo
- Tips
- Warnings
When meeting new people, we try to look our best. To make a good first impression, we play sports, wear nice clothes and take care of our personal hygiene. And whether we like it or not, the first impression depends largely on our appearance. A beautiful Facebook profile photo will best show how you want to be perceived online and in the real world.
Steps
Method 1 of 5: Look Your Best
 1 Refresh yourself. A healthy appearance is very attractive, so a fresh look will help you look your best. Before taking photos, do your daily hygiene routines, such as brushing your teeth and showering.
 - Exfoliate and moisturize your face and body for a beautiful, even shine.
- Floss your teeth. This will remove plaque and make your smile brighter.
 2 Highlight your best features. Style your hair into the hairstyle that best suits your look, or use quality makeup to highlight your advantageous sides. Think about what you do to look attractive on your first date or important interview, and do the same. If you like your look, you will feel much more comfortable in front of the camera.
 - If you have time and money, go to a stylist and have them prepare you for your photography. Ask your stylist to teach you how to prepare at home in case you want to take additional photos later.
 3 Choose the right clothes. Wear something that highlights your figure and makes you stand out from the crowd. Bright colors will accentuate you if the background is a clear sky or a busy street. Accessories will add some sparkle, but don't overdo it so as not to distract attention from your face.
 - Make sure you don't have unsightly spots or tears in the wrong places.
Method 2 of 5: Composing
 1 The main thing is good lighting. No matter what is in the background, the photo will look great in soft lighting.Soft lighting is a smooth transition of shadows when there are no clear shadows on the face or objects around you.
 - Consider lighting the room with candles or lighting it up for a romantic dinner where soft, warm light envelops you.
- The best place to find soft, diffused light is in an open-air shade where the light is not directly hitting you. This can be a shadow from a building or house.
- Overhead lighting or "hard" lighting can sharply outline and highlight unwanted features such as wrinkles or bags under the eyes.
 2 Use a clean background. If possible, try to keep nothing directly behind you so that you remain the focus of the photograph. A photo against a plain wall or background with a simple pattern is ideal.
 - If you're at a party, step away from the crowd and take a photo. Take a picture of yourself only, as this will be your profile picture and only you should be there.
- Try to be centered in the general photo.
- If you're at a party, step away from the crowd and take a photo. Take a picture of yourself only, as this will be your profile picture and only you should be there.
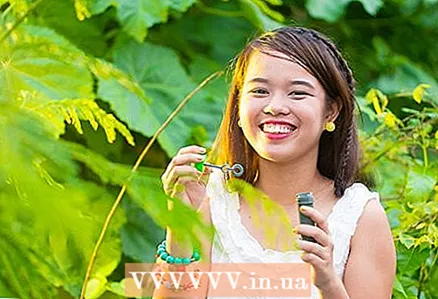 3 Find a good border. The world is filled with natural frames such as alleys, mountain ranges, trees, doorways, and even people! Place these objects around the edge of the photo so that you are in the center. This will keep you in the focus of your photography.
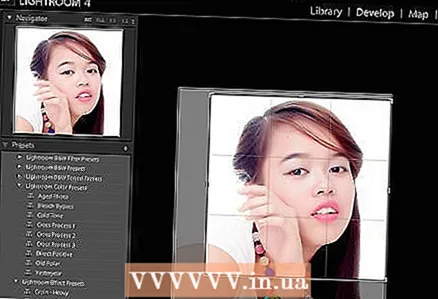
 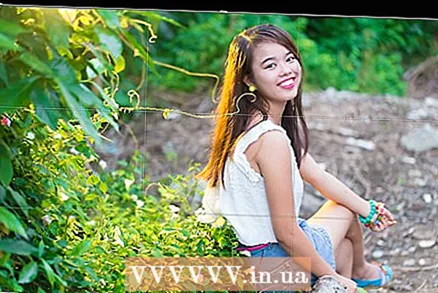 4 Use the rule of thirds. Divide your image into 9 equal parts with 2 vertical and 2 horizontal lines. Position yourself and place other important objects in your photo along these lines or their intersections. This will make your photos look more interesting and balanced.
 - If you are photographing with an object or monument, use this rule. Symmetry looks great in photographs.
Method 3 of 5: Find the perfect pose
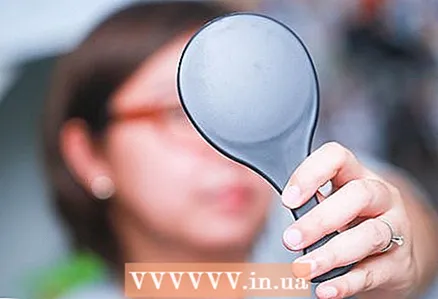 1 Use a good mirror. Practice in front of the mirror and decide what pose, angle and facial expression to choose for your future photograph. The mirror must be clean and not distort the image. This will ensure the best result for your efforts.
  2 Bend over. To appear slimmer, position yourself at a 45-degree angle from the camera, but still look directly at it. Move one leg forward a little, and if you are sitting, then your shoulder.
  3 Use your “best side”. As a rule, our bodies and faces are not symmetrical. Decide which side you prefer and make it more visible in the photo.
 - Review your photos, you may find that you tend to turn your face left or right. This is most likely the side you prefer and which you feel most comfortable posing for.
 4 Stretch your neck. In the photo, this will make you taller and correct your posture. You may feel unnatural, but if you look at yourself in the mirror with your shoulders pulled back, you will see how your figure has changed.
  5 Relax your arms. Place your hand on your thigh so that there is a small distance between your body and limbs. In this way, the hands will not be pressed to the body.
 - Play with your clothes. Throw on a dress or grab a belt or shoulder straps.
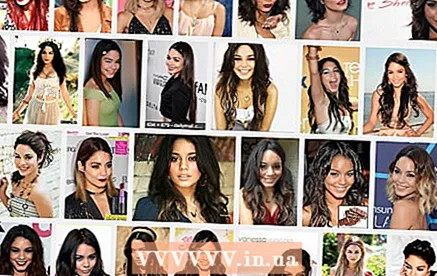 6 Look for stars like you. Find someone of the same age, height, and build and look at their pictures. Try the same poses and see if they work for you.
  7 Avoid trivial poses. Most often, people use banal poses because they are uncomfortable. For example, such poses as "duck lips", "tongue behind the cheek" or a photo with certain gestures. If you are nervous, step back for a minute and when you return to the frame, immediately take a picture. You will have less time to be embarrassed.
Method 4 of 5: Taking a photo
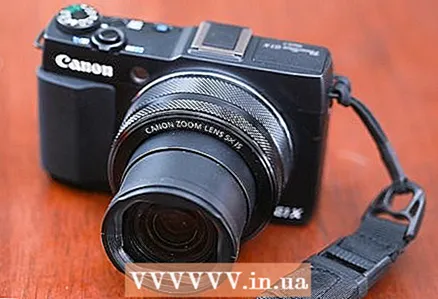 1 Find your camera. Finding the right camera is not difficult these days. Choose which camera you want to use, be it a computer webcam, a mobile phone camera, a digital camera, or a disposable camera.
 - If you do not have any of the above, go to your nearest electronics store and ask the seller to find the best option for you.
- If you're struggling with finances, your best bet is to purchase a disposable camera at a grocery store or gas station. Alternatively, borrow a camera from a friend.
 2 The size. Decide if you want a close-up or full-length photo. Your Facebook profile photo is small, so it's best to take a portrait photo. If you like your figure, try taking a photo from the waist down.
 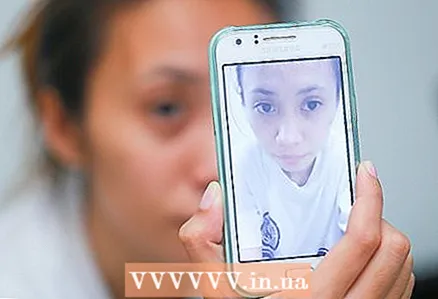 3 Take a selfie. A selfie is a self-portrait taken with a digital camera or a mobile phone camera hand-held or with a selfie stick. Selfies give you more control over how others see you. For most, the best selfie angle is just above their line of sight. Plus, you don't have to look directly into the camera. Most people don't look good in this case, so show your "best side".
 - Selfie sticks are monopods that help you capture selfies beyond your reach. Or just reach out and take a picture of yourself.
- If you are shooting with a smartphone, switch to the front camera so that you can see the future result. You can select the frame you want and take a picture.
- Try to keep your hand off-screen.
- On most smartphones, the rear camera shoots better than the front camera, so it might be better to ask someone to take a photo of you, even if it's a selfie style.
- If you don't have a smartphone or are using a digital camera, find a mirror so you can see the future shot. If you don't have a mirror, position the camera at the best angle.
- Most selfie sticks have a mirror.
 4 Find a photographer. Ask a friend or someone nearby to take a photo of you. Make sure your photographer knows how to focus the camera to avoid blurring and pixelation. Usually a small rectangle appears on the camera screen. Ask them to move this rectangle over you and take a photo. This is the easiest way to center your photo and focus.
 - If this rectangle does not appear automatically, there should be an option in the camera settings to enable it to be displayed.
- Let your photographer use the camera zoom, come in or out until your image fills the frame (with space on the sides), after which you can take a photo.
- To avoid harsh light, check if the flash is off.
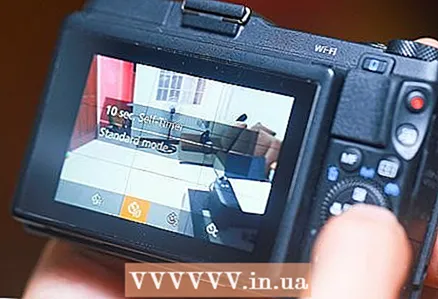 5 Countdown to the photo. The countdown will allow you to get into the perfect pose. Ask your photographer to count down to the moment of shooting, or do it yourself. If you are taking selfies, place the camera on a stable surface, set a timer, and position yourself.
 - Read your camera manual for how to set the timer. If you have lost the paper version of the instruction, find it using google.
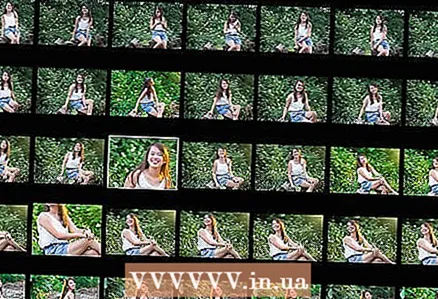 6 Take a lot of photos. More photos gives you more choices. The first couple of shots may not turn out the way you intended, so take as many photos as possible and choose the one you like.
 - During a photo shoot, sometimes look at the photos you have taken. This will help you understand what needs to be changed in order to get a good photo. For example, change the location, pose, or fix your hair.
Method 5 of 5: Editing a photo
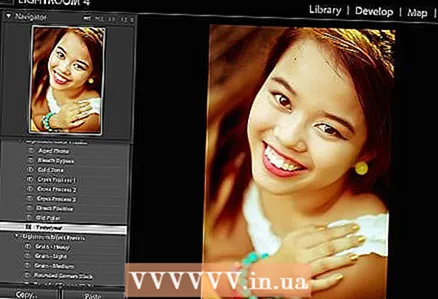
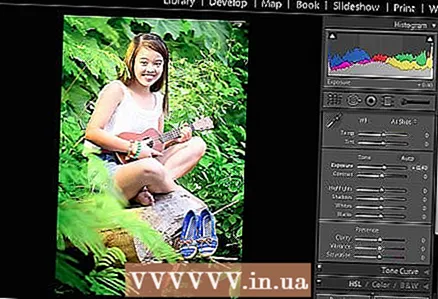 1 Brightness and contrast. Photo editing isn't always necessary, but sometimes it can make your photos look brighter. Use a photo editor to brighten the elements of your photo that you want to emphasize. This will add depth to the photo and make it more interesting.
 - There are many photo editors available now. Search the internet and you will find several similar ones:
- https://www.picmonkey.com/editor
- http://www.befunky.com/features/photo-effects/
- Photoshop
- There are many photo editors available now. Search the internet and you will find several similar ones:
 2 Use a filter. Using a filter, you can make your photo a little more interesting. Your photo may look better with certain filters than without them. Many smartphones and computers come with software that allows you to use filters, so play with them and see what happens.
 - Don't use a filter that distracts attention from you. Depending on the photograph, effects such as “negative” or “sketching” can be confusing or just look bad.
 3 Cropping. Use a photo editor to crop the image so that you end up with a balanced photo. It can also be used to crop out objects or people that accidentally fall into the frame. When you post a photo to Facebook, you will have the option to crop it.
 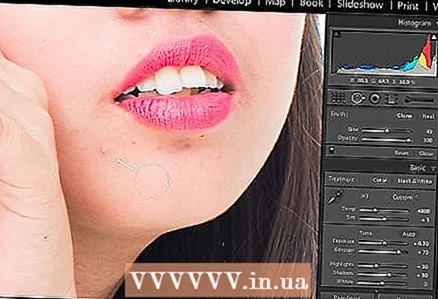 4 Retouch. If you need a little touch-up, use the appropriate online tool for that. You can remove and fix any bugs you find unattractive and get the look you want. From teeth whitening to tanning enhancements, people will see you exactly the way you want them.
 - You can find many easy-to-use and effective retouching tools online.
- facebrush.com
- fotor.com
- makeup.pho.to/
- You can find many easy-to-use and effective retouching tools online.
Tips
- Be consistent. Take a great photo and don't change it. Don't change it every few days or months. Nowadays, people's attention is distracted by millions of different factors, and you only have a few seconds to make a good impression and make a connection.
- Accept yourself and learn to love yourself in photographs. We are usually self-critical, but other people do not notice the small flaws that we notice.
- Be yourself and smile. Even if you don't like your smile, most of us look better when we are happy.
Warnings
- Make sure your photo is of high quality. It may seem obvious, but a blurry / fuzzy / distorted photo can be very off-putting.


