Author:
Marcus Baldwin
Date Of Creation:
14 June 2021
Update Date:
1 July 2024
Content
- Steps
- Method 1 of 6: Come up with a blade
- Method 2 of 6: Collect Tools and Materials
- Method 3 of 6: Cut the metal
- Method 4 of 6: Heat the blade
- Method 5 of 6: Connect the handle
- Method 6 of 6: Sharpen the blade
- Warnings
- What do you need
- Additional articles
- Sources & Citations
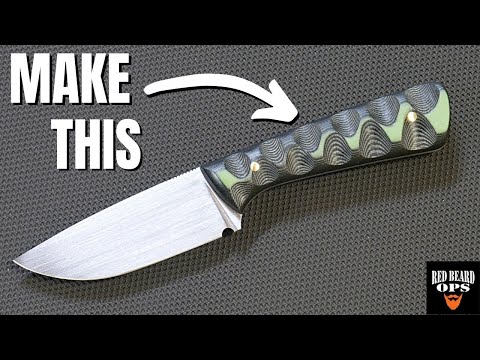
It's very fun to make a knife from the start, and it's a rewarding metalworking project. It takes a lot of time and a lot of effort, but if you follow these steps, you will have a new knife.
Steps
Method 1 of 6: Come up with a blade
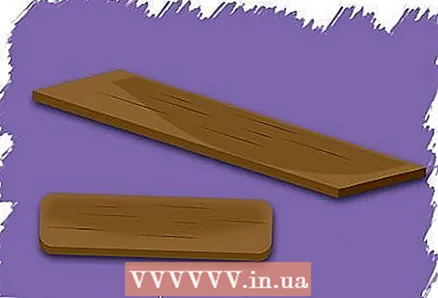
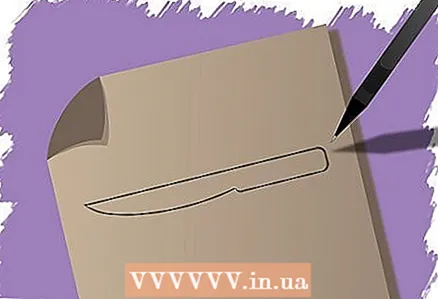 1 Draw the blade. Use graph paper to draw your blade. Try to be as close to the actual size as possible so that it is easier for you to make the blade.
 - Be creative with blade designs, but don't forget functionality and practicality.
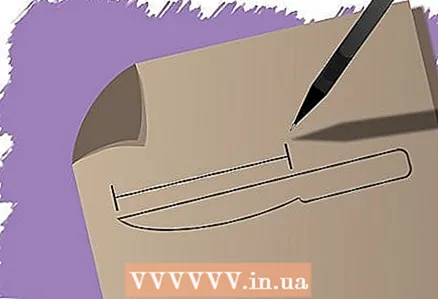 2 Determine the length of the blade. The length of the blade is a matter of personal choice, although large blades can be bulky and require a lot of metal.
 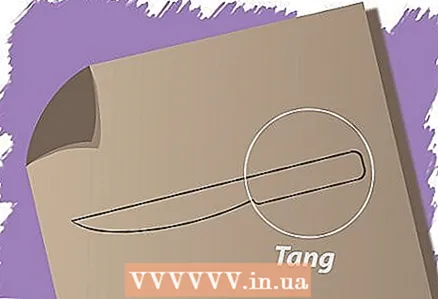 3 Model the shank. The shank is the piece of blade that attaches to the handle. The easiest way is "full tan". The shank will be the same thickness as the knife, and the handle is made by attaching a piece of wood to each side with rivets.
Method 2 of 6: Collect Tools and Materials
 1 Get Carbon Steel. There are many different types and levels of steel. Do not use stainless steel as it is difficult to work with and the blade will not be as good. 01 is the most famous carbon steel for making blades as it is easy to quench when hot.
 - Try to get a plate or rod between 40-80 cm thick.
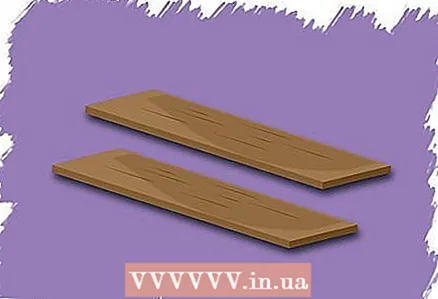 2 Select the material for the handle. Wood is the easiest material you can work with, although you can make a handle out of any material you want. Since this article is about full tang, choose a material that you can connect with rods.
 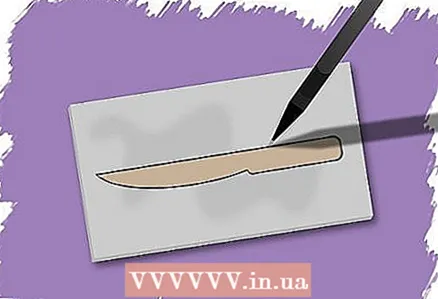 3 Draw your blade. Using a permanent marker, trace your blade onto the slab. This will guide you as you cut through the metal. Do not forget to draw on the shank as well, as the blade and shank fit together.
 - Make all the necessary adjustments to the size as soon as you see the outline of the metal.
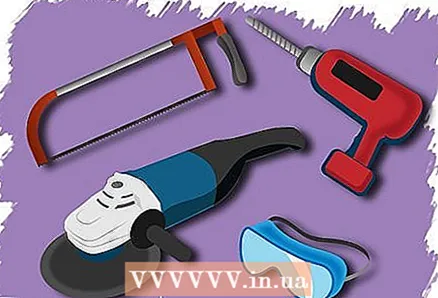 4 Collect your guns. You will need a hacksaw, rigid and petal angle grinder, drill, vise and protective clothing. You will need several saw attachments.
Method 3 of 6: Cut the metal
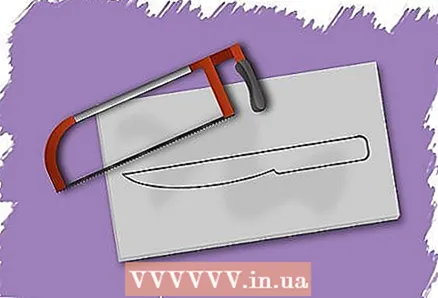 1 Use a hacksaw to cut the metal. Cut a rectangle around the marked blade to separate it from the base plate. You will need a hard hacksaw if you have thicker metal. This rectangle will be sanded to create the profile of your blade.
 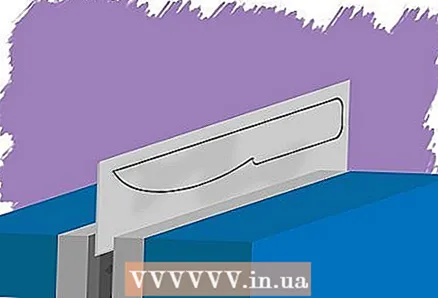 2 Sand the profile. Slip a stiff bit over a vise and sand off excess metal. Follow the contours so that your profile begins to form. Use a sander to finish the blade shape.
 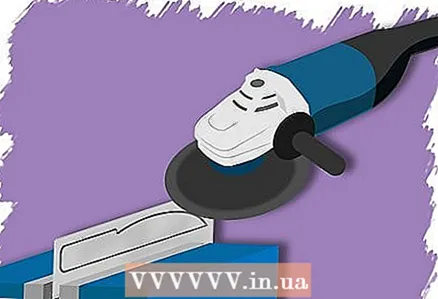 3 Sand the edges. Sand the edges gently so that they are tilted using the petal nozzle. This will form a sharp edge of the blade.
 - Take your time with this step, as if you sand too much you could ruin the blade and have to start over.
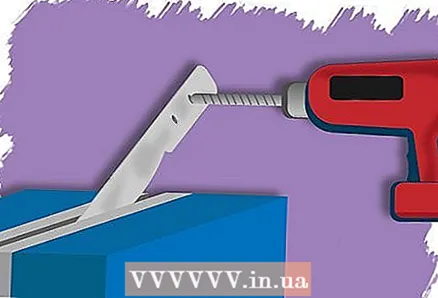 4 Drill holes for the rivets. Use a drill bit that is the same size as the rivets you will be using. Depending on the size of the blade, you will need a different number of holes.
 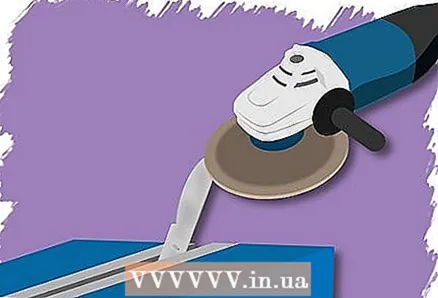 5 Finish the blade. Sand the blade using finer sandpaper to 220 grit. Sand down any scratches. Sand all parts of the blade. This will increase its gloss and quality.
 - Sand in the opposite direction each time you change the grit.
- You can use a file to add ridges next to the hilt. Make a template and start sawing.
Method 4 of 6: Heat the blade
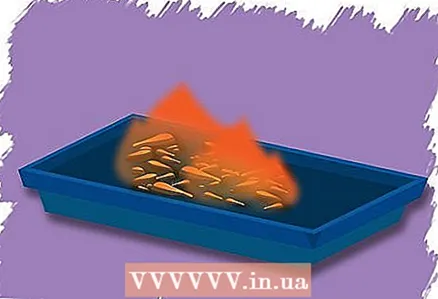 1 Prepare the forge. The best way to craft a blade is to use a forge. For smaller blades, you can use a burner. If you are using a forge, both coal and gas forges will do.
 - Prepare a hardening bath.To keep the knife cool, you will need to dip it into a hardening bath. What you will use depends on the type of steel, but for 01 you can use a bucket of engine oil. You will need to completely dip the blade into the bucket.
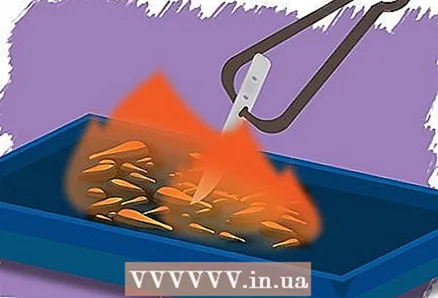 2 Preheat the blade. Heat it until the metal turns orange. Hit it with a magnet to check if it's warm enough. When the metal is at the correct temperature, it will lose its magnetic properties. Once it stops sticking to the magnet, let it cool in air. Repeat the process three times.
 - The fourth time, instead of letting it cool in the air, dip it in a bucket of oil. Be aware that a fire will develop as soon as the blade touches the oil, so make sure you are properly protected.
- When the blade hardens, it can break if you drop it, so be careful.
 3 Preheat your stove. Preheat the stove to 425 degrees. Place the blade on the middle shelf and leave it there for an hour. Once the hour has passed, you have finished the heat treatment.
 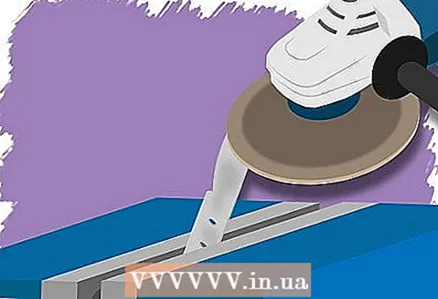 4 Polish the blade again. Use sandpaper that will increase in grit from 220 to 400. Buff the blade if you want it to shine more.
Method 5 of 6: Connect the handle
 1 Cut off pieces for the handle. For a full-thane knife, two pieces of hilt are used, one on each side. Cut and polish the pieces at the same time so that both sides are symmetrical.
 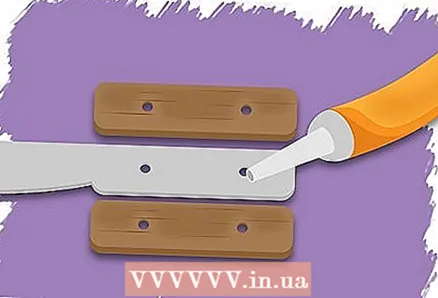 2 Connect the pieces using epoxy. Drill rivet holes on each side. Be careful not to get the epoxy on the blade as it is difficult to scrub off. Place the blade in a vise and let it dry overnight.
 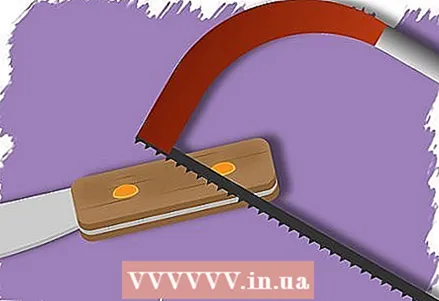 3 Use your saw to add finishing touches to the handle. Slide in the rivets, leaving them protruding about 40 cm on each side, and hammer them in. File the rivets and polish the handle.
Method 6 of 6: Sharpen the blade
 1 Prepare an abrasive stone. You will need a large abrasive stone for these steps. Apply a thin layer of sharpening oil to both sides of the blade.
 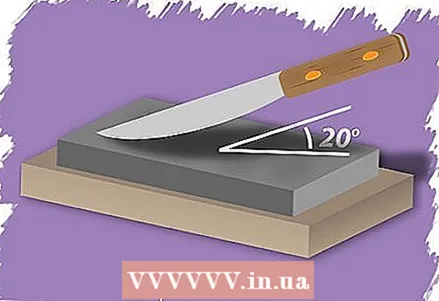 2 Hold the blade at a 20 degree angle above the surface of the abrasive bar. Raise the blade as you move it to sharpen it to the very tip. After a few times, flip the blade over to sharpen it on the other side.
 - Once you have a sharp blade on each side, repeat on the thin side of the abrasive bar.
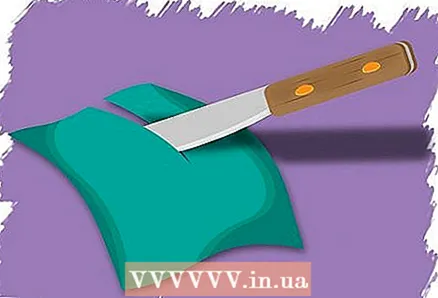 3 Check the blade. Take a piece of printing paper in your hand and cut it with a knife near where you are holding the paper. A well-sharpened blade should easily cut the paper into small pieces.
Warnings
- When you work with knives, grinders and saws, always be extremely careful and wear everything you need for your safety.
What do you need
- Graph paper
- Carbon steel
- Handle material (wood, bone, etc.)
- Hacksaw with extra blades
- angle grinder
- Vise
- Drill
- Forge
- Sandpaper
- Abrasive bar
- Sharpening oil
Additional articles
How to make rolls How to play UNO
  How to Learn Morse Code How to Draw Fashion Sketches
  How to clean and polish shells How to rotate a pencil around your thumb How to make shorts from old jeans How to make papier-mâché
  How to relieve boredom in summer
  How to create an electromagnetic pulse
  How to dye fabric with coffee
  How to polish stones
  How to kill time How to make pancakes on water
Sources & Citations
- http://www.primitiveways.com/pt-knives-1.html
- http://www.blademag.com/knifemaking/knifemaking-101-read-this-before-you-make-a-knife


