Author:
Sara Rhodes
Date Of Creation:
14 February 2021
Update Date:
1 July 2024

Content
You will never know what happened to that missing sock from the pair, but you still have one. A few orphaned socks from a laundry basket can be used to make an excellent soft new doll.
Steps
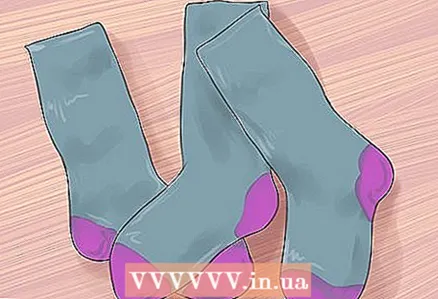 1 Choose three socks from which you are going to make a doll. They can be of any size, but remember that any drawing or logo will also be on this doll, so for this endeavor, plain, lightly worn socks are best suited.
 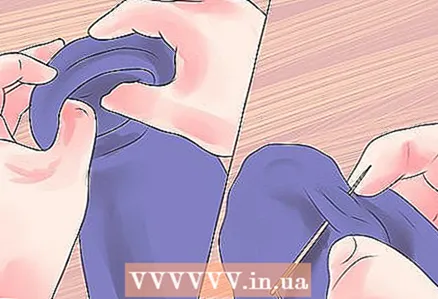 2 Stuff in ankle-length sock and sew on top. You can also take a regular sock and cut it to your desired length. The toe of this sock will become the doll's head and the heel will become the fifth point.
 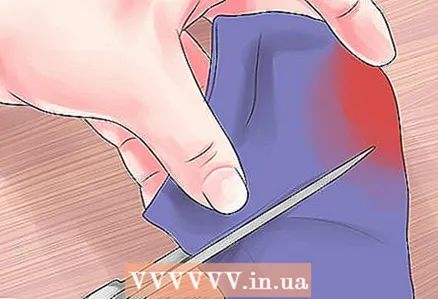 3 Cut off the toe of the second sock and turn it inside out.
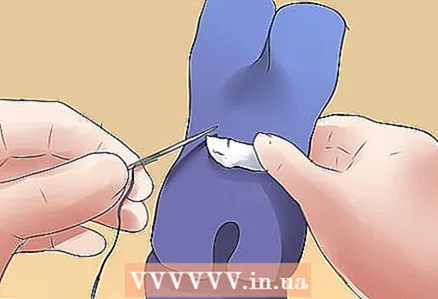
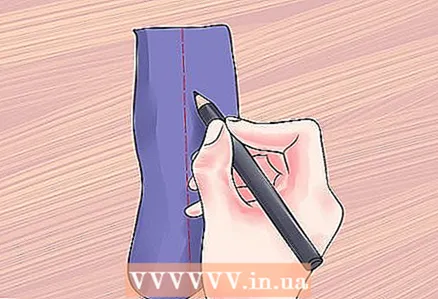 4 Mark a vertical line in the center to indicate the legs (with slightly rounded toes, as shown).
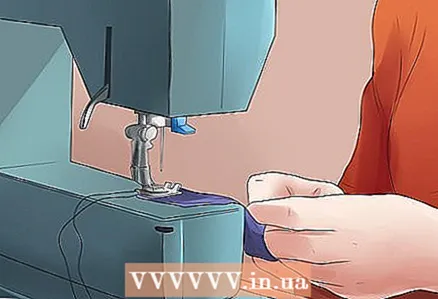 5 Sew a little over half a centimeter from the center line to each side. Sew up on one side and down on the other, thus rounding the doll's legs. Leave about 2.5 cm uncovered.
 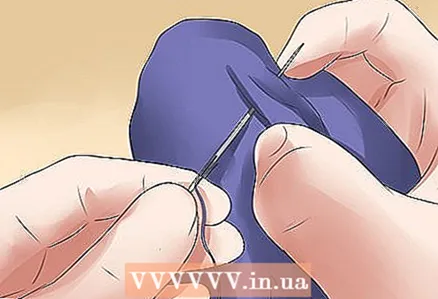 6 Turn your workpiece right out, stuff and sew on top. These will be the legs of your doll.
 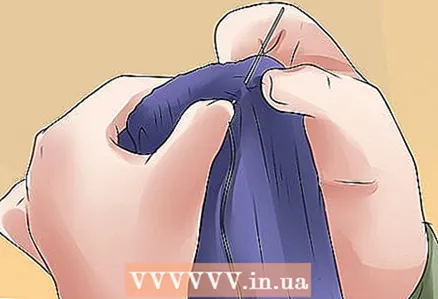 7 Sew the edges (sewn parts) of both socks together. When stitching these two pieces together, make sure the doll's legs are at a natural angle to the fifth point.
 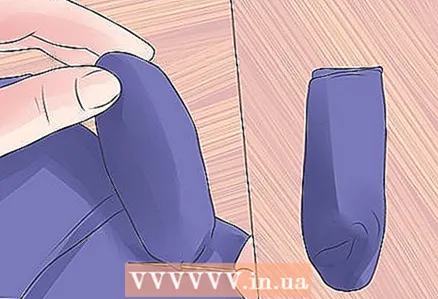 8 Make the doll's arms from the leftover sock.
- To make blanks for the doll's hands, cut off the heel and toe at the toe.
- Turn the workpiece inside out and draw a center line.
- Sew a little more than half a centimeter from the center line.
- Cut as shown in the illustration.
 9 Turn the doll's arms over to the front, stuff and sew them to the doll's body.
 10 Sew long stitches around the doll's neck with coarse thread and pull them slightly to form the doll's head.
- You can also tie a ribbon to the doll as a scarf to highlight the doll's neck and create her own unique style.
 11 Use buttons, braids, special toy eyes, threads, yarn and markers to make the doll's face.
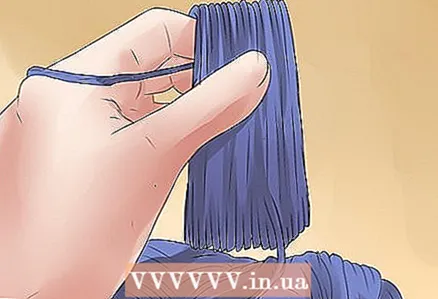 12 Make doll hair from yarn.
- Twist 30 or more yarn rounds around something hard about 30 cm wide.
- Place a strip of felt under the yarn, perpendicular to the direction of the thread.
- Baste the yarn over the felt strip.
- Turn the resulting piece over and cut the yarn in the middle of the side opposite to the one sewn on.
- Stitch the yarn to the felt strip on the sewing machine.
- Trim the ends of the felt strip.
- Line up the felt strip on the doll's head and sew it on.
- You can leave the doll's hair loose or braid it.
 13 You can decorate the doll with embroidery if you like.
 14 Dress up your doll. To do this, you can sew some clothes from scraps of fabric or buy doll clothes of a suitable size in the store. You can make for your doll both permanent (sewn to it) clothing, and one that you can take off and put on.
Tips
- Felt makes great clothes for a doll because it doesn't need to be hemmed.
- If you decide to use other multi-colored socks for making doll clothes, then remember that the edges of the socks are great for the edges of sleeves, trousers, hem of skirts, etc. They don't need to be folded or hemmed, which will save you a lot of time and effort.
- You can make a whole family of such dolls and start a whole collection. This, in turn, can turn into a great, imaginative passion for creating homes for a doll family or writing a family history.
- Make sure that you have a good practice of drawing with a marker on paper before you start drawing the doll's face, because in the event of a mistake or oversight, this is unlikely to be corrected later.
Warnings
- If you are planning to present this doll to a small child, then you should only use embroidery to indicate the features of the doll's face, because the sewn or glued elements or buttons can come off and a small child can choke on them.
- Have children under 4 years of age play with this doll under adult supervision to minimize the risk of swallowing small items.
- Be very careful when sewing on the buttons as they may break.
- Be careful when using needles and scissors.
- If you are still a child, do handicrafts under the supervision of an adult.
What do you need
- Three ankle-length socks (or regular socks cut to length), ideally the same color
- Fabric scraps for clothing
- Scraps of cotton or synthetic fabrics for printing
- Everything for sewing: needles, threads, scissors, sewing machine (optional)
- Pigtails, buttons, markers, toy eyes and yarn


