Author:
Eric Farmer
Date Of Creation:
11 March 2021
Update Date:
1 July 2024

Content
- Steps
- Part 1 of 4: Preparing the fabric
- Part 2 of 4: Sewing the corset
- Part 3 of 4: Sewing in bones, fastening and sewing
- Part 4 of 4: Finishing Touches
- What do you need
Corsets were popular at the end of the 16th century, but even now they are worn as underwear, as part of a ballroom or carnival dress, or simply used as an original wardrobe item.Usually, making a corset requires a lot of time and effort, but with some sewing skills, even a beginner can cope with sewing a corset, provided that he has basic sewing skills.
Steps
Part 1 of 4: Preparing the fabric
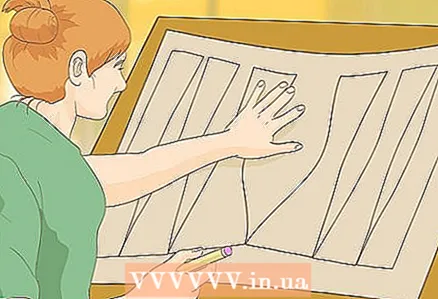 1 Choose or make a pattern yourself. Beginners are advised to look for a corset pattern on the Internet or in a fashion magazine, and not try to calculate and draw it yourself. A good pattern will be designed for several sizes at once (including yours), and the result should completely satisfy you.
 - Remember, beginners are better off using simpler patterns rather than complex ones. Sewing corsets using complex patterns is quite difficult, so you shouldn't unnecessarily bother yourself for the first time or two.
- You can use both free and paid patterns, but usually the latter are of higher quality. You can definitely find a simple corset pattern that suits you, either on the Internet or in a sewing magazine.
- Alternatively, you can independently calculate and draw a pattern, but this process is quite laborious and requires the use of graph paper.
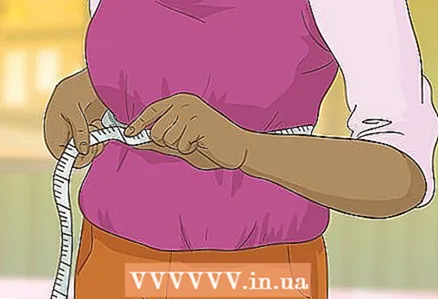 2 Determine your size. As already mentioned, a good pattern is designed for several sequentially increasing sizes at once. In most cases, sewing patterns provide for a back gap of about two centimeters (for tightening the corset with lacing), so do not be alarmed if the pattern seems too small for your size. Determine your size by measuring your bust, waist and hips. Then cut out the details of the pattern to your size.
 - To measure your bust, put on a regular bra and measure the widest part of your bust with a tape measure.
- To determine your waist, measure the circumference of the narrowest point in your torso (usually about 5 cm above your belly button). The corset belongs to the modeling type of lingerie. Usually, to build a corset pattern, the waist circumference is reduced by 10 cm.
- Hip circumference is measured at the widest part of the hip (usually about 20 cm below the waist line).
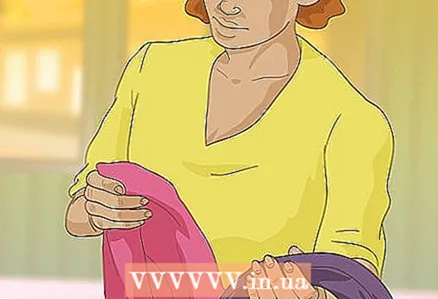 3 Choose a fabric for your corset. For sewing a corset, it is best to use a special corset fabric, which is made of pure cotton, breathes well, has high strength for its weight and does not stretch well in any direction. If you do not have corset fabric, you can use thick cotton or high-quality linen.
 - When using cotton or linen, the corset will be more stretchable than when using corset fabric, so the finished product will be designed for a slightly larger size.
- The corset can be padded for extra comfort. Take a thick cotton or a cotton-based blend on the lining and additionally cut and sew the details of the corset pattern from it.
- When choosing threads for sewing a corset, you must first check their quality. You should be fine with a general-purpose thread, but before using it, unwind a short length of thread from the spool and try to break it with your hands. If it does not break even with great effort, then it can be used. Do not use threads that break easily in your work, since in the finished product they will carry a heavy load, and the corset itself must be strong.
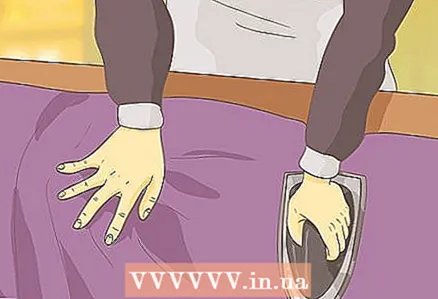 4 Prepare your fabric. Wash and dry the fabric before use. Iron the fabric just before cutting to remove any wrinkles or wrinkles.
 - Check the shared thread. If you look closely at the interweaving of the threads in the fabric, you will notice the weft threads and the warp threads perpendicular to them. The warp threads are also called lobar (and have poor stretch), and the weft threads are transverse (and have a little more stretch).The corset is cut along the lobar (so it stretches less horizontally), so pull the fabric vertically and horizontally to see exactly in which direction it is more stretchable. Usually, the share thread runs along the edge of the fabric in the roll, and the weft thread is located along the width of the fabric.
 5 Pin the pattern to the fabric. Lay the details of the corset on the fabric vertically in the direction of the greatest extensibility of the fabric (along the weft thread). You need to avoid unnecessary stretch of the fabric along the waistline of the finished product. Pin the pattern to the fabric.
 - Also, the pattern can be fixed to the fabric using some kind of weight (stones or other heavy objects). When using this method, it is recommended to transfer the contours of the pattern with chalk to the fabric itself and only then cut out the details. Sometimes this method is even preferable, as it excludes accidental displacement of the fabric during cutting.
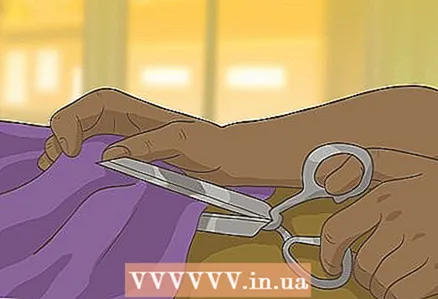 6 Cut out the details. Cut out the details of the corset strictly in accordance with the instructions for the pattern you are using. Be careful with allowances. If the details do not turn out the same as provided by the pattern, the finished corset may not fit you in size.
 - Depending on the specific type of pattern, some details may require duplication. In some patterns, two-layer details of the center of the back can be used, single-layer details of the center of the front and details cut out along the fold of the fabric and do not provide for a seam allowance in the center of the back. Follow the instructions that came with the pattern to make sure the correct number of corset pieces are cut out.
Part 2 of 4: Sewing the corset
 1 Pin the corset pieces together. Gather all the parts together in accordance with the instructions for the pattern. They must be chipped off so that the material does not move during sewing.
 - For the same purpose, parts can also be swept with threads (temporary stitches).
- For precision cuts, the width of the seam allowances should be the same everywhere. In such a situation, the parts can simply be aligned along the upper edge and the edge of the allowances and immediately sewn on a typewriter without using pins or basting stitches.
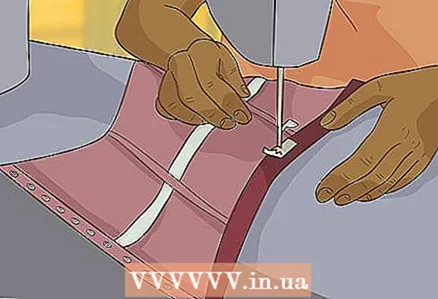
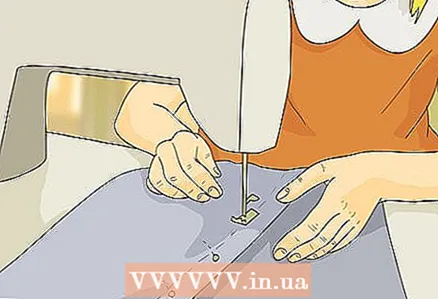 2 Sew the seams. Set the sewing machine to a straight stitch and sew the parts in the order that the pattern requires. Start sewing from the top of the seam and work your way down slowly to ensure that the fabric feeds evenly under the needle (no shifting or wrinkling). After this operation, two separate halves of the corset are usually obtained (but not in all patterns).
 - When sewing parts, check carefully to see if you are aligning the parts correctly. It will be useful to pre-number them with chalk on the seamy side.
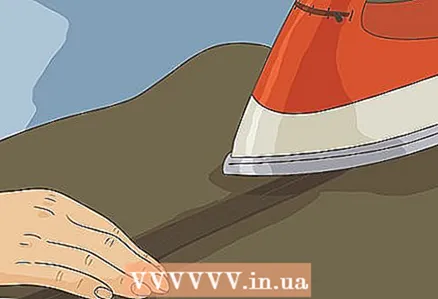 3 Iron out the seam allowances. When all seams have been stitched, their allowances will need to be ironed out. After this procedure, all allowances will be adjacent to the main corset fabric.
 - If necessary, trim off the excess seam allowances slightly so they clump less.
- Note that the seams can be ironed out in the process of further work on the corset.
 4 Hem down the vertical edges of the corset halves to keep them from falling off. After this step, the main corset sewing process will be completed. The details will be connected with each other with a fastener and lacing, so their vertical cuts must be carefully processed.
 - Do not hem the top and bottom cuts of the corset parts, as they will be seamed later.
 5 Sew in a bodice at the waist. Take two pieces of inextensible bodice tape (for both halves of the corset). Attach the tape to the line of greatest tension in the corset, or waistline (pull the piece out to the sides to see and find this line). Sew the tape at this level to the seam allowances on the seamy side of the part, after basing it on the corset.
 - As a corsage tape, you can also use a rep or any other dense inextensible tape 1.5–2 cm wide.To determine the required length of tape segments, take the desired waist circumference in the corset, increase it by 5 cm and divide it in half. Take two pieces of tape of the estimated length.
- When you sew the corsage tape to the corset, make sure that it runs symmetrically along both halves by folding them together.
Part 3 of 4: Sewing in bones, fastening and sewing
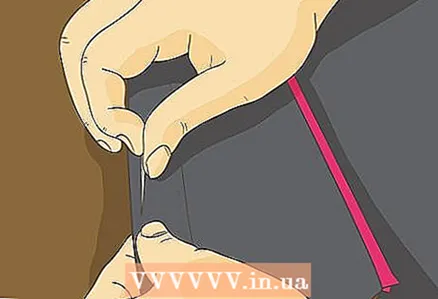
 1 Make drawstrings for the underwire of the corset. Fold and press the raw edges of the bias tape towards the center of the wrong side. Then sew a bias tape over the seams of the corset (so that its seams go along the center of the tape), creating a 1 cm wide drawstring from it.If you want to have fewer visible lines on the front side of the corset, move the bias tape so that one of the lines the drawstrings fell strictly into the seam of the corset.
 - In sewing a corset, you can use both a ready-made and a homemade bias tape made of 2.5 cm wide strips of fabric cut out along the bias.
 2 Sew on the right side of the corset fastener (with loops). Take the wrong side of the right half of the corset and draw a vertical line with chalk about 1.5 cm from its front edge. Then attach the half of the loop fastener to this line, 2cm from the top of the corset, making sure you are looking at the wrong side of the fastener. Sew the fastener to the corset.
 - A hook and loop fastener attaches to the front of the corset and connects the two halves at the front (so you don't have to unlace the corset at the back every time to remove it). You can purchase this clasp at a fabric and craft store.
 3 Sew on the left side of the corset fastener (with hooks). Take the other half of the hook and loop fastener and align it with the half of the loop fastener. Then attach the left front edge of the corset to it and sew the fastener securely to it from the wrong side of the fabric.
 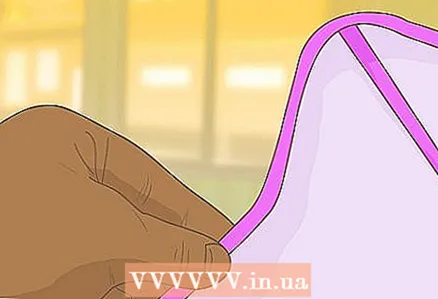 4 Attach the bottom hem of the corset. The bottom trim will hide the bottom raw section of the corset. To use leatherette or leather as a trim, first secure this material to the corset with a water-soluble sewing tape. First, the facing is glued to the tape on one side and only then it is folded on the other side and also glued with tape.
 - A bias tape made of satin, cotton or other material can also be used as a facing.
 5 Sew on the piping. Use the sewing machine to sew the overcast with a straight stitch to secure it in place.
 - At this stage, you only need to welt the bottom edge of the corset. Before proceeding with the upper facing, you need to insert the bones into the drawstrings of the corset.
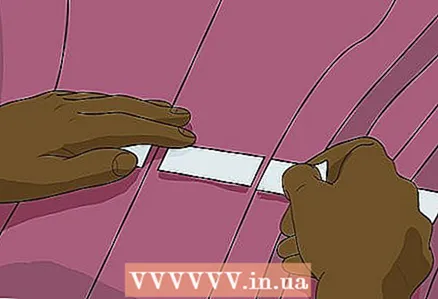
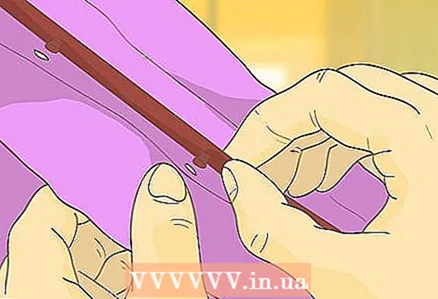
 6 Insert the bones into the corset. Measure the length of the corset drawstrings (taking into account a 5 mm distance from its upper and lower edges) and cut the spiral bones to the appropriate length. Insert the bones into the drawstrings. The seeds can be cut on their own or you can purchase bones of a ready-made length (which is sometimes even more convenient).
 - You can also use flatbed bones to make a corset, but spiral bones are better in the sense that they are able to bend in any direction, following the bending lines of the corset.
- You can use strong hot glue to hide the sharp ends of the seeds.
 7 Stitch the top edge of the corset. To finish the top edge of the corset, use an additional amount of bias tape in the appropriate color and use the same piping attachment approach that you used to finish the bottom edge of the corset.
Part 4 of 4: Finishing Touches
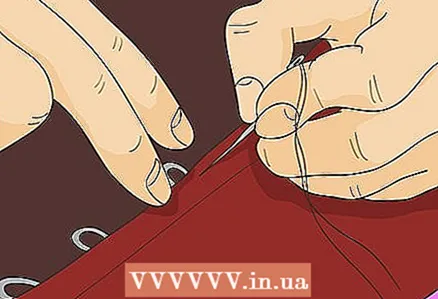
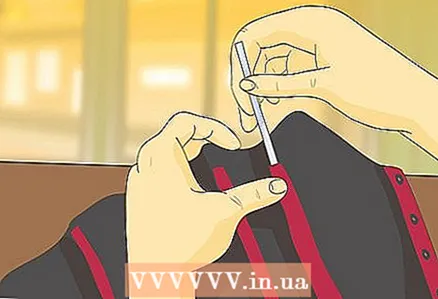
 1 Install the eyelets. Mark the attachment points for the eyelets, positioning them approximately 2.5 cm apart along both edges of the corset back. In the waist area, the eyelets should be more frequent (about 5 mm apart). You can purchase eyelets at a fabric and craft store.
 - Eyelets are metal hardware that frames the holes in the fabric for lacing.
- Use a fabric or leather hole punch or an awl to make holes for the eyelets.
- Install the eyelets with the eyelet insertion tool.
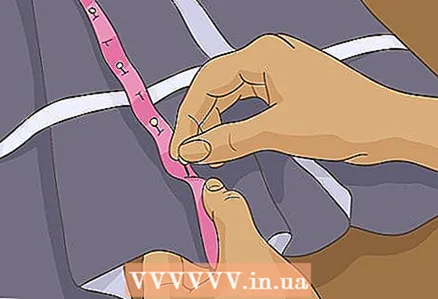
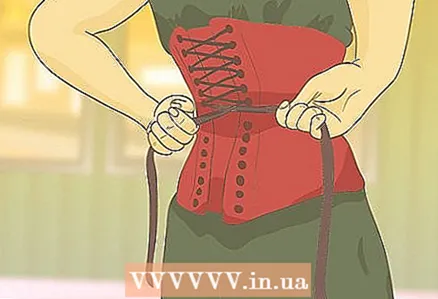 2 Thread the lacing through the eyelets. Start lacing the corset from the top edge and work downward to create a cruciform lacing pattern. From the bottom edge, start moving up again in the same manner and stop at waist level. Tie the lace up with a regular bow.
 - In total, you will need about 4.5 m of tape.
- Historically, it was ribbons that were used as lacing in corsets, but a strong braid or cord will last much longer in this role.
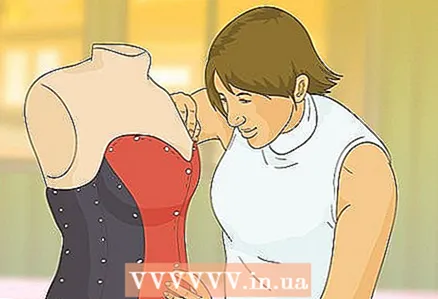
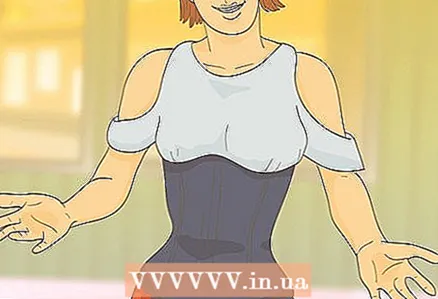 3 Put on your corset. The upper edge of the corset should be just above the level of the nipples of the breast, and the lower edge should hang over the hips and not move up.
 - Tighten the corset by tightening the lacing loops at waist level.
What do you need
- Tape measure
- Tailor's pins
- a piece of chalk
- 1.5 m of corset fabric of the color you need
- Corsage or rep tape
- Spiral or flatbed steel underwire for corset
- Oblique binding
- Strong quality threads
- Eyelets with a diameter of 5 mm and a tool for their installation
- Straight stitch sewing machine
- Boot awl or special hole punch for eyelets
- Water Soluble Adhesive Tape for Sewing (Quilting)
- Edging
- Lacing tape
- Loops and hooks


