Author:
Alice Brown
Date Of Creation:
28 May 2021
Update Date:
1 July 2024

Content
- Steps
- Part 1 of 4: Choosing a Project
- Part 2 of 4: Work plan
- Part 3 of 4: Gathering Information
- Part 4 of 4: Completing the Project
- Warnings
School projects come in many different types, and the exact recipe for successfully completing a task will depend on your specific goals and requirements. We want to share with you some general rules and best practices that will almost certainly help you succeed. Pick a topic and make a work plan. Next, proceed to the study of information. Finally, combine all the available data to give the project a finished look.
Steps
Part 1 of 4: Choosing a Project
 1 Get started early. You should always start the task immediately after receiving it. After all, it is not for nothing that your teacher devoted so much time to him; that is exactly how much you need to successfully complete the project. Get started with the plan right away so you can get it done. So you save yourself from sleepless nights before the delivery of the project.
 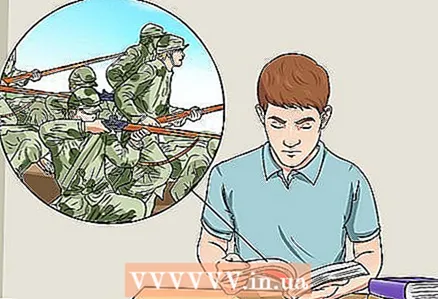 2 Read the assignment. It contains a detailed description of the task before you. Abstract yourself from all strangers and carefully read the task. If the teacher has not already done this, then divide the project into parts so that you understand exactly what is required of you.
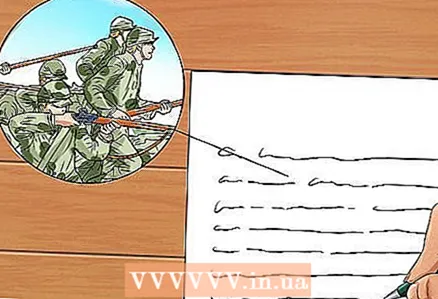
 - For example, you might get an assignment like this: “Give a presentation on the American Civil War. You can choose one battle, idea, speech, turning point, or focus on the war as a whole. Don't forget important dates and characters. "
- Such a project can be divided into several parts: 1) A visual representation of the Civil War. 2) The central theme of the project. 3) Important dates. 4) Key actors.
 3 Working out ideas. Brainstorming allows you to put your ideas on paper. As a rule, a person writes down thoughts that come to mind and establishes a connection between them in order to start the creative process. This practice helps you focus on the desired idea, as well as ponder the things that have not yet crossed your mind. There are a number of effective methods that can be used during the brainstorming process.
 - Free letter. Take a piece of paper. At the top, write a heading such as "US Civil War Project." Start writing down whatever comes to your mind. You cannot stop or discard any ideas, write everything as it is.For example, you might start by saying, “I believe the Gettysburg Address was one of the turning points in the Civil War. She made it clear that the struggle was for the equality of all people. Now you need to think about the presentation. Eighty-seven years have passed ... Perhaps, these lines should be highlighted. To identify ideas with the turning points of the war ... ".
- Make a diagram. In the center of the page, write “Civil War Project” and circle the text. Then draw a line to the side of the center circle and write in the idea or fact. Use associative thinking without thinking too much about deep connections. Group together similar ideas as the work progresses. Having finished your diagram, take a closer look at the largest clusters and stop at one of them.
 4 Choose a topic. Resist any tendency to take a large topic (for example, cover the entire Civil War) and try to narrow the issue at hand. This way you will not drown in a sea of facts and details.
 - It is best to choose a topic from ideas generated by the brainstorming process. For example, that same Gettysburg Address would make a good centerpiece.
- If your topic is still broad enough (“Great Battles of the Civil War”), focus your attention on one aspect. You can choose one of the key battles or take as a basis a specific aspect - the fatigue of the troops.
 5 Choose how the project is presented. This article focuses on a presentation example, so it is important to decide how your ideas will be visualized. If you have selected several important events, then you can use a time chart. If your work is based on geographic aspects (for example, battles), then a detailed map can be developed. The presentation should be structured around a central idea.
 - How about a 3D view? You can try to make a 3D map of battles with a demonstration of the movement of troops.
- You can also try papier-mâché sculptures. It is quite possible to do even Abraham Lincoln and tell your story through his quotes.
Part 2 of 4: Work plan
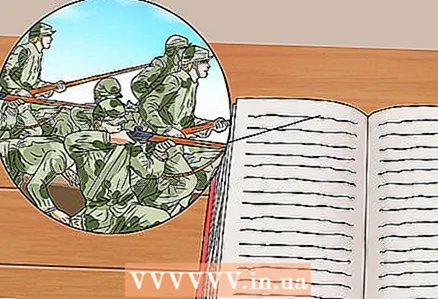
 1 Sketch it. Now that you've decided how your project will be implemented, it's time to sketch. You will need an outline and visual presentation of each item. Also decide on the content of the project, which will require research work. Take notes on the information you need.
 - Start with the central theme that you are going to cover. If this is the Gettysburg Address, put it in the title at the top of the sheet.
- Next, divide the central topic into subsections. You can call them "Historical background", "Place of utterance" and "Influence on the course of the war."
- List the key points under each subsection. For example, under "Historical Background" you can write the date, the preceding battle, and the reasons that prompted Lincoln to give his speech.
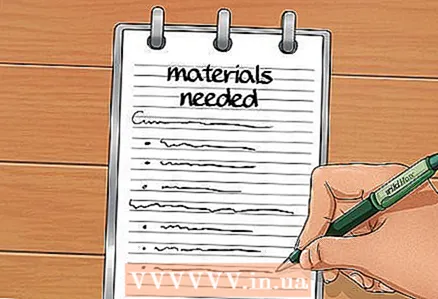 2 List the required materials. Before starting work, you must have on hand a list of necessary materials, ranging from research materials to art supplies. Group them by location - home, library, and store.
 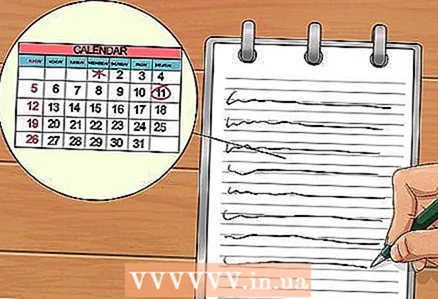 3 Allocate time. The project should consist of subtasks. Divide your assignment into easy-to-use portions: gathering materials, speaking information, writing text, artwork, and final assembly.
 - Set a time frame for subtasks, including deadlines. Work backwards from the deadline. For example, if you have 4 weeks to complete an assignment, then leave your artwork and final assembly for the last week. A week before that, you will have to write a text on the project. You will do your research a week earlier. And the first week can be devoted to drawing up a plan and collecting the necessary materials.
- If necessary, perform a more detailed breakdown of the project.For example, “speech information” can be divided into several days of study.
 4 Collect whatever you need. Take the time to collect all the materials you need in one place. If you need to go to the store, ask your parents for a ride. Collect all materials at the site of the project.
Part 3 of 4: Gathering Information
 1 Identify the required sources of information. What sources would you prefer to use? For example, for a history project, books and scholarly articles are best suited. You can also read articles in newspapers to feel the spirit of that time, as well as read the personal correspondence of famous figures.
  2 Determine the required number of sources. When doing a comprehensive high school project, you will need more resources than you would for a high school student. In the first case, you should use at least eight to ten sources, while in the second, you can get by with one or two books.
  3 Visit the library. The librarian will be your guide through the materials available. For example, you can use the shared catalog to search for books. To search for scientific articles, you need a specialized database, which is located in another tab.
 - When using a database of articles, the search should be narrowed down to thematic materials. For example, the EBSCOhost platform includes searches across a range of specialized databases, so you can limit your search to history content.
- You can also explore newspaper archives. Newspaper archives can be publicly available or paid.
 4 We cut off the excess. Having collected a solid amount of materials, they should be sorted and only the really important ones should be left. Some articles or books can only indirectly relate to your topic and without them your work will not lose anything.
  5 Take notes and link to sources. Always take notes on a topic. Do not lose important details, while trying to express the thought in your own words. When writing notes, it is important to indicate the bibliographic information of the source used.
 - Indicate the surname and initials of the author, the title of the book, the publisher, the edition number, the date and city of publication, the title and authors of individual articles (if any in the book), as well as the page number.
- For articles, the surname and initials of the author, the title of the article and the journal, the number and date of publication, the pages of the article, the specific page used, as well as the identifier of the digital object, which is usually indicated on the description page in the catalog, are indicated.
Part 4 of 4: Completing the Project
 1 Write your text. Your project will include text representing the ideas being highlighted. Indicate the location of the text on your sketch. Use the collected materials to write the text, while formulating thoughts in your own words. Also, do not forget to refer to the sources so that it is clear where the specific information came from.
 - The teacher will tell you the rules for linking or provide you with guidelines.
- If you can't figure out the methodological recommendations, then you can try to find examples of linking on the Internet.
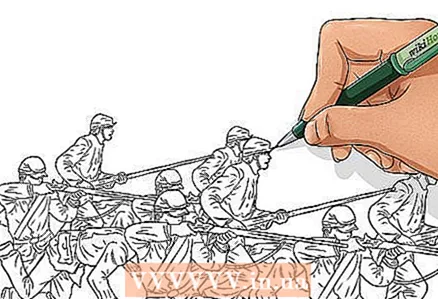 2 Draw or sketch your project. If you have an art project, then start drawing or making drawings of individual parts. When using material like papier-mâché, start sculpting. For a computer presentation, start by creating the required documents or collecting images.
  3 Completion of the project. Write or type your presentation text. Add finishing touches to visual elements. Clip all the parts you need onto a Whatman paper or piece together on your computer to get the finished product. For the final assembly of the project, refer to the previously completed sketches.
 - Double-check that the completed project covers everything that is stated in the title.
- If you missed something, then try adding this information, albeit at the very last moment.
Warnings
- Leave extra time to complete each subtask. Often there are unforeseen problems or aspects that take longer to work through.


