Author:
Florence Bailey
Date Of Creation:
28 March 2021
Update Date:
1 July 2024
![[GUIDE] How to Make a Brochure on Google Docs very Easily](https://i.ytimg.com/vi/7wUHEIQ_hf8/hqdefault.jpg)
Content
- Steps
- Method 1 of 2: How to create a brochure manually
- Method 2 of 2: How to create a brochure from a template
Google Docs is an extremely useful web-based word processing tool. It can help you create a custom brochure or use ready-made brochure templates, thereby simplifying your task. The Template Gallery has many pre-made templates made by other users, so you are sure to find what you need. Brochures are created on Google Docs and then automatically saved to Google Drive.
Steps
Method 1 of 2: How to create a brochure manually
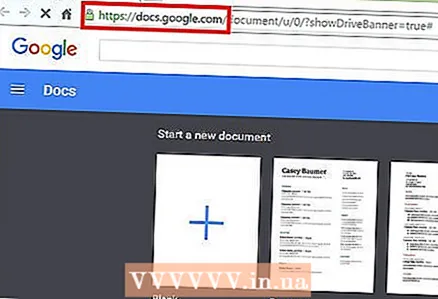 1 Open Google Docs. Open a new browser tab and visit the Google Docs website.
  2 Sign in to the system. You must enter your Gmail address and password under the "Login" button. This account will be used for all Google services, including Google Docs. Click "Login" to continue.
 - When you log in, you will be taken to the main directory. If you have already created documents, you can view and open them on this page.
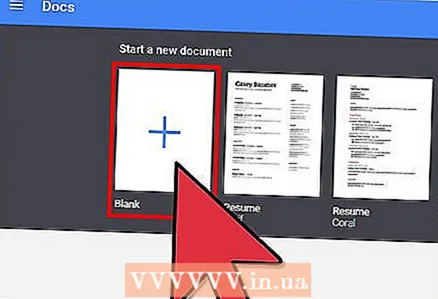 3 Create a new document. Click on the large red circle with the plus sign in the lower right corner. The web-based text processing tool will open in a new window or tab.
 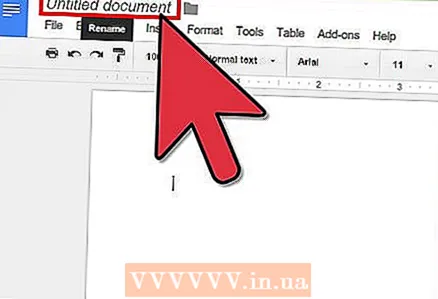 4 Rename the document. Click on the file name at the top left of the document. The current file name (New Document) is converted to a text box. Enter a new name for your brochure in the text box and confirm the change.
 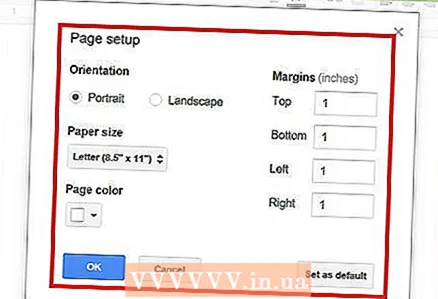 5 Set the orientation. By default, the document will be in vertical orientation. If you want to make a horizontal brochure, click on "File" in the menu bar, then "Page Settings". Switch the "Orientation" option to "Horizontal" and then click "OK". The orientation of the document on the screen changes to horizontal.
 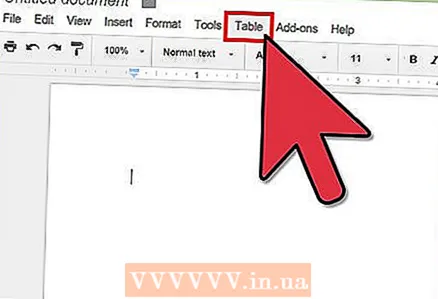 6 Insert a table. Most brochures are usually folded in either half or triple fold. To make it easier for you to work with the brochure, insert a table with as many columns as it has folds. Click on the "Table" option in the menu bar and then "Insert Table". Select the sizes you want. To fold a document in half requires two columns, and triples requires three. The table will be added to the document.
 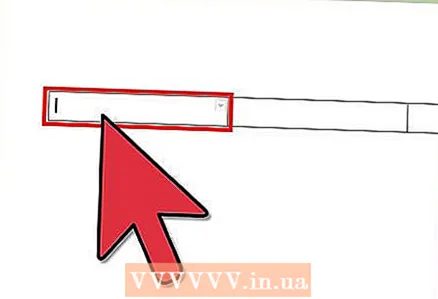 7 Enter your text. You now have a ready-made brochure template. It's time to fill it up. Enter the required text in the appropriate fields.
 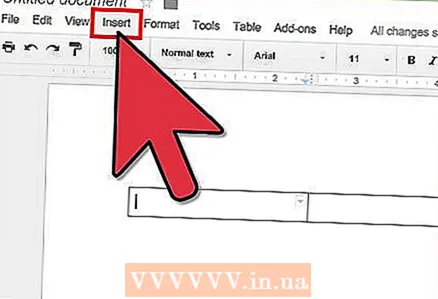 8 Insert images. Insert images into your brochure to make it more attractive. Click on "Insert" in the menu bar and select "Image". Load the image you want to use into the window that appears. To upload an image, drag it from your computer to the window. After the image is added to the brochure, adjust its size and position.
  9 Sign out of Google Docs. When you are finished modifying the template, close the window or tab. The document will be saved automatically and then you can open it from Google Docs or Google Drive.
Method 2 of 2: How to create a brochure from a template
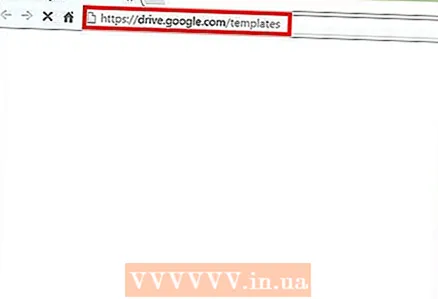 1 Open Google Drive Templates. Open a new browser tab and visit the Google Drive Templates website.
 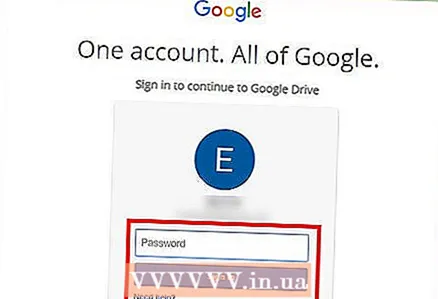 2 Sign in to the system. You must enter your Gmail address and password under the "Login" button. This account will be used for all Google services, including Google Docs. Click "Login" to continue.
 - Once logged in, you will see all public templates, templates you have used, and personal templates.
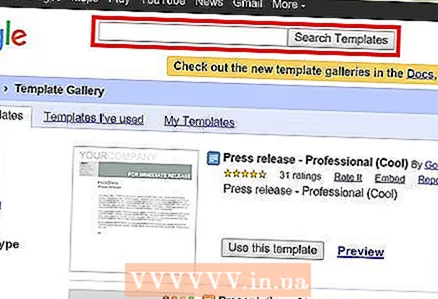 3 Find brochure templates. Enter a keyword to search for brochure templates in the search box at the top of the page. Click on the "Search for Template" button next to the search field. The screen will display the various brochure templates that are available in the gallery.
 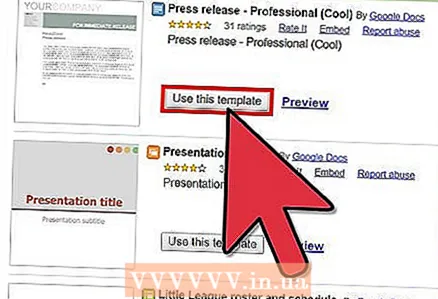 4 Select a template. Browse the templates you find. The page will contain the names of the templates, the names of their owners and short descriptions. Click on the "Use this template" button next to the template you want to use.
 - The selected template will be uploaded to Google Docs.
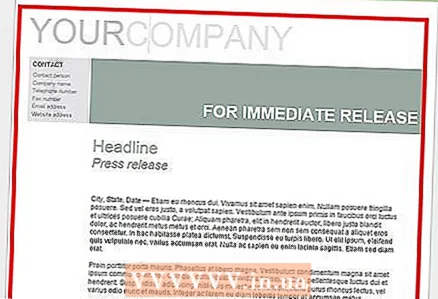 5 Change the brochure. You wouldn't use the template as it is, would you? The downloaded template could have been used for another purpose. Modify the content of the template and customize it to suit your needs. The template serves only as a basis for your work so that you don't have to start from scratch.
  6 Close the document. When you are finished modifying the template, close the window or tab. The document will be saved automatically and then you can open it from Google Docs or Google Drive.


