Author:
Ellen Moore
Date Of Creation:
19 January 2021
Update Date:
3 July 2024

Content
AutoCAD is a drawing automation software that allows the user to create accurate 2D and 3D drawings for use in construction and manufacturing. The most recent version of AutoCAD can be run on a Mac or PC. People with AutoCAD skills are able to create scale drawings that are then used to manufacture equipment, plan capital projects, design electrical wiring diagrams, and build homes and commercial buildings.
Steps
 1 Determine which project you want to use AutoCAD for. AutoCAD software has a wide range of possible uses. You can find programs that are specific to your area of interest, such as creating drawings for architectural, mechanical, civil, aeronautical or electrical applications.
  2 Make sure your computer meets the system requirements of the program. AutoCad needs to meet the following specifications to work:
 - 2 GB RAM
- 2 GB of free space for installation
- Screen resolution 1024x768
- Internet Explorer 7.0 or higher
 3 Install AutoCAD software. The process is a typical installation with step-by-step instructions of the installation wizard. Installation will take approximately 30 minutes. Once completed, the AutoCAD shortcut will appear on your desktop. Double click on the shortcut when you want to start working with the program.
 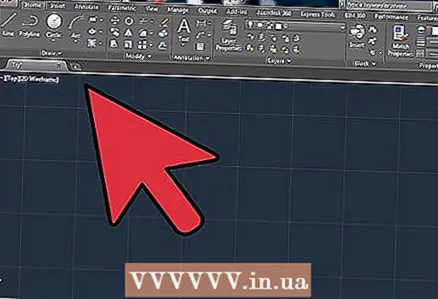 4 Get familiar with the AutoCAD workspace. The AutoCAD workspace is divided into two different areas. The drawing area covers most of the screen, and the toolbars are docked at the top and bottom of it. They include:
 - Application Button: The big red letter A in the upper left corner of the screen is the Application button. It is used to print files and exit the program.
- Quick Access Toolbar: This toolbar is next to the Application button and contains commonly used commands like Save and Open.
- Ribbon: The Ribbon is located below the Quick Access Toolbar and consists of rows of tabs (for example, "Home," "Insert," "Annotate," "View," etc.) that contain groups of standard commands and tools.
- Status bar: The bar covering the entire bottom of the screen is the status bar. It mainly consists of control settings that will allow you to track various changes during the drawing creation process.
- Command / Query Panel: Right above the status bar is the Command / Query Panel. With its help, the software can exchange information with you.
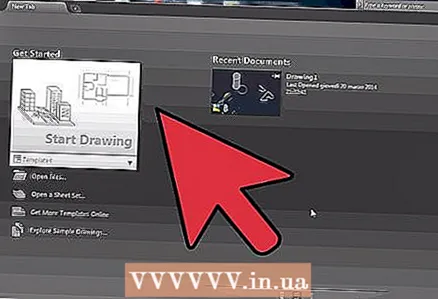
 5 Create a new drawing. On the Quick Access Toolbar, click on "File," then "New". The new drawing will use one of the standard measurement systems: English or metric.If you want to use your own settings when creating a drawing, select Templates under the Options dialog box. Draw a simple shape. Master the basic techniques of AutoCAD and keep practicing the most basic skills before tackling more complex drawings. Start with a simple exercise, such as drawing a horizontal line.
 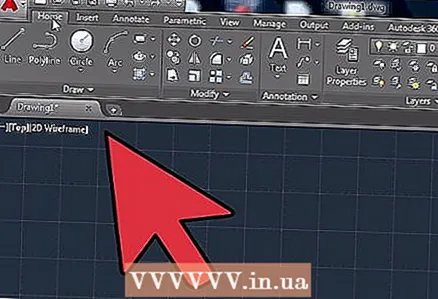 6 Find the image of a small gear at the bottom of the screen. This is the "Workspace" icon. Click on it and select "2D Drafting & Annotation."
 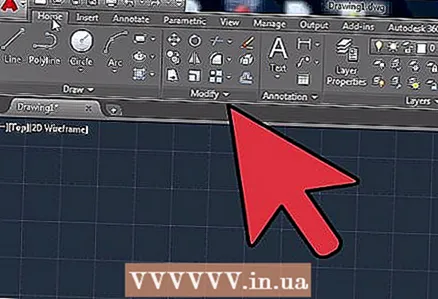 7 Click on the "Home" icon on the left side of the ribbon.
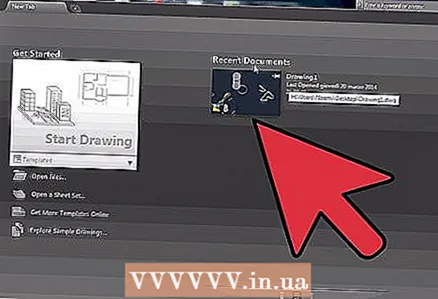 8 Select the "Line" icon from the drop-down menu.
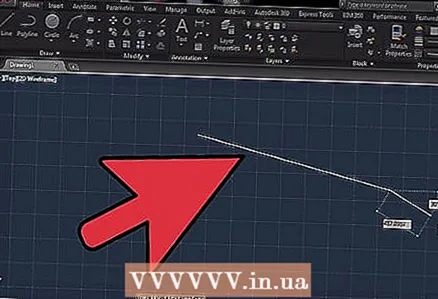 9 Check the text in the command / query bar. The text should be "Specify first point".
  10 Move the mouse cursor to the inside of the drawing area. The "+" symbol will follow the cursor as it moves.
 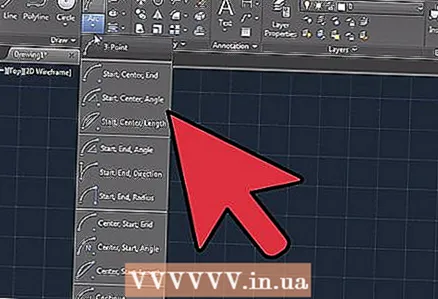 11 Left-click near the center of the drawing area. This will create the first point of the line.
 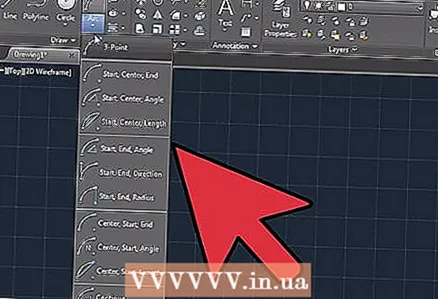 12 Find the text "Specify next point or [Undo]" in the Command / Query Panel.
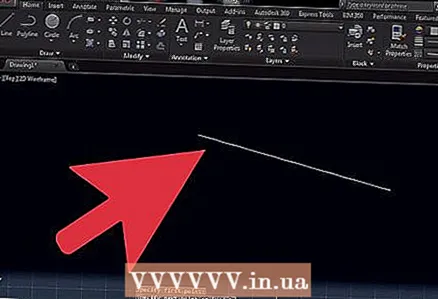
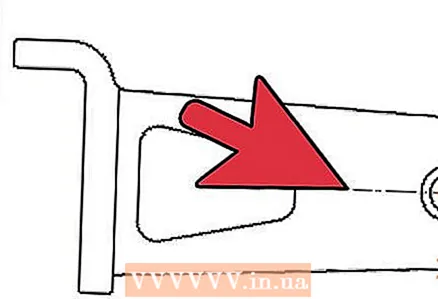 13 Enter the text "@ 40" in the Command / Query Panel and press Enter twice.
 14 This will complete the 4 "(10 cm) line. In this example, @ defines the starting point, 4 represents the unit, defines the direction, and the next number (in this case, 0) is the degree of the angle with respect to the horizontal axis.
 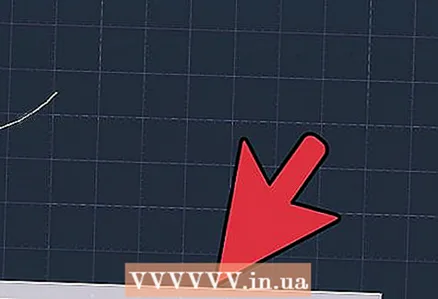 15 Experiment with other drawing options. Learn to draw other shapes and shapes, such as arches and rectangles, and learn other important functions such as erasing, changing the line type, and adding colors.
  16 Create with your newfound knowledge. As you have more experience with AutoCAD, you will be able to convert lines to 2D, planes to 3D, add faithfully reproduced materials, and work with light and shadows.
 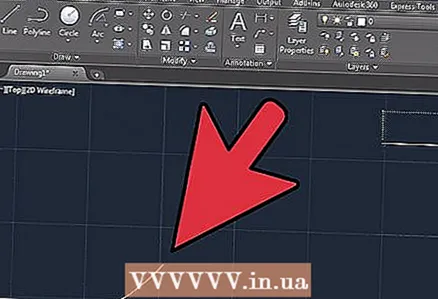 17 Save your drawing. Return to the Quick Access Toolbar, select "Options," "Open" and "Save", then execute the desired command. To completely close the program, click on the "Application" button, move the cursor to "Exit" and click the mouse.


