Author:
Sara Rhodes
Date Of Creation:
13 February 2021
Update Date:
1 July 2024

Content
- Steps
- Part 1 of 3: Marking the location of the door
- Part 2 of 3: Designing the lintel
- Part 3 of 3: Assembling Jamb and Lintel Posts
- Tips
- What do you need
The installation of the doorframe is an integral part of the new wall arrangement.The procedure is the same for both exterior and interior doors. Anyone with experience in marking and sawing wood can easily install a doorframe.
Steps
Part 1 of 3: Marking the location of the door
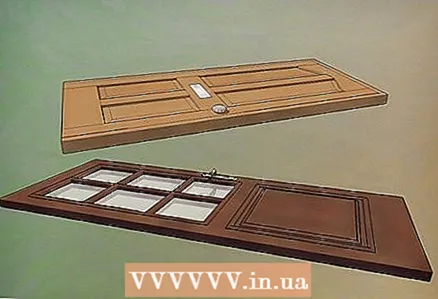 1 Select the door. Since doors come in a wide variety of sizes, you first need to choose the door you are going to install. Most doors are 75 or 80 cm wide and 2 m high, however, these are not universal parameters. Choosing a specific door will allow you to determine the dimensions of the doorway.
 - If you have not yet chosen a specific door design, then at least decide on its dimensions so that you can start working on the doorway. Write down the dimensions of the door for yourself.
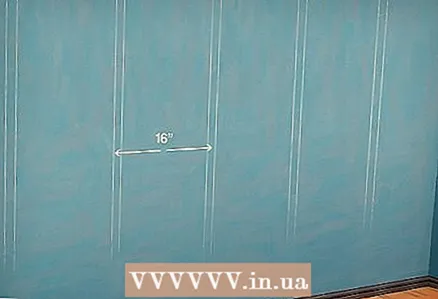 2 Choose a location for the doorway. If you choose the location of the door even at the stage of constructing the wall of a frame house, then the doorway can easily be entered between the step beams. Beams in the walls of a frame house are usually located at an equidistant distance from each other. Select the location of the door in the wall and simply do not install those beams that will block the doorway, while observing the technical requirements for the gaps between the beams on the sides of the doorway and above it.
 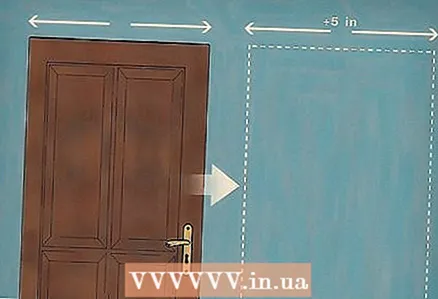 3 Mark the position of the doorframe beams. The missing frame beams will be replaced by the doorframe beams, which are additional beams. They should be located on the sides of the door. The distance between them will correspond to the width of the door plus an additional 12.5 cm.
 - If it seems to you that 12.5 cm is too much value, be aware that the pillars of the doorway will also be inserted into the door jamb.
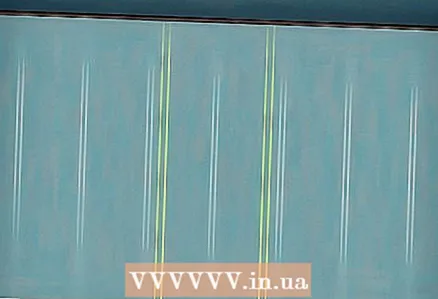 4 Mark the position of the jamb beams and doorway pillars on both the top and bottom horizontal wall rails. To do this, add the parameters of the thickness of the beams of the jamb and the pillars of the doorway. Mark the start and end points for both details. Label B for the jamb beams and C for the opening posts.
 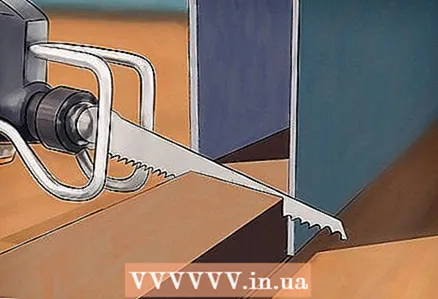 5 Cut the lower horizontal beam of the wall by half. If your wall has a horizontal beam at the base, then you will have to cut out the section that blocks the door. It is necessary to cut out the area between the supplied internal marks, intended directly for the doorway. For now, the beam should be cut only half the height so that the structure does not lose its reliability until the end of work on the doorway.
Part 2 of 3: Designing the lintel
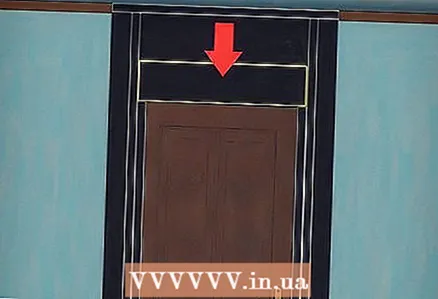 1 Measure the required lintel length. The lintel goes over the doorway and provides it with additional strength, since some of the beams of the frame structure may be missing because of it. The lintel is placed directly between the side beams of the jamb, therefore, the length should be equal to the width of the door plus the same 12.5 cm.Since the lower part of the lintel will mark the top of the doorway, vertically it should be located at the height of the door plus an additional 5 cm for the sill and floor covering.
 - For example, if your door is 2 m high, then you will mark the bottom point of the lintel at 2 m 5 cm from the bottom (not from the top) edge of the bottom horizontal beam of the wall.
- Note that the lintel parameters do not take into account the parameters of the doorway pillars. This is due to the fact that the pillars of the doorway are inserted into the opening under the lintel, and do not go higher up to the upper horizontal beam of the wall. That is, they support the lintel with themselves. Since the pillars of the doorway will join the lower horizontal beam of the wall at the bottom and top to the lintel, then for a 2-meter door they themselves must have a height of 2 m 1.5 cm. (That is, the height to the lower point of the lintel (2 m 5 cm) minus the remainder of the lower horizontal beam (approximately 3.5 cm)).
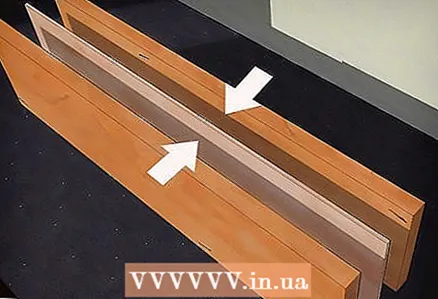 2 Cut the pieces for the lintel. The lintel will consist of two pieces of timber (with a section of 5x10 cm or 5x15 cm), installed with an edge, and, if necessary, a piece of oriented strand board laid between them. Measure out all the parts and cut carefully.
 - A layer of oriented strand board is necessary in order to bring the lintel thickness to the thickness of the doorway, so that everything works out smoothly.
 3 Collect the lintel. Ideally fold the lintel pieces together and pin them together. Use nails 8 cm long. Make sure the headroom fits well between the jamb beams.
 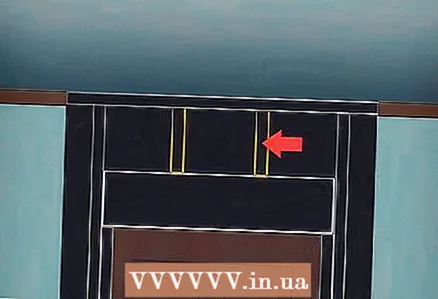 4 Measure and file the shortened stepping posts. If there is a hole between the lintel and the upper beam of the wall, then you can measure and saw the shortened stepping racks from a bar with a section of 5x10 cm in order to fix them there and provide additional strength to the space above the door.
Part 3 of 3: Assembling Jamb and Lintel Posts
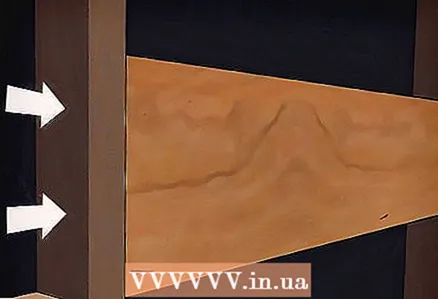 1 Attach the lintel to the side rails of the doorway. Since you have already marked on them the location of the lower edge of the lintel, now it remains only to align it according to the existing marks and nail it to the beams. Use at least four 8cm nails at each end.
 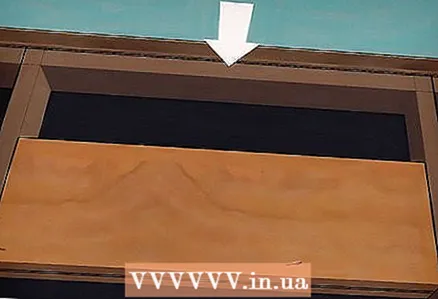 2 Attach the doorway side rails to the top and bottom wall rails. Using the previously set marks B, insert the doorway beams between the upper and lower wall beams and nail. Again, use 8cm nails.
 - Make sure each joint is straight and at a 90 degree angle.
- If you are still working on the construction of the frame of the wall where you are making the doorway, then at this stage the rest of the stepping beams of the wall are installed.
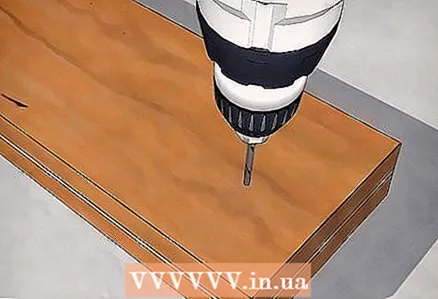
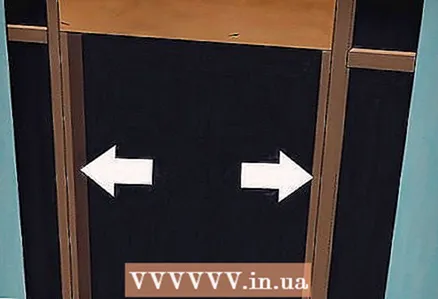 3 Attach the doorway pillars. Now that the headroom, the doorway beams, and the bottom wall beam are fastened together, you can install the doorway pillars. If you still haven't cut them, recheck the required length by measuring from the bottom edge of the lintel to the top edge of the bottom wall joist. Use 8cm nails to nail the uprights to the bottom wall joist and doorway side joists.
 - When nailing the doorway pillars to the beams, drive the nails in the direction from the pillars to the beams, and not vice versa, so that the nails from the nails do not stick out in the doorway.
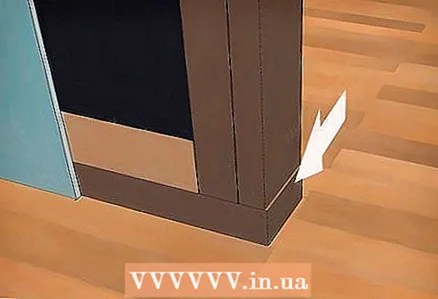 4 Finish removing the rest of the bottom wall joist. It is necessary to cut a section of the lower wall beam flush with the uprights from the doorway to the end. Do this work carefully so that everything works out smoothly.
 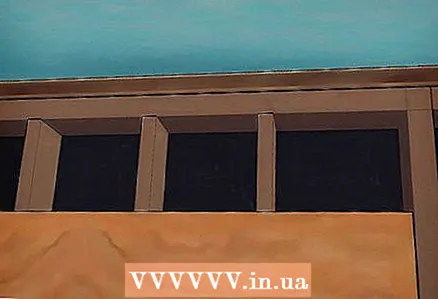 5 Attach the shortened stepping posts. When the doorway is already ready, you can strengthen the shortened step racks in the gap above it.
Tips
- Pre-cutting (even at the construction stage) of the lower horizontal beam of the wall to the size of the doorway will prevent the saw blade from breaking on the structures underneath.
- When installing a door jamb for an external door or in the opening of a load-bearing wall, you need to make a lintel from a wider bar, for example, with a section of 5x20 cm, and not 5x15 cm.
- When placing the beams of the frame structure, observe regular intervals between them so that the structure does not lose its integrity.
What do you need
- Roulette
- Pencil
- A sufficient amount of timber with a section of 5x10 cm and 5x15 cm
- A circular saw
- Plywood or Oriented Strand Board
- A large number of nails 8 cm long
- Construction gun


