Author:
Virginia Floyd
Date Of Creation:
8 August 2021
Update Date:
1 July 2024

Content
- Ingredients
- Steps
- Method 1 of 5: Preparation
- Method 2 of 5: Heat Cider Brewing
- Method 3 of 5: Sulfite Cider Brewing
- Method 4 of 5: Fermentation
- Method 5 of 5: Finishing and Pouring the Cider
- Tips
- What do you need
Attention:this article is intended for persons over 18 years of age.Strong cider is actually surprisingly easy to make, but it takes a little practice and experimentation to get it right. Here are the basic steps required to make a strong cider, along with some variations to consider.
Ingredients
For 20 liters of strong cider
- 20 l. apple juice or apple cider
- 1 sachet of dry wine yeast or dry brewer's yeast
- 2 Campden tablets (optional)
- 2 tsp (10 ml) nutritional yeast (optional)
- 1 cup (250 ml) water
- 1 tsp (5 ml) pectin enzymes (optional)
- 1/2 cup (125 ml) cane or brown sugar (optional)
- 500 ml pasteurized apple juice without preservatives (optional)
Steps
Method 1 of 5: Preparation
 1 Choose your ingredients. Apple juice and yeast are the only ingredients needed, but there are other ingredients you can add to change the final product.
 - You can use apple juice or apple cider. Many people prefer the taste of pasteurized, sweet apple cider, but you can use fresh apple juice just as easily. Note, however, that unpasteurized juice will need to be sanitized before fermenting.
- Dry wine yeast is affordable and effective. Brewer's yeast is also readily available and is easier for many aspiring cider makers to work with. Specialty yeast packets specifically labeled for use with strong apple cider are also available, but tend to be more expensive.
- The pectin enzyme helps remove cloudiness and is often used to heat cider boils.
- Adding sugar to the cider will make it stronger.
- Extra apple juice is only needed if you plan on using a starter culture.
 2 Disinfect materials. All materials should be washed with hot water and a mild dishwashing detergent before use.
 - Rinse well to remove soapy residue.
- The materials must dry completely before use.
- Wild bacteria can spoil the taste of cider. They can even turn a batch of strong cider into vinegar!
 3 Prepare the starter the day before. This step is optional, but making the starter will make sure the yeast is alive, active, and fermenting faster.
 - Pour the apple juice into an airtight container with a tight-fitting lid.
- Pour half of the yeast into the apple juice, close the container and shake well for a few seconds.
- When bubbles are released, release the pressure inside the container by opening the lid.Note that bubbles can only start to form after five to six hours.
- Close the lid and refrigerate the container overnight.
- Remove the leaven for a few hours before boiling the cider.
Method 2 of 5: Heat Cider Brewing
 1 Know the pros and cons of thermal cider making. Using heat to make strong cider is the safest and most common method.
 - If you are using unpasteurized juice from an unknown source or juice from unripe apples, the heat method is the safest to use.
- However, heat diminishes the flavor of the cider. Heat is also more likely to cloud the cider.
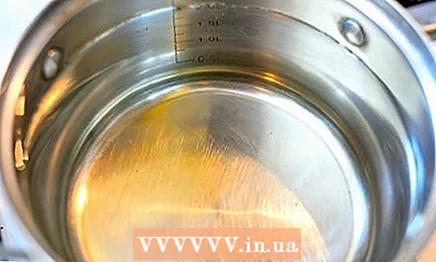
 2 Pour the juice into a large saucepan. Place a pot of cider on the stove over medium heat.
 - Do not let the juice boil. The high temperatures required for boiling will cause the pectins in the apple juice or apple cider to be released. The result is a cloudy cider.
- Monitor the temperature of the juice using a food thermometer that attaches to the side of the pot. Make sure the thermometer is showing the temperature of the liquid, not the side or bottom of the pot.
 3 Heat the juice to 75 ° C. After the juice or cider has reached this temperature, cover the pot with a lid and let sit for 10 minutes.
 - Look under the lid often to make sure the juice is not boiling.
 4 Chill the juice in an ice bath. Fill a large tub or container with ice water. Place a covered saucepan in ice water to quickly reduce the temperature.
 - The juice is ready for the next part of the process when it reaches 20 ° C.
Method 3 of 5: Sulfite Cider Brewing
 1 Understand when and why to use this method. This is an alternative brewing method and should be used if you do not intend to reheat the juice before fermentation. You don't have to use both brewing methods.
 - Sulfites are found in Campden tablets.
- Sulfites are usually neutralized when the cidor is ready to use.
- Let the juice stand after adding sulfites to ... reduce the concentration of sulfites. Otherwise, sulfites can destroy some of the yeast.
 2 Pour the juice into the fermentation unit. Pour the juice or cider directly into the container in which you intend to ferment the cider.
 - A professional fermenter leaves the least room for error, but you can use a 4 liter empty milk can for a cheaper option.
 3 Crush Campden tablets. Use a spoon to crush the tablets into a fine dust.
 - Crush the tablets on a plate or other surface from which the powder can be easily removed.
 4 Stir Campden tablets into juice. Add crushed Campden tablets to juice or cider and mix gently with a spoon.
  5 Let the juice sit for two days. Cover the fermenter and let the sulfites sit in the juice for a full two days before fermenting the cider.
 - You will ferment the juice with residual sulfites in it. These sulfites will not be filtered out.
Method 4 of 5: Fermentation
 1 Boil water. Bring water to a boil in a small saucepan over medium heat. Turn off the heat as soon as the water boils.
 - You only need to boil the water if you plan to use nutritional yeast, and you only need to use nutritional yeast if you do not plan to use a starter culture. Sourdough essentially serves the same purpose as nutritional yeast, so you need to use one or more.
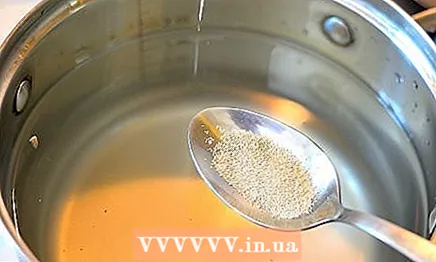 2 Add nutritional yeast. Stir the nutritional yeast in hot water until completely dissolved. Let the water cool down to a temperature of 30-40 ° C.
 - Note that it is perfectly normal for the mixture to smell bad after adding nutritional yeast.
 3 Add pectin enzyme. If desired, stir in the pectin enzyme into the mixture when the mixture has cooled to room temperature.
 - A pectin enzyme is used to remove turbidity.
- When using starter culture instead of nutritional yeast, mix the pectin enzyme with the starter culture just before adding the starter culture to the fermenter. Make sure the starter is at room temperature.
 4 Combine the boiled juice mixture in the fermenter. Pour the juice into the fermenter if you haven't already. Add the mixture or starter to the juice and stir gently.
 - A professional fermenter is the best choice, but you can use a 4 liter empty milk can for a cheaper option.
- Remember to leave at least 5 cm of clear space from the top of the fermenter.
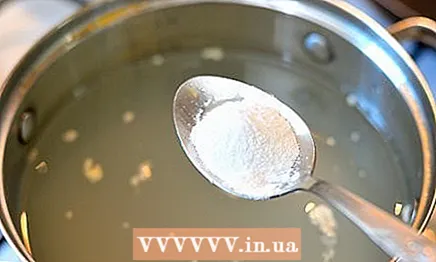
 5 Add sugar if desired. No sugar is needed, but if you add sugar to the juice before the juice is fermented, it will create a cider with a higher alcohol content.
 - What's more, strong sugar cider will improve over the years.
 6 Add yeast. Gently add any remaining yeast to the cider.
  7 Cover the fermenter and attach an airlock. The gases will accumulate inside the container while the cider ferments, but the plastic airlock will allow the gases to avoid blocking inside the container.
 - Adjust the airlock at the top of the fermenter.
- Note that instead of an airlock, you can use a piece of plastic wrap by pulling it over the top of the fermenter and securing it with an elastic band. This method doesn't work as well, but it is usually effective.
 8 Let it stand for a few weeks. Place the cider out of direct sunlight, at a temperature of 20-30 ° C.
 - The cider should ferment for the next two weeks. During this time, you can see the process through the transparent sides of the airlock.
- After you no longer see any process through the airlock, wait another 3-5 days before pouring the cider.
Method 5 of 5: Finishing and Pouring the Cider
 1 Check the cider with a hydrometer. This is not necessary, but it is the best way to ensure that the fermentation process is complete.
 - Strong cider should taste completely dry.
 2 Bottle the cider. Once the fermentation process is complete, your strong cider is ready to be bottled.
 - Attach a plastic faucet to the fermenter if it doesn't already have one. Attach a food tube to this faucet and pour the cider into clean, food grade bottles.
- Seal the bottles.
- The cider should be ready to drink within two weeks.
- Wait a few months if you want the cider to be effervescent.
 3 Alternatively, let the cider clear. If you think the cider is too cloudy, clean it by passing it through a second fermenter before filling.
 - Pump the cider into the second fermenter using a tap and food tube.
- Let the cider ferment in this container for an additional month.
- When bottling refined cider, use the same method you would use to bottle strong cider straight away, as described above.
- Please note that the refined cider will not have any bubbles.
 4 Enjoy. Store strong cider for several months and enjoy when you feel like it.
Tips
- When using pasteurized cider or juice, you can skip all brewing processes and ferment the juice just like that. This method is the most risky, and the cider is likely to be neither tasty nor usable in the end. It is generally best to work with canned, uncooled apple juice.
What do you need
- Fermenter 20 liters with lid
- Plastic stopper
- Faucet
- Food grade plastic pipe
- A spoon
- Glass bottles with caps or stoppers
- Pan
- Second 20 liter fermenter with lid (optional)


