Author:
Virginia Floyd
Date Of Creation:
5 August 2021
Update Date:
1 July 2024
Content
- Steps
- Part 1 of 4: Suction tube
- Part 2 of 4: Cleaning the Tube
- Part 3 of 4: Cleaning the hole
- Part 4 of 4: Mastering and Daily Care
- Tips
Tracheostomy can be a rather complicated procedure, not only for the patient, but also for the home carers (family members of the patient or health care professionals). Thus, it is very important that some basic concepts are clearly articulated and provide a smooth direction to improve the patient's health. We will go over how to handle and manage a tracheostomy after surgery, as well as what the procedure is and why it is done, starting with step 1 below.
Steps
Part 1 of 4: Suction tube
 1 Gather the required materials. The suction tube is important because it helps keep the airway clear and therefore allows the patient to breathe through the airway. Lack of adequate debridement is the leading cause of infections in people with a tracheostomy tube. Here's what you need:
 - Suction machine
- Suction catheters (sizes 14 and 16 are used for adults)
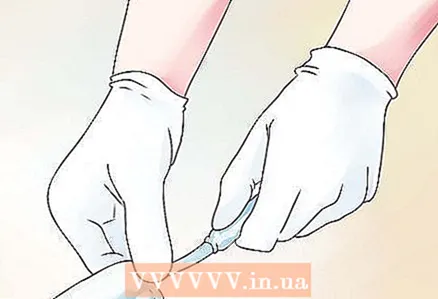
- Sterile latex gloves
- Normal saline solution
- Ready-made normal saline solution or 5 ml syringe
- Clean bowl filled with tap water
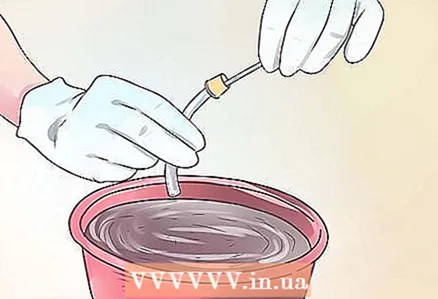
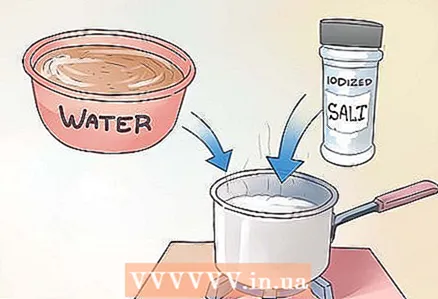 2 You can use your own saline solution if you wish. Normal saline can be instilled into the tracheostomy tube to add moisture to the tracheobronchial tree and stimulate coughing. Moisture helps to loosen the discharge so that it is sucked out, and the cough is important for the mucus to rise and be sucked off. For patients who are at home with a tracheostomy tube, saline can also be prepared at home. Here's how:
 - Boil 220 g of water for five minutes.
- Add 1 teaspoon (5 g) iodized table salt to boiling water
- Mix the solution thoroughly
- Store solution in a clean, closed container.
- Allow it to cool completely before using.
- Change solution daily
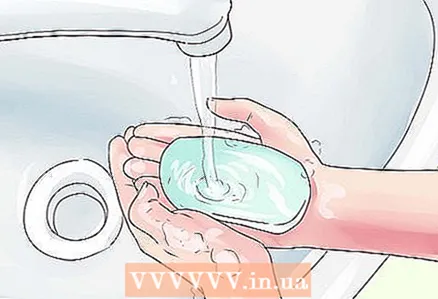
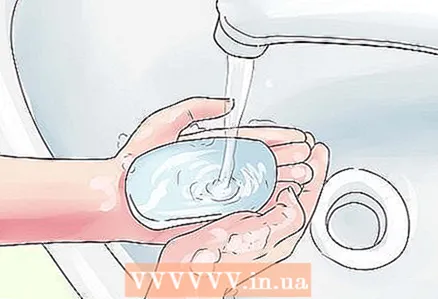 3 Wash your hands. The caregiver should wash her hands before and after a tracheostomy. This will protect both the caregiver and the patient from infection. Proper hand washing:
 - Warm water, lather, antibacterial soap and scrub; be sure to thoroughly clean the entire surface of your hands. This should take 10-20 seconds.
- Rinse off with warm water
- Dry your hands with a paper towel or clean cloth
- Close the tap through paper or cloth. This must be done to avoid contamination of hands on the surface of the tap.
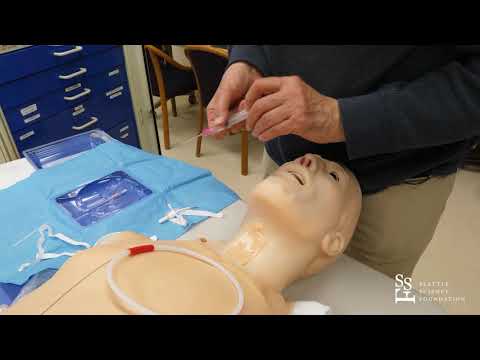
 4 Prepare and check your catheter. The suction bag must be carefully opened. Avoid touching the tip of the catheter. Control the opening at the end of the catheter with your thumb. The catheter is attached to a tube that is on the suction machine.
 - The suction machine should be turned on and tested through the catheter for suction capability. This can be done by placing your thumb on the catheter port and inlet.
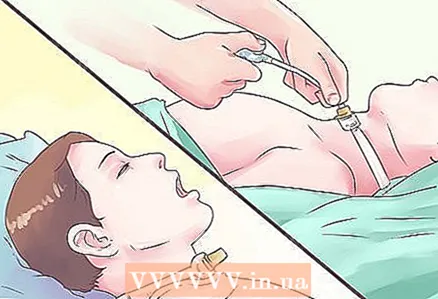
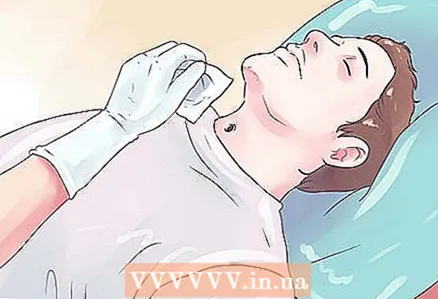
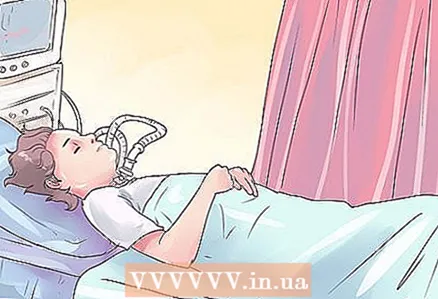
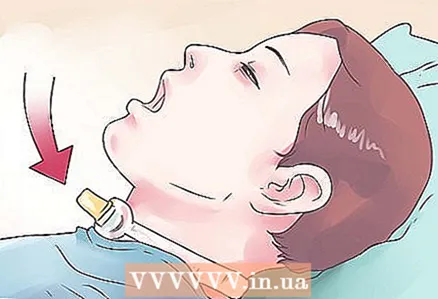 5 Prepare patient and saline. Make sure the patient's shoulders and head are slightly raised. The patient should be comfortable during this procedure. Have him take 3 to 4 deep breaths.
 - Once the patient is comfortable, inject 3-5 ml of saline into the tracheostomy tube. This will help stimulate coughing and add moisture.Normal saline should be used regularly during aspiration to prevent thick and large mucus plugs from forming.
- The saline solution should be instilled several times and the amount should be varied depending on the person and the volume of secretions.
- The caregiver should observe the color, odor, and volume of secretions because they will alert you to a possible infection.
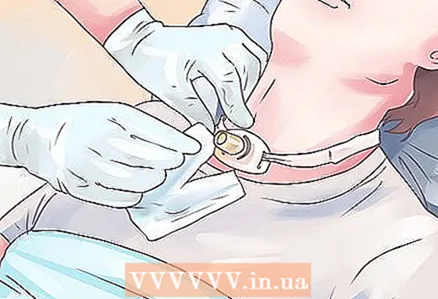
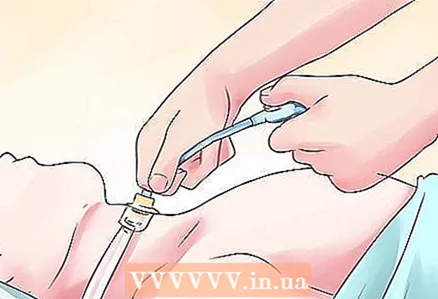 6 Place the catheter. The catheter is gently placed into the tracheostomy tube until the patient starts to cough or stops and can continue. It should be inserted into the tube to a depth of 10 to 12 cm. The natural curve of the catheter should match the curve of the tube.
 - The catheter must be held in place a little before suction begins. This should be a little more comfortable for the patient.
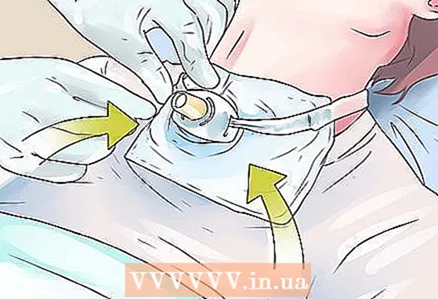
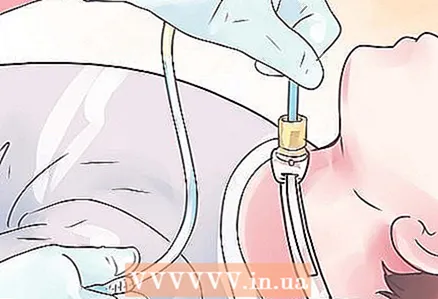 7 Apply suction. Suction is done by manipulating the orifice with a finger while removing the catheter in a slow circular motion. Suction should not be carried out longer than the person is able to hold their breath; in fact, it shouldn't take more than 10 seconds.
 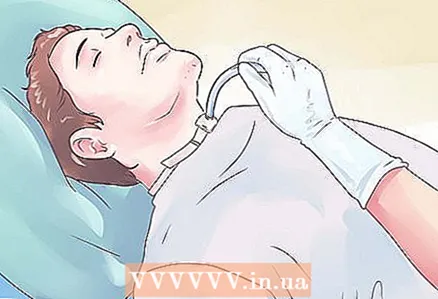 8 Let the patient get oxygen. The patient should take 3-4 slow deep breaths. This will indicate how long the catheter should be left inside the tracheostomy opening. The patient should receive oxygen after each suction or should be given time to breathe as long as the patient needs.
 - With the help of a catheter through the tube, the secretions enter the water in the bowl. If you're done, you can remove the catheter.
 9 Repeat the process as needed. The catheter can be inserted again and the procedure can be repeated depending on the amount of secretions in the airway. Suction should be repeated until the airway is free of mucus / secretions.
 - After suction, oxygen returns to the level it was before the procedure.
- The catheter can be pulled out of the tube. See the next section for more details.
Part 2 of 4: Cleaning the Tube
 1 Collect materials. It is important to keep the tubing clean and free of mucus and debris. It is advisable to clean the tubes at least twice a day, once in the morning and once in the evening. However, the more often the better. Here's what you need:
 - Sterile saline / saline water solution (can be homemade)
- Diluted hydrogen peroxide (1/2 part water mixed with 1/2 part hydrogen peroxide)
- Small clean bowls
- Small thin brush
 2 Wash your hands. It is very important to wash your hands from germs and dirt. This will help prevent any infection due to unsanitary care.
 - The proper hand washing procedure has been discussed above. The most important thing to remember is to use mild soap, lather, and dry your hands with a clean, dry tissue.
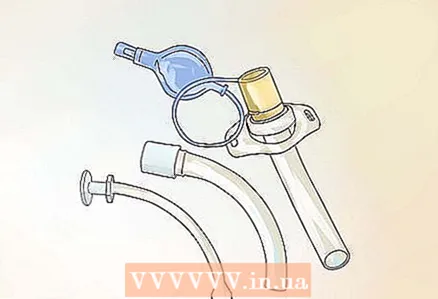
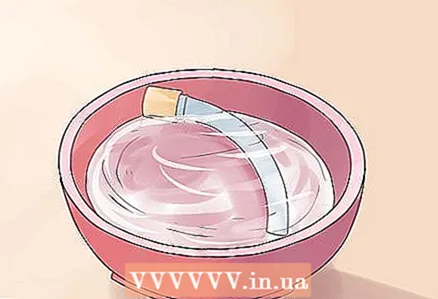 3 Get the tube wet. Place hydrogen peroxide solution (peroxide diluted halfway with water) in one bowl, and sterile saline solution in the other bowl. Carefully remove the inner tube while holding the bowl carefully.
 - Place the tube in a cup of hydrogen peroxide solution and let it soak completely until the crusts and particles on the tube soften and are removed.
 4 Start cleaning the tube. Use a fine brush to scrub inside and out, ensuring that all mucus particles and any other elements are removed. Be careful not to apply too much pressure or use a coarse brush as this may damage the tubing.
 - After you have completely cleaned the tubing, place it in saline solution or a sterile bowl of salt water for at least 5-10 minutes.
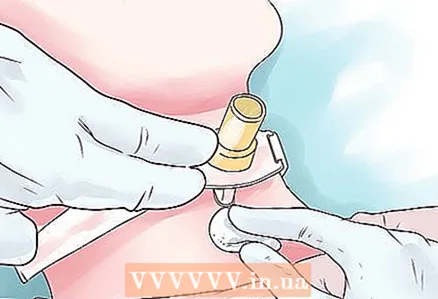
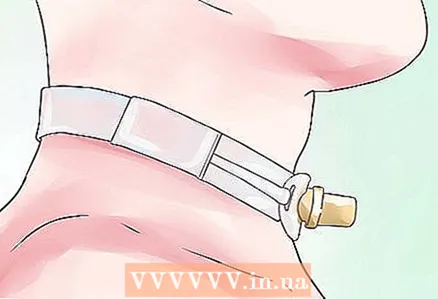
 5 Place the tube back into the tracheostomy opening. Now carefully insert the tube back into the tracheostomy opening while holding the cervical plate. Rotate the inner tube until it is firmly in place. You can gently pull the tube forward to make sure the inner tube is actually secured in place.
 - This completes the cleanup procedure successfully.Do this, as already mentioned, at least 2 times a day, thereby protecting yourself and the patient from unwanted consequences. As they always say in the medical field, "prevention is better than cure."
Part 3 of 4: Cleaning the hole
 1 Assess the condition of the hole. It should be inspected each time after aspiration for signs of infection and the condition of the skin checked. If there are any symptoms of the disease (or something seems questionable), see your doctor immediately.
  2 Clean the area with an antiseptic. Clean the area with a sterile antiseptic such as Betadine Ointment. The hole should be cleaned in a circular motion, starting at 12 o'clock and working down to the 3 o'clock position.
 - Then the site is cleaned with new gauze soaked in antiseptic from the 12 o'clock position to the 9 o'clock position.
- To clean the bottom half of the hole, wipe with a new gauze starting at the 3 o'clock position and working towards the 6 o'clock position. Then rub from 9 o'clock to 6 o'clock position.
- This should be repeated using clean gauze for each step and this should be repeated until the hole is clean.
 3 Change your dressings regularly. The dressing around the tracheostomy site should be changed at least twice a day. It helps prevent infection in the opening and in the respiratory system and promotes the integrity of the skin. The new dressing helps prevent the skin from absorbing any secretions that may leak through the holes.
 - A wet bandage should be changed immediately. This is the bread for bacteria and complications can arise if this is not done.
Part 4 of 4: Mastering and Daily Care
 1 Cover the tube when it is outside. The reason doctors and healthcare professionals are so aggressive about this is because an uncoated tube can easily allow foreign particles to enter the tube itself and further down the windpipe. These foreign particles can include dust, sand and other common air pollutants. This can lead to irritation and even infection, which should be avoided.
 - Entering them into the tube leads to excess mucus production in the windpipe, which, unfortunately, can clog the tubes and cause breathing difficulties and even infection, which can sometimes be life-threatening because it directly affects the lungs and therefore breath. Thus, it is important to cover the pipe.
- On a windy day, for example, when even after covering the tube and taking precautions, there may still be a chance of dust getting in. In such cases, it is advisable to clear the pipe every time you return home from a picnic.
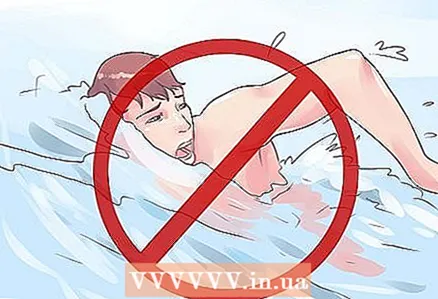 2 Avoid swimming. Swimming in particular can be very dangerous for any tracheostomy patient. When a person is swimming, the tracheostomy hole is not completely waterproof and the cap on the tube does not fit very tightly. As a result, when water enters the opening, a state of "aspiration pneumonia" can occur, when water enters the lungs directly from the tracheostomy opening and causes immediate suffocation.
 - Potential breathing difficulties can lead to death quite quickly. In addition to this, even a small amount of water can also excite bacteria and cause infection, which can lead to even more dire complications.
- When taking a bath, use the tube lid. The principle of application is the same.
 3 The air you breathe must be humid. This duty is usually carried out by the nose. However, after a tracheostomy, this function does not work, so it is important that the air you breathe is not dry. To achieve this goal, you can:
 - Place a damp cloth on the tube and keep it moist.
- Use a humidifier that can help humidify the air in dry households.
- Sometimes, you can put a few drops of sterile saline water (saline) into the tube.This can help loosen the thick plugs of mucus that can eventually come out easily with a cough.
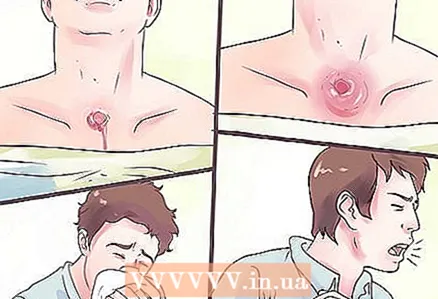 4 You need to know when to be concerned. Control signals after which you should immediately see a doctor:
 - Bleeding from the hole
- Fever
- Redness, swelling around the hole
- Shortness of breath and coughing (even after clearing the pipe and emptying mucus from the airways)
- Vomit
- Convulsions / seizures
- Chest pain
- After any other signs of discomfort or anything that may seem unusual, you should immediately see a doctor who can guide you and monitor you if and when necessary.
=== Understanding Tracheostomy ===
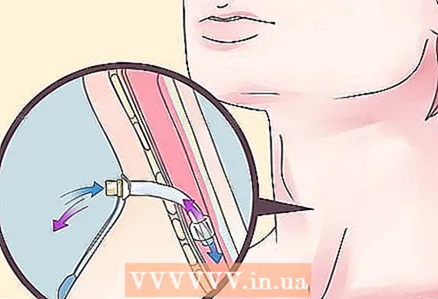 1 You should know what a tracheostomy is. Before studying this procedure, it is important to know that two long tube-like structures extend down from our mouth: the esophagus (food tube) and the trachea (windpipe).
 - A tracheostomy is a surgical procedure that involves creating an opening in the trachea (externally through the neck), into which a tube is then inserted to serve as breathing and to remove any secretions or blockages in the airways.
- This is usually done under general anesthesia. However, in an emergency, you can use a weak local anesthetic.
 2 You need to understand in what situations a tracheostomy is necessary. There are a number of reasons. However, the key point is that there are signs that the person is unable to breathe properly. This procedure is done to clear the airways. For example:
 - When the patient is unable to breathe on their own (eg, severe coma)
- When an object obstructs breathing
- Problems with the voice box (larynx) create breathing problems
- Paralysis of the muscles surrounding the trachea
- Cancer in the neck that may press on the trachea
 3 You need to know how long you need the pipe. In most cases, the tracheostomy is temporary and after normal breathing and general health have been restored, the tube is removed and the opening closed. However, some patients require a tracheostomy on an ongoing basis. This, of course, requires even more careful maintenance.
 - A tracheostomy can be quite traumatic for the patient. This not only causes discomfort, but can also interfere with speech, as well as the ability to move freely in everyday life and enjoy life. This is especially true for patients who are dealing with tracheostomy in the long term. Keep this in mind when caring for the patient, he may need moral support.
Tips
- Always make sure the tube is free of mucus and have a spare on hand if needed.
- Always clean up mucus with a cloth or tissue after coughing.
- Ultimately, whether it's self-help or the help of family members or healthcare professionals, cleanliness, hygiene and avoiding exposure to foreign objects will ensure that no complications occur.


