Author:
Carl Weaver
Date Of Creation:
21 February 2021
Update Date:
1 July 2024

Content
Line graphs provide a visual representation of how variables change as a function of a specific factor. For example, you can make a line graph of how the weight gain of a particular animal changes over time, or how the average temperature in a city changes from month to month. You can also show more than one change line of a variable on one graph, as long as they relate to the change in the same two values along the axes. So how do you build a line graph? Just follow the steps below.
Steps
Part 1 of 2: Markup the Chart
 1 Draw a large cross in the center of the squared chart paper. It will represent two axes, one vertical and one horizontal. The vertical axis is designated as Y and the horizontal axis as X. The intersection of the axes is considered to be the origin.
 - The area under the X-axis to the right of the Y-axis represents negative values. If there are no negative values in your dataset, you can skip this part of the graph.
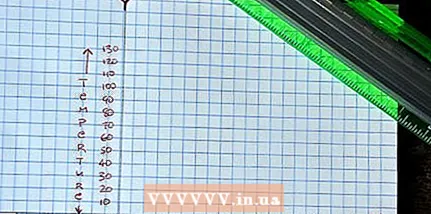 2 Write on each axis what variable value it displays. Continuing the above example of the relationship between temperature and time, you would label the x-axis with the word "months" and the y-axis with the word "temperature".
  3 Determine the numerical runaway of the data to be included in the graph. Continuing the above example of the relationship between temperature and time, you would label the axis so that it can include the highest and lowest temperatures. If the numbers are not very large, you can make the ruler for changing the values along the axis larger, so that, for example, the graph is drawn over the entire area of the space drawn by the axes, and not just 10% of it.
 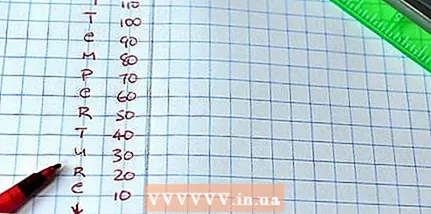 4 Decide how many values each division on the axis will have. For example, you might want to mark 10 degrees Fahrenheit (-12.22 degrees Celsius) on the Y-axis and one month on the X-time axis.
 - Label the divisions plotted with their respective values. You do not need to label each division, sometimes it is enough to label only large equidistant intervals along the axis.
Part 2 of 2: data entry
 1 Enter your data into the graph. For example, if the city's high temperature was 40 degrees Fahrenheit (4.44 degrees Celsius) in January, find the January marker on the X-axis and the “40 degrees” marker on the Y-axis. Mentally extend these marks to the point where they intersect and mark that point. Do the same for the rest of the data until you complete the graph.
 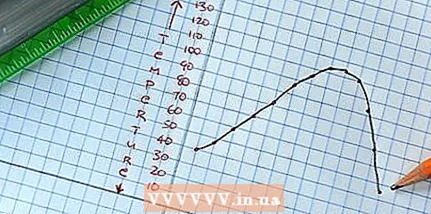 2 Connect the leftmost point of the graph to the one to the right of it with a straight line. Continue to connect all the points in order from left to right. The points should be connected with straight lines, not curves.Once you are done connecting the dots, you have successfully plotted all the data on a line graph.
  3 Repeat the process if you need to display multiple datasets in one graph. In this case, use a different color handle or a different line type for each new dataset. Make a footnote on what the color / style of each line means. For example: "High temperatures".
 - Repeat steps 1 and 2 for the next dataset, using a different grip color or line style for each new dataset.
- Please note in the footnote what the second line color / style means. For example, the red line could be used to represent high temperatures, and the blue line could be used to represent low temperatures. Continue repeating steps 1 and 2 for each new dataset that you want to plot.
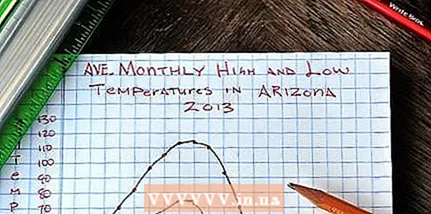 4 Sign the title of the chart at the top of the page. For example, Seattle's monthly average high and low temperatures for 2009. You need to write after you understand how much space all the lines will take on the graph.
What do you need
- Squared chart paper
- Pen or pencil
- Ruler


