Author:
Alice Brown
Date Of Creation:
26 May 2021
Update Date:
24 June 2024
Content
- Steps
- Method 1 of 5: Setting Up Your DVD Player
- Method 2 of 5: HDMI cable
- Method 3 of 5: Audio / video (A / V) cable (with three plugs)
- Method 4 of 5: Component Cable (Five-Plug)
- Method 5 of 5: Troubleshooting
- Tips
Today, DVD technology is widespread in the entertainment world, and the cost of a DVD player does not exceed the price of a good dinner. By connecting a DVD player to your TV, you can enjoy movies for countless hours, and modern TVs and DVD players make the connection process much easier.
Steps
Method 1 of 5: Setting Up Your DVD Player
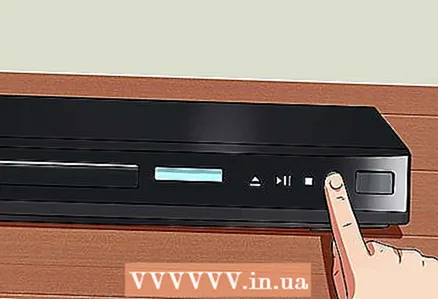
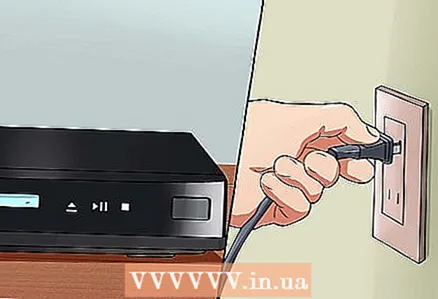
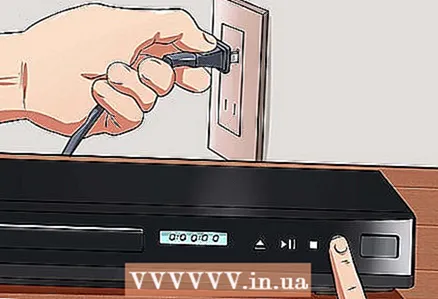 1 Plug your DVD player into a power outlet. Then turn it on by pressing the Power button. The LED will light up or a welcome message will be displayed.
 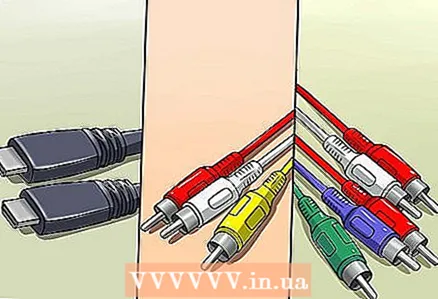 2 Determine which cable you need. There are three ways to connect your DVD player to your TV, each requiring a specific cable. The matching cables are supplied with the DVD player, but you need to check the connectors on the TV. You can find out in the user manual or simply by looking at the back (or side) of the TV. The three most common connectors are:
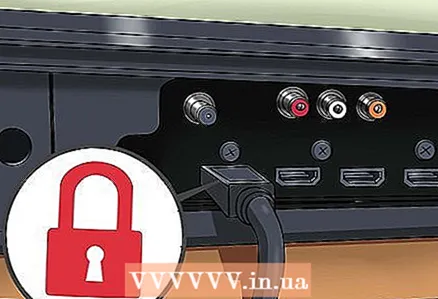
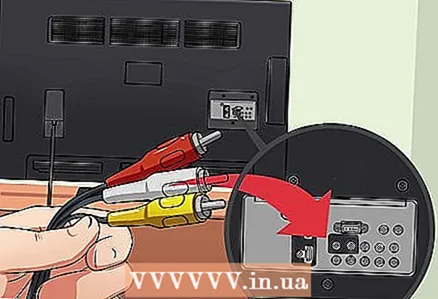
 - HDMI... This is the most modern connector, reminiscent of a USB connector, but thinner and longer than the latter. HDMI transmits the highest quality signal, both video and audio.
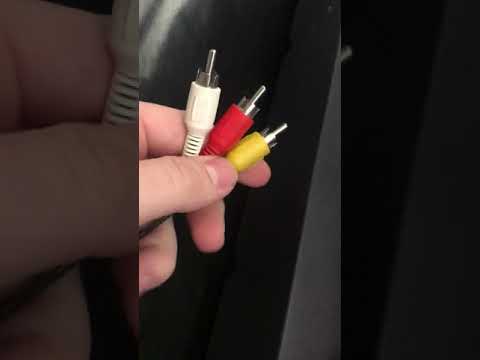
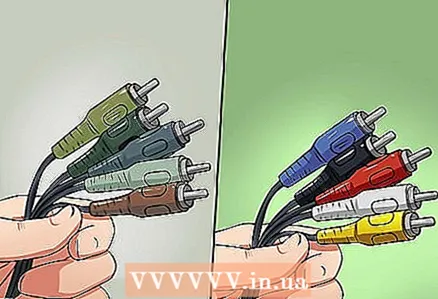
- Audio / video (A / V) connector (with three jacks)... This is the most common connector for DVD players. This connector has three sockets - red, yellow, white; the colors of the jacks match those of the TV.
- Component connector... Provides better signal quality than A / V connector, but inferior to HDMI. This connector has five different colored jacks.
 3 Find the appropriate cable. Once you've figured out which connectors you'll be using, find the correct cable and make sure it's not torn or frayed. If you need a new cable, take a photo of the connectors and show the photo to an electronics store employee.
 - If possible, use an HDMI cable as it is easier to connect and provides high quality signal transmission.
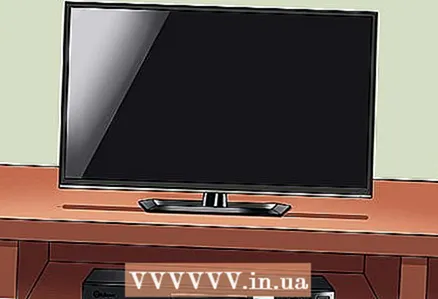 4 Place the DVD player close to the TV so that the cable can reach the connectors on the TV (on the back or side).
- Do not stack electronic equipment on top of each other - it becomes hot, which can cause damage.
 5 Turn off your DVD player and TV before connecting the cable. This will prevent the possibility of electric shock and protect the equipment.
 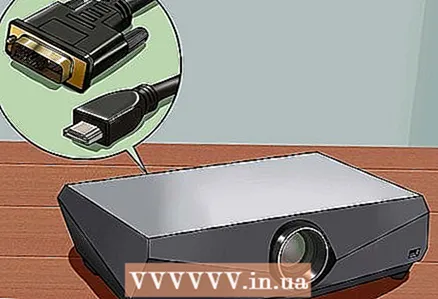 6 Remember that the above methods work for a projector as well. Most projectors have the same connectors as TVs, so you can connect your player to the projector.
 - Some projectors have a DVI connector (instead of an audio / video connector). In this case, follow the steps in the next section, but use a DVI cable instead of an HDMI cable.
Method 2 of 5: HDMI cable
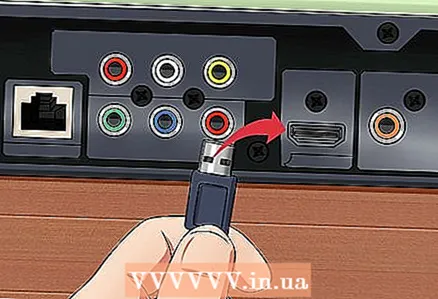 1 Connect one end of the cable to the HDMI connector on your DVD player. Look for the “HDMI” or “HDMI OUT” label.
 - This type of connection allows you to get the maximum signal quality and is usually only present in modern players.
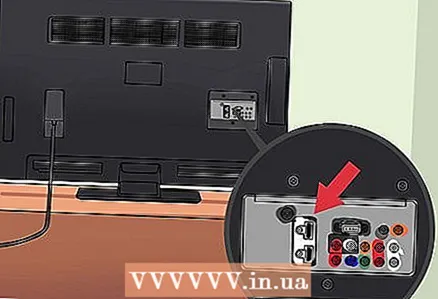 2 Connect the other end of the cable to the HDMI jack on your TV. This connector is only found in modern TVs. Perhaps there will be several such connectors. Look for the “HDMI” or “HDMI IN” mark with the corresponding connector number.
 - If the connector is marked with a number such as “HDMI 1”, remember this number to properly set up your TV.
 3 Make sure the cable is connected securely. An HDMI cable carries both video and audio signals, no matter which end of the cable you connect to a particular device. However, if the cable is too taut or loosely inserted into the connector, the signal will deteriorate.
 - There are many different HDMI cables available, but if you don't want the perfect picture, any cable that will reach your TV will do.
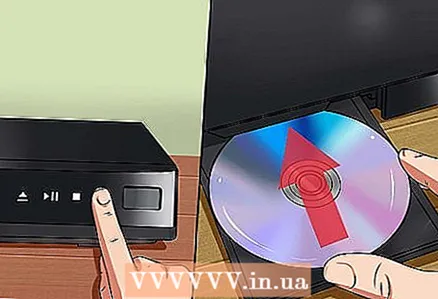 4 Turn on your DVD player and TV. Insert a DVD to check the picture and sound quality.
 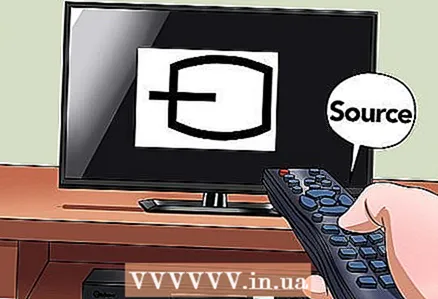 5 Switch the TV to receive the signal from the corresponding jack. To do this, use the “Source” or “Input” button on your TV or remote control. The connector you select must match the connector to which you connected the cable.
 - If you don't know which jack you plugged the cable into, turn on your DVD player and tune the TV to receive a signal from each jack to find the input signal.
Method 3 of 5: Audio / video (A / V) cable (with three plugs)
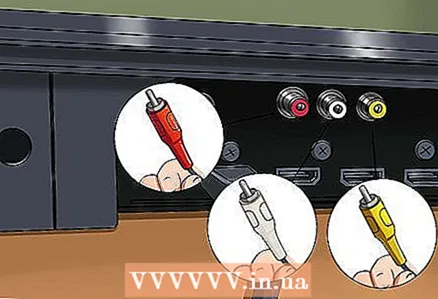
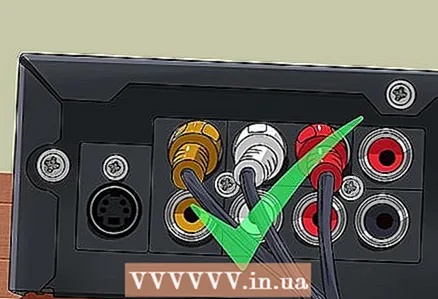
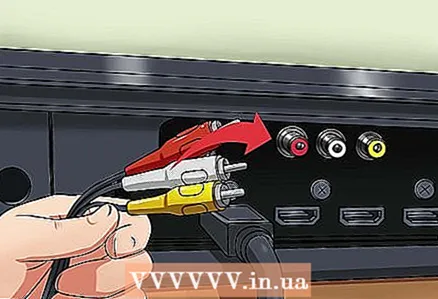 1 Connect one end of the cable to the A / V connector on your DVD player. Look for "Output" lettering and color coding (red, white and yellow sockets). The red and white (audio) jacks can be separated from the yellow (video) jacks.
 - The corresponding connectors are usually grouped together and delimited by a line indicating which connectors are included.
 2 Connect the other end of the cable to the appropriate jack on your TV. Look for "Input" lettering and color coding (red, white and yellow sockets). Also, A / V connectors are usually numbered so that the user can properly set up the TV.
 - The corresponding connectors are usually grouped together and delimited by a line indicating which connectors are included.
- The red and white (audio) jacks can be separated from the yellow (video) jacks.
 3 Make sure the cable is connected securely. Also check the color matching of the plugs and jacks on both the DVD player and the TV.
 - Perhaps the A / V cable will be split into two cables - yellow (video) and red-white (audio).
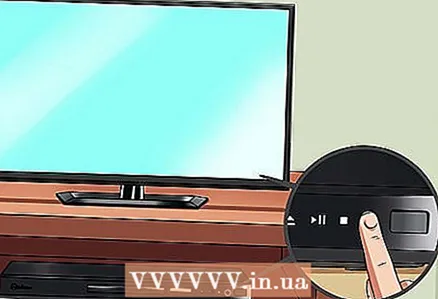 4 Turn on your DVD player and TV. Insert a DVD to check the picture and sound quality.
 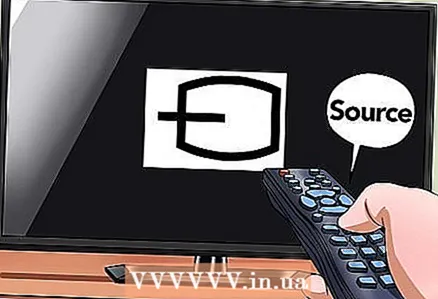 5 Switch the TV to receive the signal from the corresponding jack. To do this, use the “Source” or “Input” button on your TV or remote control. The connector you select must match the connector to which you connected the cable.
 - If you don't know which jack you plugged the cable into, turn on your DVD player and tune the TV to receive a signal from each jack to find the input signal.
 6 Make sure the A / V cable is connected properly. If you receive only video or only audio, or no signal, then you have not connected the cable correctly. Check the color matching of the plugs and jacks on both the DVD player and the TV.
 - If there is no video signal, connect the yellow plug to the yellow input jack on the TV and the Output jack on the DVD player.
- If there is no audio signal, connect the red and white plugs to the red and white jacks on the “Input” jack on the TV and the “Output” jack on the DVD player.
Method 4 of 5: Component Cable (Five-Plug)
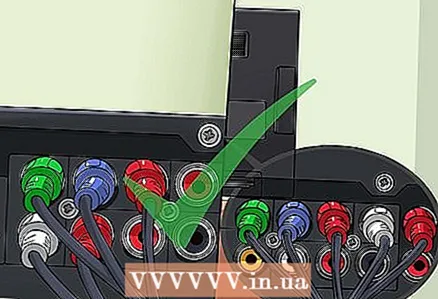
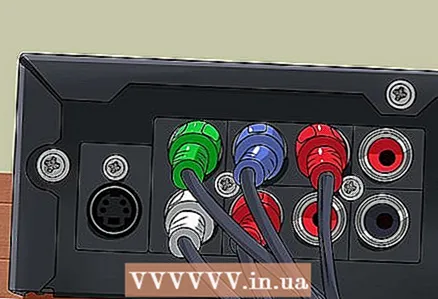 1 Connect all five plugs on one end of the cable to the corresponding jack on your DVD player. Look for "Output" lettering and color coding (green, blue, red, white, and red sockets). The red and white (audio) jacks may be separate from the green, blue, and red (video) jacks, so make sure you connect all five plugs.
 - Note that the component cable has two red plugs, which can be confusing. Therefore, lay the cable on the table - the order of colors should be as follows: green, blue, red (video), white, red (audio).
- Some component cables only include green, blue, and red plugs (for video transmission). In this case, you will need a red and white audio cable (similar to the cable described in the previous section).
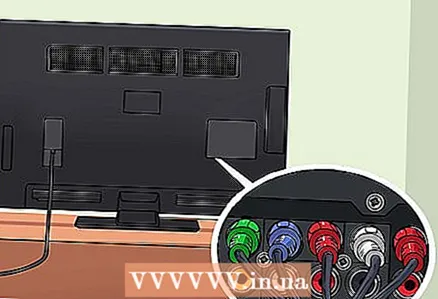 2 Connect the other end of the cable to the appropriate jack on your TV. Look for "Input" lettering and color coding (green, blue, red, white, and red sockets). Also, the component jacks are usually numbered so that the user can properly set up the TV.
 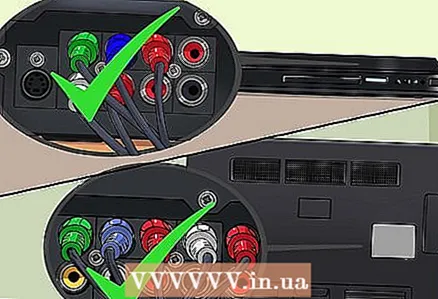 3 Make sure the cable is connected securely. Also check the color matching of the plugs and jacks on both the DVD player and the TV.
 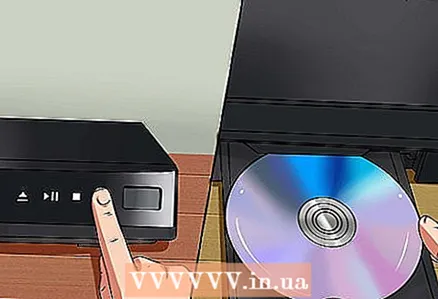 4 Turn on your DVD player and TV. Insert a DVD to check the picture and sound quality.
 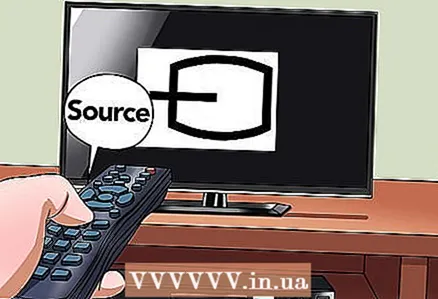 5 Switch the TV to receive the signal from the corresponding jack. To do this, use the “Source” or “Input” button on your TV or remote control. The connector you select must match the connector to which you connected the cable.
 - If you don't know which jack you plugged the cable into, turn on your DVD player and tune the TV to receive a signal from each jack to find the input signal.
 6 Make sure the component cable is connected properly. If you receive only video signal or only audio signal, or no signal, then you have not connected the cable correctly.
 - If there is no video signal, connect the green, blue and red plugs to the green, blue and red sockets of the “Input” connector on the TV and the “Output” connector on the DVD player.
- If there is no audio signal, connect the red and white plugs to the red and white jacks on the “Input” jack on the TV and the “Output” jack on the DVD player.
- Double check that the red plugs are connected to the correct jacks.
Method 5 of 5: Troubleshooting
 1 Make sure the DVD player is plugged into a power outlet (wall or power strip).
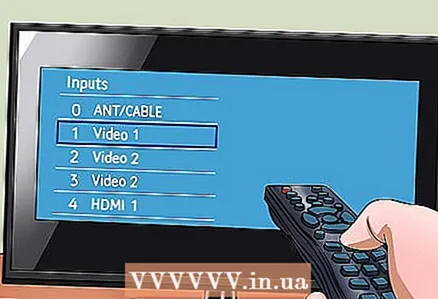 2 Check all the input or additional channels, one of which will transmit the signal from the DVD player.
- On some TVs, input channels are labeled according to the connector type: “HDMI”, “AV” and “COMPONENT”. Return to the first section if you are unsure which connector you are dealing with.
 3 Replace cable. If the cable is old, the wires may be damaged and the plugs may come loose. All this leads to poor contact.
 - Note: Many companies sell very expensive cables. You probably won't feel any difference between expensive and cheap cables. This is especially true for HDMI cables: a cable for a couple of hundred rubles will work no worse than a cable for a couple of thousand.
Tips
- You will most likely receive a quick start guide with your DVD player, which contains basic instructions for connecting and using the player.


