Author:
William Ramirez
Date Of Creation:
23 September 2021
Update Date:
1 July 2024

Content
- Steps
- Method 1 of 3: Hand Wash
- Method 2 of 3: Washing in the washing machine
- Method 3 of 3: Recovering the color of faded LEGO pieces
- Tips
- Warnings
You can be the original owner, or you can buy used LEGO bricks that have turned into grubby chunks of dirt over the years. It will not be so difficult to clean them, but with a large collection of parts it will take a lot of time. After cleaning your LEGO blocks, you can also try to restore them to their original color, which was lost due to sun fading.
Steps
Method 1 of 3: Hand Wash
 1 This method should be used to minimize possible damage to parts. This method will take more of your time than the others, unless the LEGO is just a little dirty. Use this method when cleaning your favorite or collectible LEGO pieces to protect them from accidental damage.
 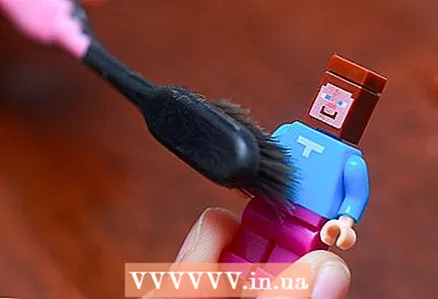 2 Clean non-waterproof parts with a dry towel or toothbrush. Set aside any decal or patterned parts, as well as complex components that should not be disassembled, such as swivel discs. Use a dry towel to clean them or remove stubborn dirt with a new toothbrush.
 - Delicate electrical parts can be cleaned with alcohol wipes.
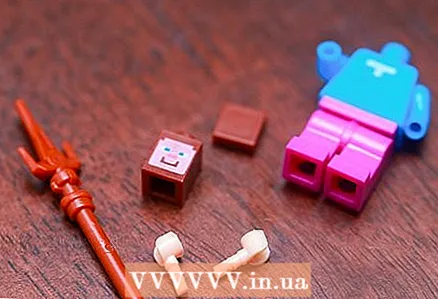 3 Divide all other blocks. Separate all water-resistant parts from each other, unless they are stuck. Be sure to disassemble all prefabricated parts such as tires.
 - If you have a large collection of parts, place them in separate containers of 200-300 pieces.
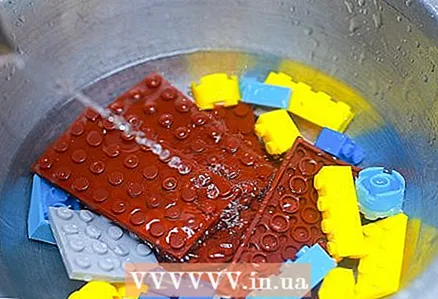
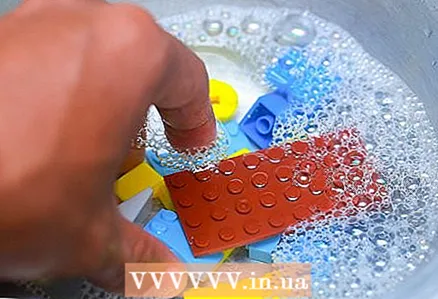 4 Rinse parts in soapy water. Place the disassembled LEGO bricks into the container. Cover it with lukewarm water and add a little dish soap or other liquid detergent. Rinse the parts gently by stirring with your hands.
 - Never use a cleaning agent containing bleach.
- Never use water hotter than 40 degrees Celsius.
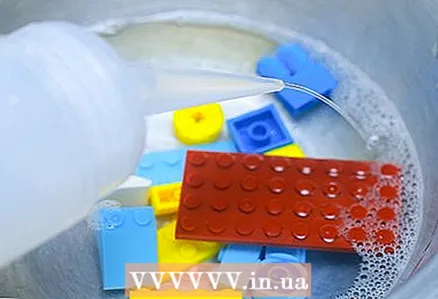 5 Add wine vinegar (optional). If the parts smell bad, or if you want to sanitize them, add wine vinegar to the water. Use about ¼ - ½ of the water available in vinegar.
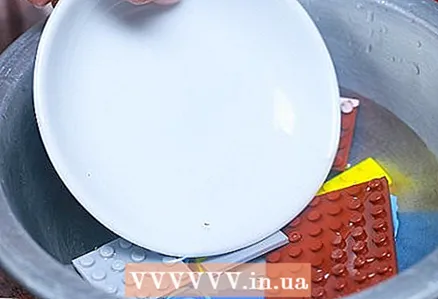
 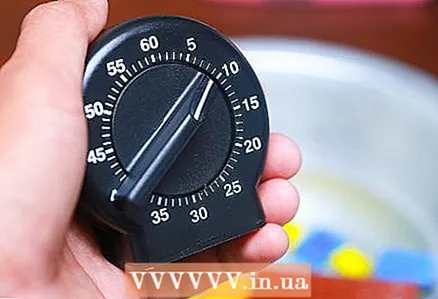 6 Leave the parts to soak. Let the parts soak for at least 10 minutes and then check them. If the water becomes very dirty, replace it with fresh, soapy water and let it soak for another hour or even overnight if convenient.
  7 Rub the details if necessary. If the parts are still dirty, you may need to rub them with a new toothbrush or toothpick to clean the grooves.
 - Transparent plastic parts such as window panes are easily scratched. Only rub them with your fingers.
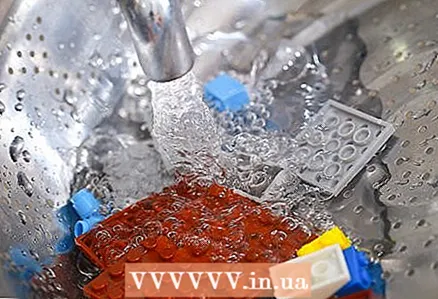 8 Rinse the parts. Transfer the LEGO pieces to a strainer or colander and rinse with cold water to rinse off any soap and loose dirt.
 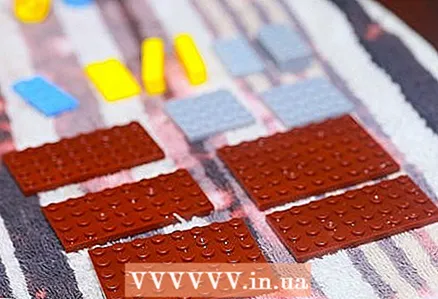 9 Dry the parts. Alternatively, you can scroll through the parts in a salad dryer to get rid of excess water. Then spread the wet blocks in a single layer on a towel so that the water can drain down. To speed up the drying process, turn on the fan to blow over the parts.
 - Do not use a hair dryer, it can ruin your LEGO.
Method 2 of 3: Washing in the washing machine
 1 Follow these directions at your own risk. LEGO Customer Support warns people against using washing machines as there is a risk of melting and breaking parts. Many LEGO bricks can come out of the washing machine unscathed, but that doesn't necessarily mean your blocks will be able to withstand the test of your washing machine.
  2 Divide the details. Separate the parts from each other, unless they are hopelessly stuck together with dirt. Set aside all printed, moving parts, electrical parts, and transparent parts. All of the above should be wiped off with a dry towel or alcohol wipes so as not to damage.
 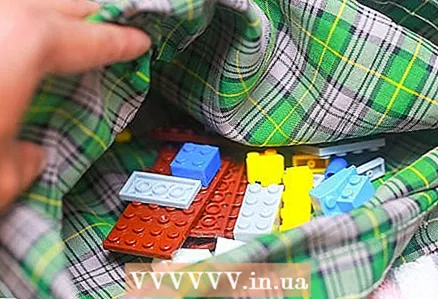 3 Place the parts in a laundry net or pillowcase. The laundry mesh will prevent your washing machine from getting jammed with LEGO pieces and will minimize possible damage from drum rotation, but the parts may be scratched. If you do not have a special mesh for washing clothes, you can use a pillowcase, just do not forget to close the zipper on it or tighten the inlet with an elastic band.
 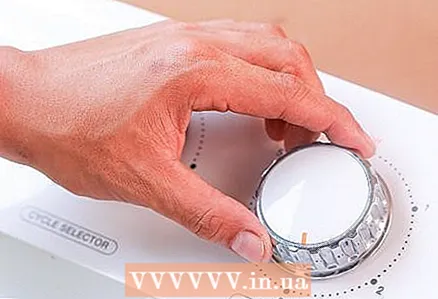 4 Set the washing machine to a delicate wash cycle using cold water. Use the most gentle wash program available with your washing machine and use only cold water. Temperatures above 40 degrees Celsius can melt LEGO pieces.
 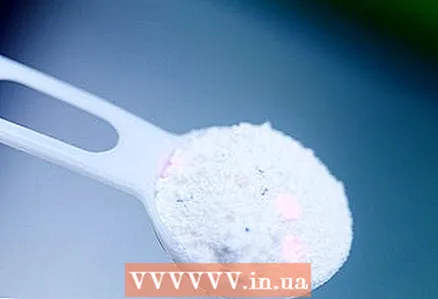 5 Add liquid detergent. We recommend using a mild liquid detergent rather than powder to avoid scratching the parts. If you're having trouble finding a gentle detergent, look for products that claim to be environmentally friendly.
 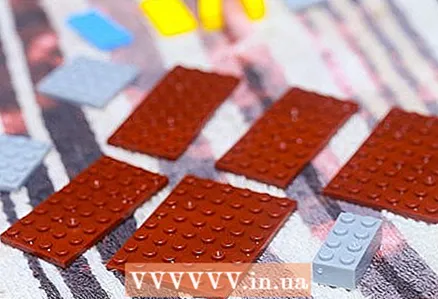 6 Leave the parts to dry. Spread the parts out on a towel so that the water can drain off. To speed up the drying process, ventilate the room, but keep the parts away from heat. Depending on the humidity of the air, the parts may dry for 1-2 days.
Method 3 of 3: Recovering the color of faded LEGO pieces
 1 Wash the parts first. This method can reverse sunlight-induced fading, but it is not designed to wash off dirt. Before using it, use one of the above LEGO cleaning methods.
 - In this case, after washing the parts, there is no need to dry them.
 2 Place the parts in a transparent container. Sunlight is an important part of this method, so use a clear glass or plastic container. Place it in a sunny place, but keep it away from children and animals, as you will be using inedible products.
 - Since hydrogen peroxide only reacts in the presence of ultraviolet light, only sunlight or light from an ultraviolet lamp can be used.
- Do not use this method for decal parts and electrical parts.
 3 Fill the parts with hydrogen peroxide. Use a regular 3% peroxide solution from your pharmacy. You will need enough of it to completely fill the discolored blocks.
 - Although 3% hydrogen peroxide is safe for your skin, wear gloves and goggles to minimize skin contact. Be careful not to get the peroxide in your mouth or hair. Children should ask an adult to perform this procedure.
 4 Weight large floating parts. Some of the LEGO parts can float in hydrogen peroxide. Use a heavy object to drown them.
  5 Stir the parts once an hour. Stirring the parts with a stick or gloved hand will release the bubbles that form and cause them to float. For best results, try to stir the parts about once an hour. If parts are left to float on the surface for too long, a white streak may remain along the waterline.
 - If after an hour no bubbles have formed, then the peroxide has disintegrated and predominantly turned into water. Drain and try a different bottle of peroxide.
 6 Rinse and dry the LEGO bricks when they have recovered their color. The process usually takes about 4-6 hours. It all depends on the strength of the sunlight and the freshness of the hydrogen peroxide. Then place the parts in a colander, rinse and let dry.
Tips
- Clean electrical parts with alcohol wipes.
- Chaotic movement of blocks in the washing machine can lead to their pooling. One person even sold these random LEGO creations.
Warnings
- Do not put LEGOs in a tumble dryer, as they can melt or break in it.


