Author:
Gregory Harris
Date Of Creation:
9 August 2021
Update Date:
1 July 2024

Content
Tired of wrestling with broken buttons on your remote? If some buttons do not work or require a strong press, this article is for you! The biggest problem with the remote control is the conduction between the keyboard and the PCB.
Steps
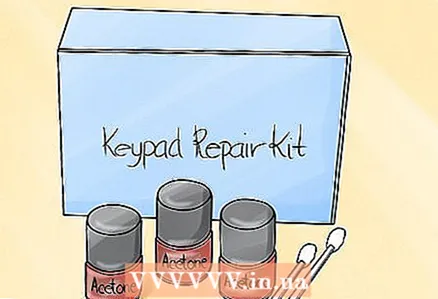 1 Purchase a repair kit, which, depending on the manufacturer and configuration, costs from 100 to 500 rubles. The reason this kit is worth purchasing is because it comes with a PCB cleaner, which you will need.
 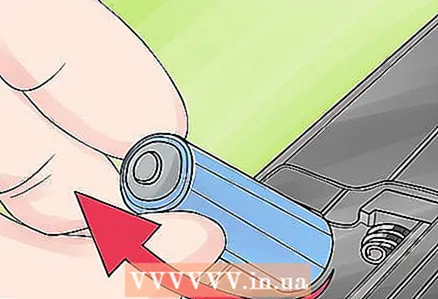 2 Remove the batteries from the remote control.
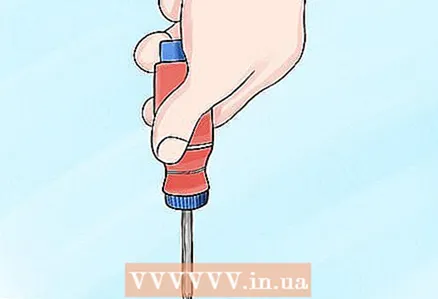 3 Remove all screws from the remote control. Make sure to remove all screws. Some of them can be found in the battery compartment, under sliding covers, or even under the stickers on the bottom of the remote control.
 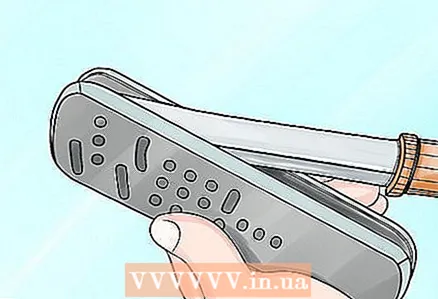 4 Using a dull knife or other suitable object, carefully open the remote control by inserting the knife into the slot on the side or top.
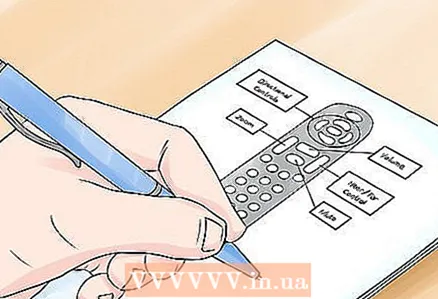 5 After opening the remote, note down the location of buttons and other parts so that you can put them back in place when reassembling. You can take a photo of the location of the parts in the open control panel - this will allow you to clearly see the location of each part.
 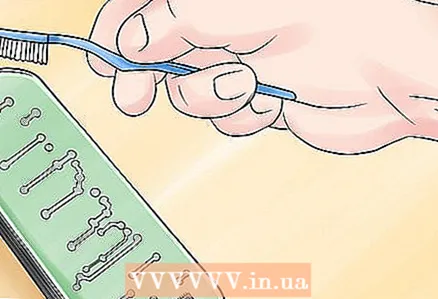 6 Clean any dirt and oil from the PCB and keyboard. Check if the remote is working after cleaning, dirt may have been the only problem. An old toothbrush and grease solvent will do a great job of cleaning your keyboard and cabinet. The best cleaning solution for PCBs is alcohol. Simply wipe the PCB with a cotton swab and let it dry.
 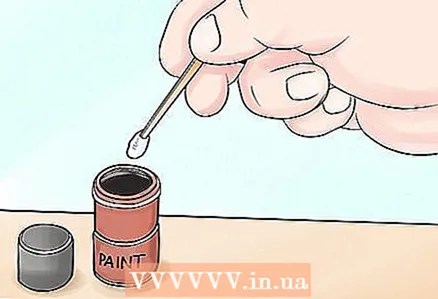 7 Take a cotton swab, soak it in alcohol or acetone (acetone is usually included in the repair kit) and wipe all black contacts that interact with the PCB on the inside of the keyboard.
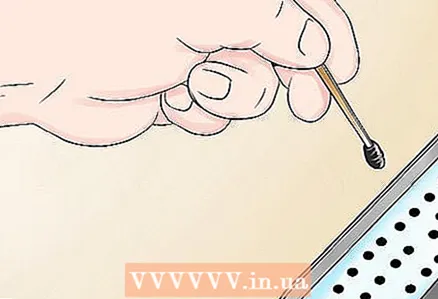 8 Apply conductive paint (included in the kit) to the previously cleaned keyboard contacts. It is best to do this with a strip of cardboard (included in the repair kit). Dip the strip into the paint and then apply it to each contact on the keyboard.
  9 Let the remote control dry for a few hours, preferably a day.
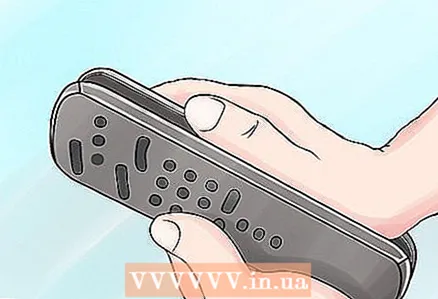 10 Assemble the remote carefully. Do not forget to return all parts to their places.
 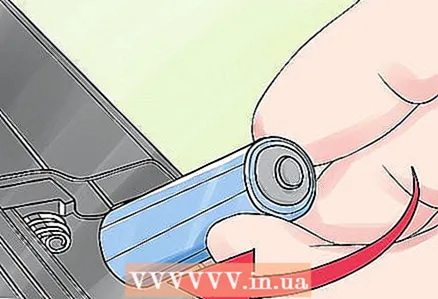 11 Insert the batteries into the repaired remote control.
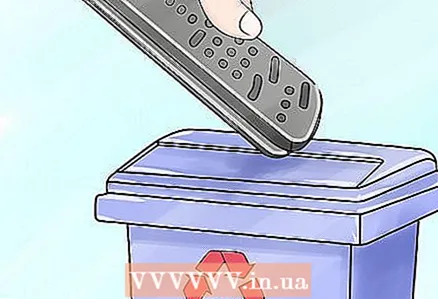 12 If the remote control does not work, it is better to think about buying a new one by throwing this one in the trash.
Tips
- If the coating on the board and buttons is too thick, the contact may not open and the remote will not work. In this situation, you will have to clean everything up again.
- If you want to make sure the IR LED is working, use a mobile phone or video camera. Point the remote at the camera and look into it. When you press any key on the remote control, the IR LED should flash. Check all keys. If the IR LED is defective, you will not see anything.
- Be careful not to lose small parts from the remote control.
- Make sure the contacts are well cleaned before applying paint.
Warnings
- Make sure you don’t lose any of the parts so that they are all close at hand when you reassemble the remote.
- Do not cut yourself with a blunt knife!
- If after opening you find that the PCB is cracked, this guide will not help you, as these cracks are the cause of the breakage.
What do you need
- Broken remote control
- Repair kit
- Blunt knife or tool suitable for opening
- Screwdriver
- Universal cleaner
- Dry rag
- Old toothbrush for cleaning the console
- Cotton swabs
- Alcohol or acetone
- Cardboard strip for painting contacts
- Conductive paint
- Video camera for testing IR diode


