Author:
Virginia Floyd
Date Of Creation:
9 August 2021
Update Date:
1 July 2024
Content
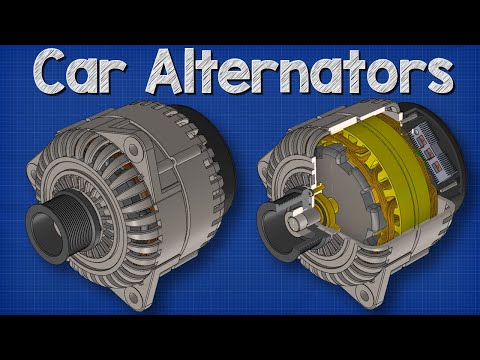
Repairing a generator is not a difficult task, and it is quite within the reach of anyone who knows at least a little about auto repair. The design of the generator on all cars is almost the same and consists of the same elements (although, depending on the manufacturer, some differences are possible). If you want to know how to repair a car generator, then read on.
Steps
 1 Disconnect the wiring terminals from the battery.
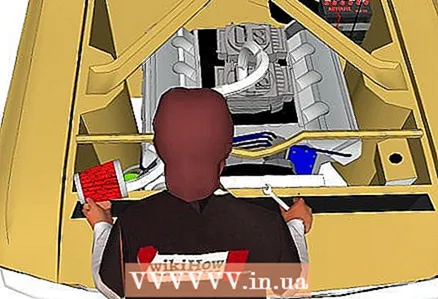 2 Remove the air filter for easy access to the generator.
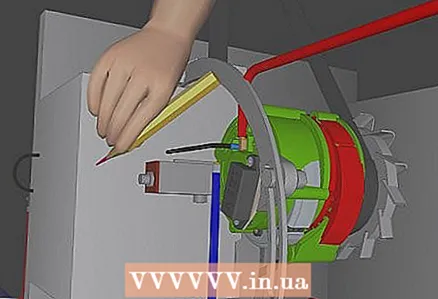 3 Label the wires before disconnecting them.
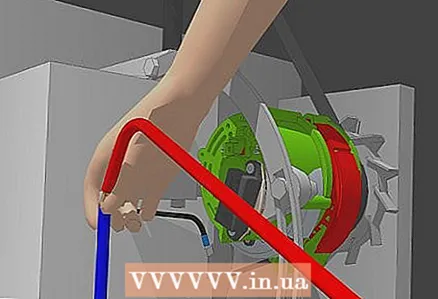 4 Disconnect the wires from the generator.
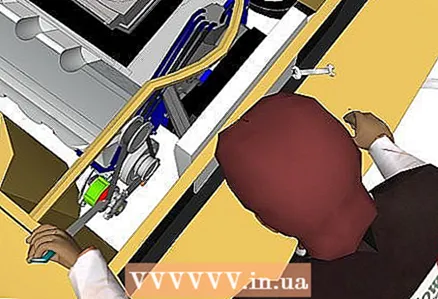 5 Remove the alternator drive belt.
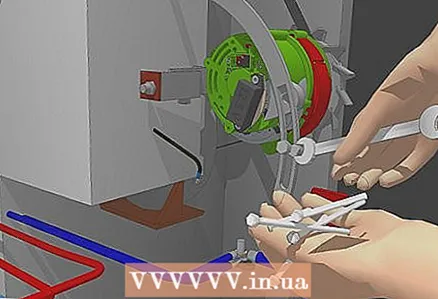 6 Remove the mounting bolts and note their location.
 7 Remove the generator.
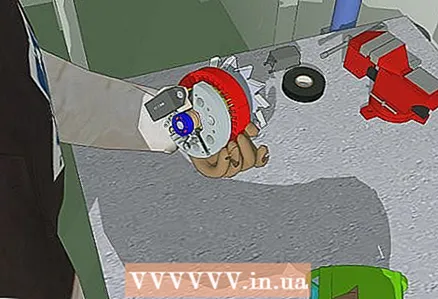 8 Remove the plastic casing from the back of the generator, having previously unscrewed the screws securing it.
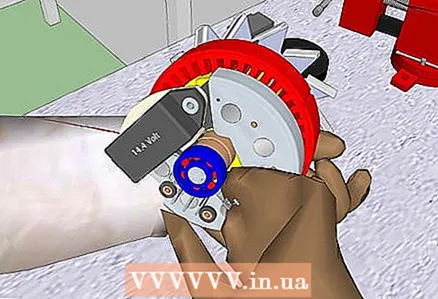 9 Assess the condition of the bearing. If it makes noises during rotation and / or backlash, then it must be replaced.
 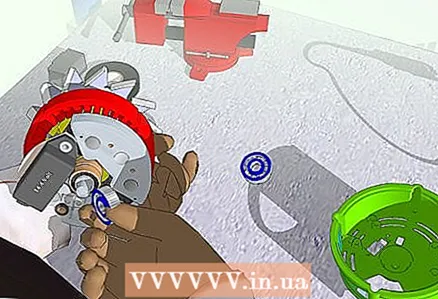 10 If the bearing needs to be replaced, do so now.
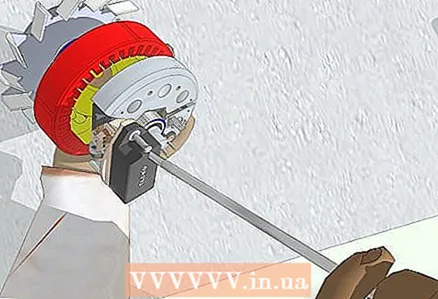 11 Remove the screw securing the external resistors.
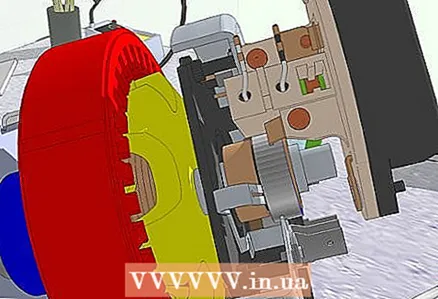 12 Be sure to memorize or sketch the location of all electrical wires before disconnecting at least one of them.
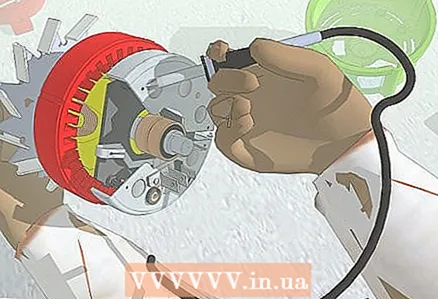 13 Disconnect the rectifier unit; for this you need to unsolder the wires and unscrew the fastening screws.
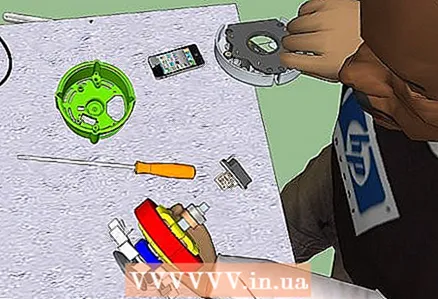 14 Remove the rectifier unit.
 15 Install a new rectifier unit and screw in the fixing screws. Solder wires to the block.
 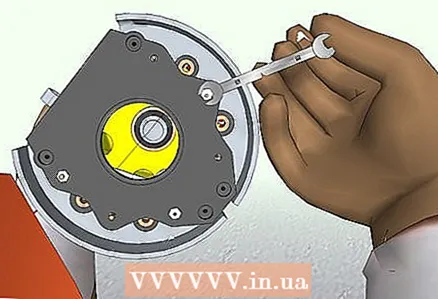 16 Screw the special removable screw into the rectifier unit to separate the brush unit.
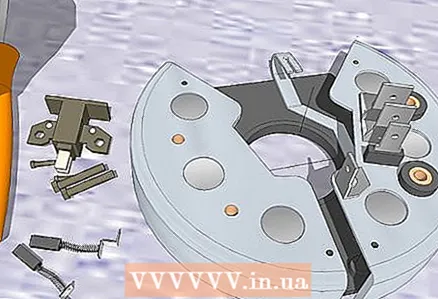 17 Replace brushes; for this you need to unscrew the fastening screws of each brush assembly. Remove the brushes from their seats.
 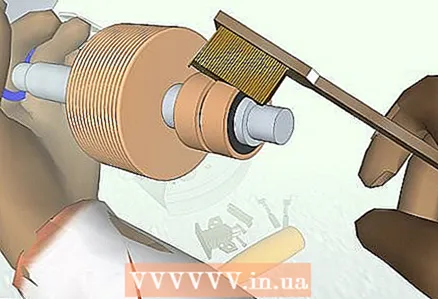 18 Clean the rotor surface that the brushes come in contact with.
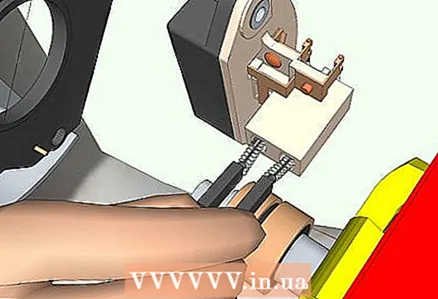 19 Make sure that the springs of the new brushes are not bent and, being pressed into the seats, push the brushes in a straight line, without distortions. Install new brushes.
 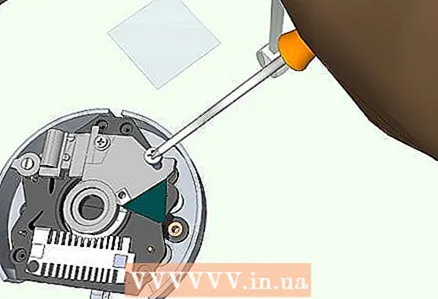 20 Remove the voltage regulator. To do this, first unscrew the screw from the lowest brush assembly, and then unscrew the screw that secures the ground wire.
 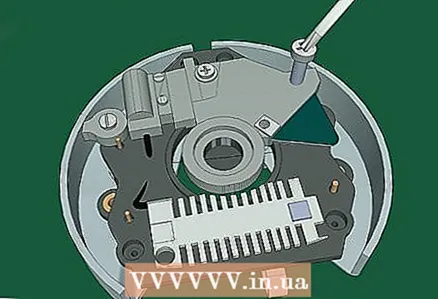 21 Install a new voltage regulator and screw in all fixing screws in the reverse order.
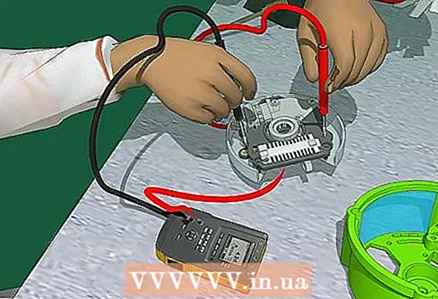 22 Using an ohmmeter, check if there are any breaks in the windings and if current will flow through the diodes.
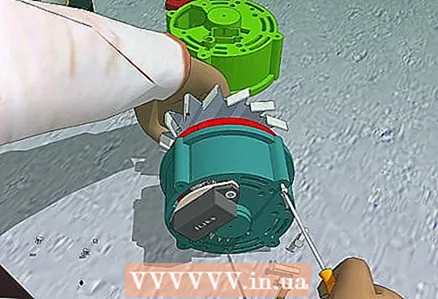 23 Replace the plastic shroud and external resistors.
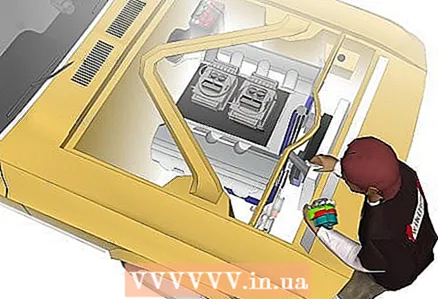 24 Place the generator back on the engine.
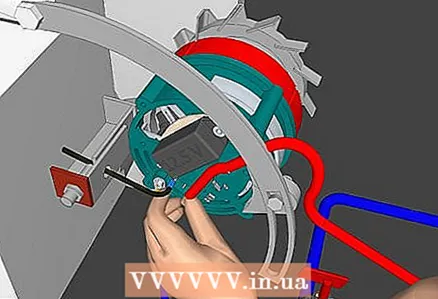 25 Connect all electrical wires to the generator; make sure the connection is correct.
 26 Install and tension the alternator drive belt.
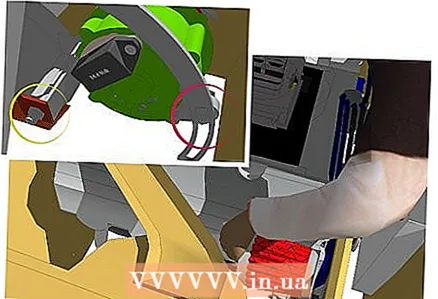 27 Reinstall the air filter and re-check the tension of the alternator drive belt and the tightness of all fasteners.
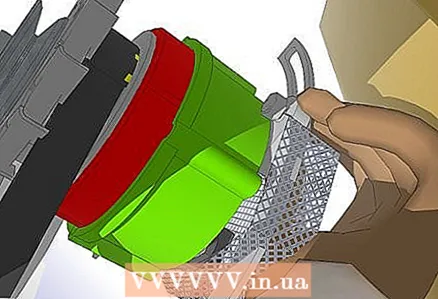 28 Inspect the heat shield located behind the generator and make sure it is installed correctly.
 29 Connect the wiring terminals to the battery.
Tips
- Spare parts for the generator are relatively inexpensive. They can usually be found at auto electrical stores. In addition, there are special offices selling remanufactured starters and generators; in most cases, they accept faulty units against the cost of new ones.
- It can be useful to photograph and sketch the location of the wires and fasteners. It is very important to ensure that all terminals and bolts are completely seated correctly.
- Be careful not to over-pull the main wire clamp to the brush block, or you may damage it.
- Before installing a new voltage regulator, coat the back of the regulator with thermally conductive paste.
- Consult your vehicle repair manual for the specifications and design features of your alternator.
- On some generators, the rectifier unit is pressed into the back of the housing.
- Sometimes it is convenient to disconnect and connect one wire at a time so as not to confuse their location.


