Author:
Carl Weaver
Date Of Creation:
26 February 2021
Update Date:
2 July 2024

Content
- Steps
- Method 1 of 4: Cloud storage
- Method 2 of 4: File Sharing Services (File Sharing)
- Method 3 of 4: BitTorrent
- Method 4 of 4: Other Methods
- Warnings
File sizes have only grown over time, and most email services still limit attachments to a few megabytes. If you need to send a large file or multiple files at once, you must use other methods. Cloud storage and file sharing services make this task much easier today.
Steps
Method 1 of 4: Cloud storage
 1 Decide if cloud storage is right for you. Cloud storage is a service for storing user data on remote servers. You can send links to a particular file to other users so that they can download the files they need from the cloud storage.
 - Most cloud storage allows you to store at least 5 GB of information (or much more) for free.
- It is very rare for cloud storage to set a limit on the maximum size of uploaded files.
 2 Choose the right cloud storage. There are many cloud storage solutions with similar file sharing features. You may already have an account with one of these repositories.
 - Google Drive. Free cloud storage from Google. Each user gets 15 GB of storage. You can access this repository by opening the site drive.google.com and by logging into your Gmail account.
- OneDrive. Free cloud storage from Microsoft. Each user gets 15 GB of storage. You can access this repository by opening the site onedrive.live.com and by logging into your Microsoft account.
- DropBox. Independent cloud storage. Each user gets 2 GB of free storage; the storage size can be increased with referrals. The site of this repository: dropbox.com.
- Box. Independent cloud storage. Every user gets 10 GB of free storage; the maximum size of uploaded files is limited to 250 MB. The site of this repository: box.com/personal.
- Mediafire. It is a file sharing service turned into a cloud storage. Unlike other cloud storage services, this service is more focused on sharing rather than storing files. Each user gets 10 GB of free storage; each link to the downloaded file contains advertisements. There are no file size restrictions. The site of this repository: mediafire.com.
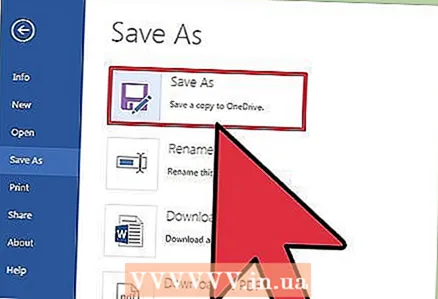
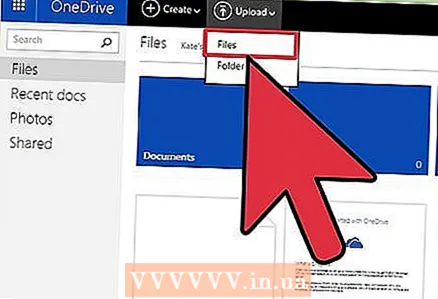 3 Upload a file to the repository that you want to exchange with other users. The upload process depends on the storage you choose, but in most cases, just log into your storage account and then drag and drop the file into your browser window.
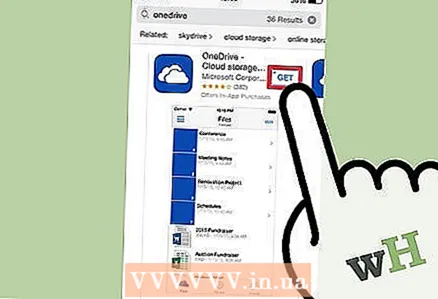
 - Many cloud storages have mobile apps that allow you to upload files from your smartphone or tablet.
- Some cloud storage like Google Drive and DropBox create a folder (for syncing) on your computer. Adding a file to this folder will automatically upload it to your repository.
- The time to download the file depends on the speed of your internet connection. It can take over an hour to download a file of several gigabytes.
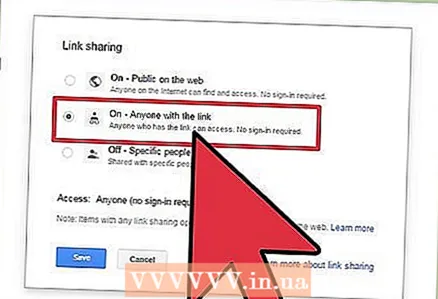 4 Create a link to the downloaded file so others can download it. This process depends on the repository you choose, but in most cases, just highlight the file and click Share or Create Link.
 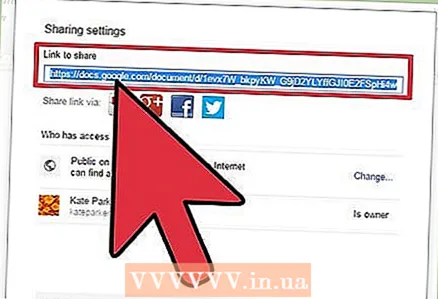 5 Copy and paste the link to the file in the email. Send this email to the person you want to share the file with. The user will be able to download the file by clicking on this link.
 - Your email service can easily insert links to files in the cloud storage. For example, if you are writing an email in Gmail, you can paste the link to the file in Google Drive (similar with Hotmail and OneDrive).
 6 Inform the addressee about the sent link. By clicking on the link, the user can view the file directly in the cloud storage. For example, if you uploaded a video link to OneDrive, the video plays in the OneDrive online video player. The user can download the video to his computer by clicking the Download button.
Method 2 of 4: File Sharing Services (File Sharing)
 1 Decide if a file hosting service is right for you. File sharing is very similar to cloud storage, but it is intended for sharing, not storing files. You simply upload the file you want to share and then submit a link to that file. Typically, you don't need to create an account, and you can share files with multiple users.
 - Since you are uploading the file to a server that you do not control (because you do not have an account), do not use this method to transfer sensitive information.
- Use file sharing services if you only need to send a file once and you don't want to mess with cloud storage.
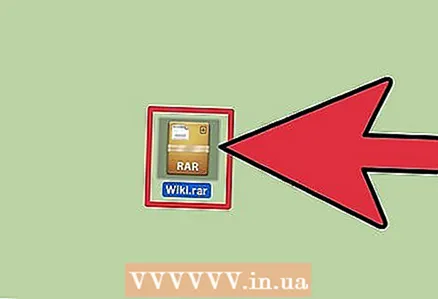 2 Most file hosting services do not support uploading folders. Therefore, if you need to share multiple files, send them in one archive (ZIP, RAR and the like). ZIP is the most common format, so the recipient of the archive will have no difficulty unpacking it.
 - How to create a ZIP archive.
- If you are sending confidential information, you can put a password on the archive.
 3 Choose a suitable file hosting service (from a great variety). Below are some of the more popular file hosting services.
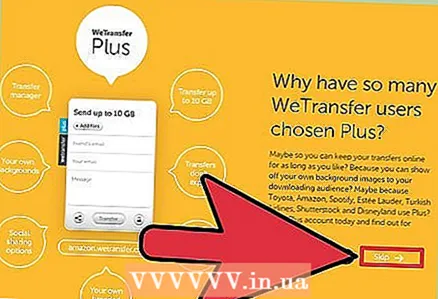
 - WeTransfer (wetransfer.com). This is one of the most popular file hosting services; it creates and sends an email with a link to your file (or you can just create a link to the file). You can upload files up to 2 GB in size without creating an account.
- MailBigFile (free.mailbigfile.com/). It is analogous to Wetransfer. You can upload files up to 2 GB (free account); files will be kept for 10 days or 20 downloads.
- Mega (mega.co.nz). This is a popular file hosting service from New Zealand. The free account includes 50GB of storage and you can easily link to your files. This service also offers file encryption.
- DropSend (dropsend.com). Analogue of Wetransfer or MailBigFile. You can upload files up to 4 GB in size, and all downloaded files will be encrypted. Users are given 7 days to download files; after this period, the file is deleted.
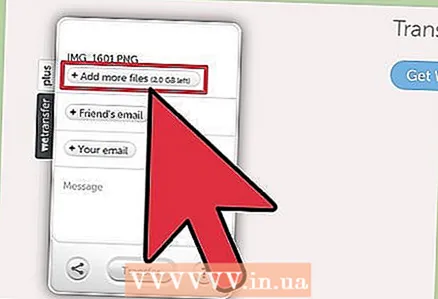 4 Upload the file you want to share. To do this, in most file hosting services, simply drag and drop the file into the browser window.
 - Depending on the file hosting service, you may or may not be able to upload a folder with files.
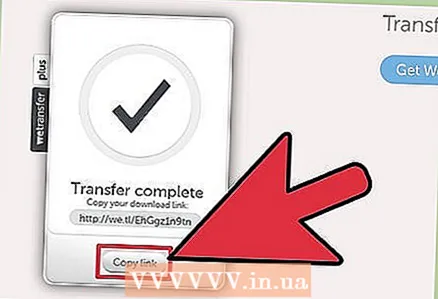 5 Create a link to the file (after downloading it) that you can send to other users. When creating a link, you can set additional parameters, for example, specify a specific user or set a password.
 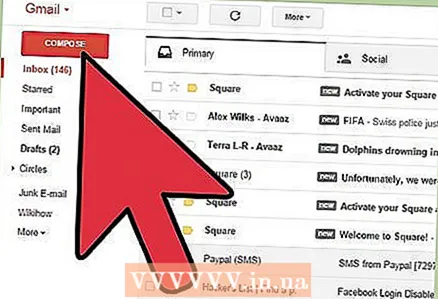 6 Share the link. To do this, send it by email to the desired users.The link will remain active for as long as it is described in the rules of a particular file hosting service.
Method 3 of 4: BitTorrent
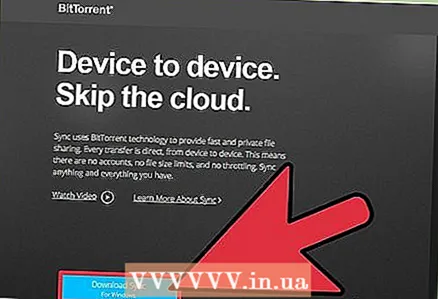 1 BitTorrent is one of the ways to transfer large files over the Internet. It differs from cloud storage in that users will download the file not from the server, but from your computer. BitTorrent can also provide faster data transfer speeds (compared to cloud storage).
 - If you are trying to share your file with as many users as possible, then BitTorrent is the best choice. Any user who has already downloaded the file will distribute it to other users. This allows a huge number of users to download the file without overloading the networks. If the torrent client is running for at least one user, other users can download the file.
- Unlike cloud storage or file sharing, BitTorrent requires all users to have a torrent client and basic knowledge of how torrent trackers work. It also requires at least one user who has already downloaded the file to be online.
 2 Install a torrent client. It is a program that provides communication between your computer and the computers of other users.
 - QBittorrent is one of the most popular torrent clients. It can be downloaded from the website qbittorrent.org.
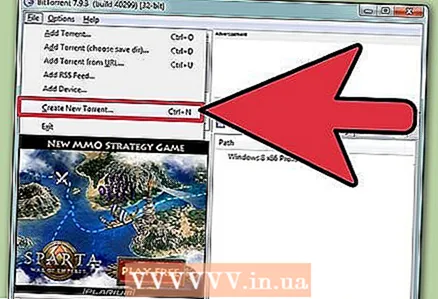 3 Create a torrent. In the torrent client, open a special utility for creating torrents. To do this, in most cases, just press Ctrl + N.
 - Add the file you want to share with other users. If you want to share multiple files at once, create a folder and then add it to the torrent.
- Insert multiple torrent trackers in the Trackers field. Trackers are sites (their addresses) that are needed to create new connections to a torrent, as it contains an updated list of all current connections. There are several free trackers you can use:
- udp: //open.demonii.com: 1337
- udp: //exodus.desync.com: 6969
- udp: //tracker.leechers-paradise.org: 6969
- udp: //tracker.pomf.se
- udp: //tracker.blackunicorn.xyz: 6969
- udp: //tracker.coppersurfer.tk: 6969
- Save the torrent. You will be prompted to give it a name and set its location on your computer.
 4 After creating a torrent, send it to the users with whom you want to share the file (or files). Remember that every user must have a torrent client installed on their computer in order to be able to download the file from your computer.
 - Torrents are very small files that can be easily attached to emails.
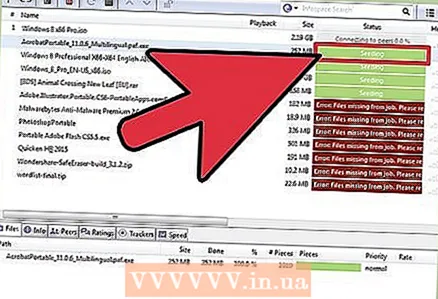
 5 Do not turn off your computer, launch the torrent client, and do not move the torrent. This will make your files available for download.
 - If you move the torrent, other users will not be able to download files from your computer. This is because the location of the file on your computer is already specified in the torrent.
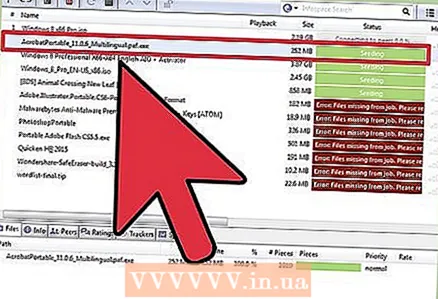
 6 Wait for the seeds to appear to stop the distribution or delete the torrent. Sid is a user who downloaded a file from your computer and distributes it to other users (already from his own computer). As soon as your distribution has at least one seed, you can close the torrent client and delete the torrent. But if you want to make the file more readily available, it's best to keep the upload.
 - If you share a torrent with a large number of users, then they will very quickly turn into seeds, and the download speed of the file will increase many times, since it will be available from a large number of computers. This is the essence of torrenting networks that do not need a central server.
- How to use BitTorrent.
Method 4 of 4: Other Methods
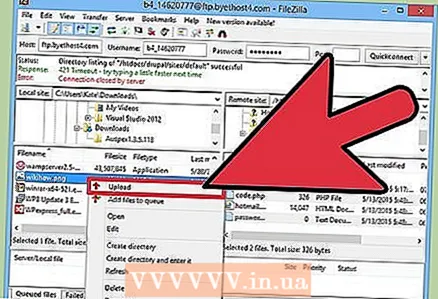 1 Upload file to FTP server. If you and other users (with whom you want to share the file) have access to FTP (File Transfer Protocol), you can upload the file to an FTP server, and other users will download it using the FTP client of their browsers.
 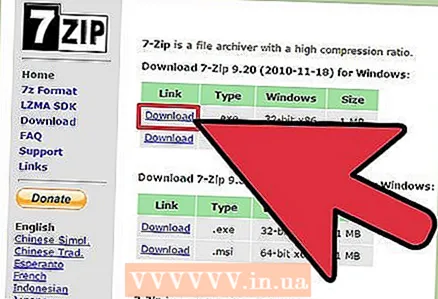 2 Divide the file into several small parts. To do this, use the archivers WinRAR or 7-Zip; they will create an archive and split it into several small pieces. Users can download the file in parts, and then combine them into one archive and unpack it. But for this, users need to have the same archiver that you work with, and also know how to combine parts of the archive into one archive.
Warnings
- The RIAA and MPAA monitor the spread of pirated music and videos. Therefore, use the above methods only for lawful purposes.


