Author:
Carl Weaver
Date Of Creation:
1 February 2021
Update Date:
1 July 2024

Content
- Steps
- Method 1 of 3: Antique effect with boiled eggs (light or dark brown)
- Method 2 of 3: Oxidation with solutions (green, brown and other colors)
- Method 3 of 3: Oxidation by Other Methods
- Tips
- Warnings
- What do you need
If you want to age copper jewelry or home furnishings, create a patina on copper using oxidation - you don't even need to buy a special expensive kit. Use the tips in this article to darken copper or create a pronounced green or green-blue patina. Each of the methods described can achieve a different effect, so feel free to experiment. If you want to be sure of the result, use the solution method.
Steps
Method 1 of 3: Antique effect with boiled eggs (light or dark brown)
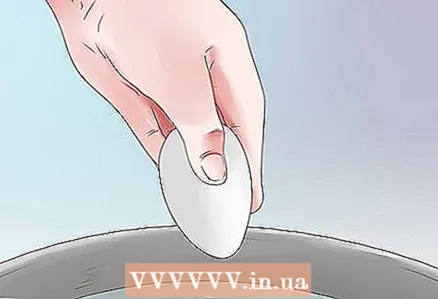 1 Hard boil two or more eggs. Two or three eggs will be enough for a small area. Place whole eggs in a pot of water and cook for at least 10 minutes. Don't worry if you digest them: the greenish edge of the yolk and the sulfur smell is exactly what you want, as sulfur will stain the copper.
 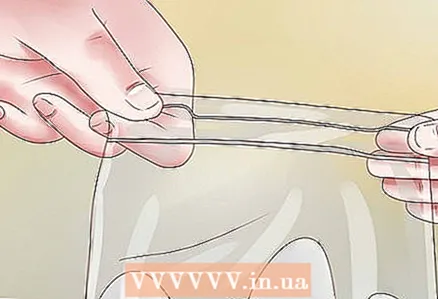 2 Use tongs to place the eggs in a plastic bag. It is best to use a bag that can be hermetically closed (for example, with a special lock). Use tongs to move the eggs as they will be very hot. If you don't have a bag that can hold the entire copper object, use a plastic container with a lid, bucket, or any other container that you can close. If the container is large, there should be more eggs.
 - It is best to use a transparent container so that you can appreciate the look of the copper without opening the lid.
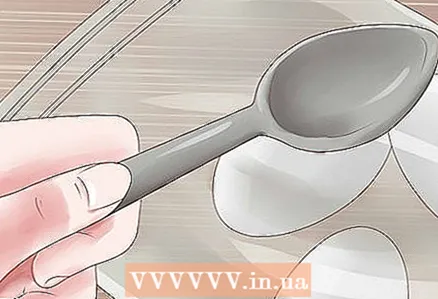 3 Crush the eggs. Close the bag, but not completely so that the eggs do not end up on the outside. Use a spoon, cup, or any heavy object to scrape the eggs over the top of the bag. Break the shell, crush the white and yolk.
 - Do not close the bag completely, otherwise it will be more difficult to crush the egg.
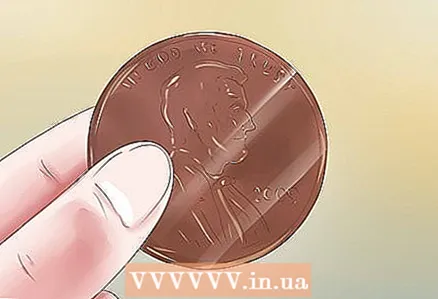 4 Place the brass items on a small plate. This will prevent them from touching the eggs. This will not only help you keep items clean, but it will also get rid of any stains where the egg and metal come into contact.
 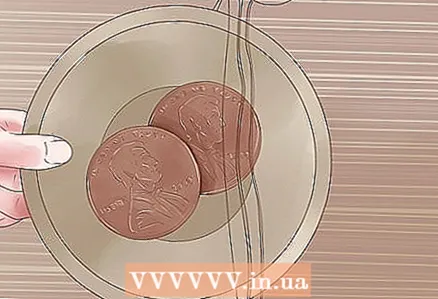 5 Place a plate in a bag and close it. The copper object should be inside. It doesn't matter if the plate is next to the eggs, since they don't need to touch. Seal the bag tightly to keep the sulfur vapor from escaping, or close the lid if using a container. The bag will expand due to the heat generated by the eggs, but the expansion will not be strong enough to break the bag.
  6 Check the condition of the item regularly. After 15 minutes, the first results may appear, but usually copper darkens in 4-8 hours. The longer the copper is in the bag, the darker it will become. The entire copper surface will look old and uneven. Take out the plate when you think you are happy with the result.
 - Wash the copper object to rinse off the egg particles and see how it looks neat.
Method 2 of 3: Oxidation with solutions (green, brown and other colors)
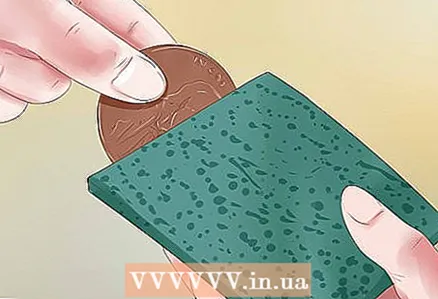 1 Rub the copper object with a hard sponge and water. This action is necessary in order for the metal surface to become even, so that the patina will lie flat, and not in pieces. You can choose not to do this or clean only certain areas if you want both new and aged fragments to remain on the metal.
  2 Wash the copper with a mild dish soap and rinse off the lather thoroughly. Remove any detergent, grease and film from the surface. Wipe and dry the copper object with a soft cloth.
  3 Prepare the solution according to the desired color. There are many options for copper oxidation solutions, depending on the color you want. Some of the solutions below can be made with simple household products or over-the-counter products.
 - Be careful to wear gloves and work in a ventilated area when using ammonia. It is also recommended to wear protective goggles and a respirator. In case ammonia gets on the skin or mucous membrane, you will need to rinse the affected area under the tap for 15 minutes.
- For a green patina, mix 480 milliliters of white vinegar, 360 milliliters of pure ammonia and half a glass of salt. Stir everything in a plastic spray bottle and wait for the salt to completely dissolve. For a less intense green, use less salt.
- To brown the patina, add baking soda to a hot water spray bottle and let it dissolve.
- You can buy a ready-made product for processing copper. Follow the directions on the package to achieve the desired result. Often potassium polysulfide is used for these purposes.
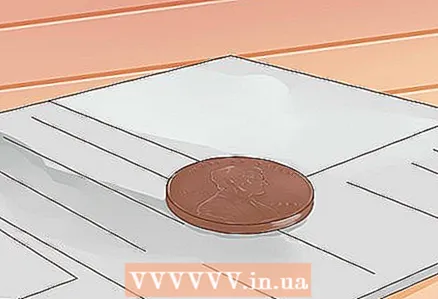 4 Before grouting copper, move it outdoors or leave it in a well-ventilated area. Place newspaper underneath to protect the surface on which the object lies from damage.
 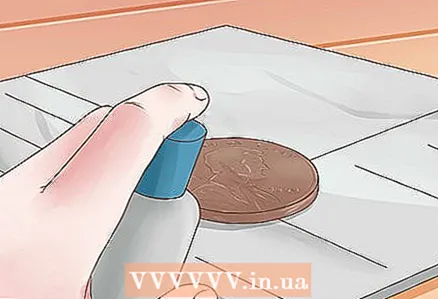 5 Process copper at least twice a day. Spray the solution onto a copper object and check after an hour to see if there is a result. If so, you can treat the surface of the copper object every hour, paying particular attention to areas where patina does not appear. You can also spray the copper twice a day until the patina develops. Leave the copper outdoors to speed up the oxidation process.
 - If you want a specific effect, scrub the area with a sponge, wire brush, or cotton pad after you grout the copper. If the solution contains ammonia, acids or other hazardous substances, wear gloves and safety glasses.
- If you live in an area with low humidity, cover the copper object with a plastic bag or cloth to keep moisture from escaping. Use props or place a copper object between other objects so that the plastic does not come into contact with the copper.
Method 3 of 3: Oxidation by Other Methods
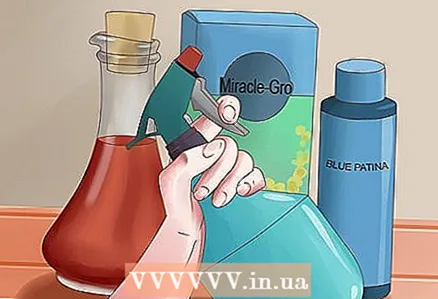 1 Apply a green or blue patina with Miracle Gro. With concentrated fertilizer Miracle Gro, you can quickly oxidize copper. Mix about one part Miracle Gro with three parts water (for a blue color) or red vinegar (for a greenish color). Pour the resulting mixture into a spray bottle or apply with a rag. If you treat different areas unevenly, you get a more natural look. Patina will appear in half an hour and will be fixed in a day.
 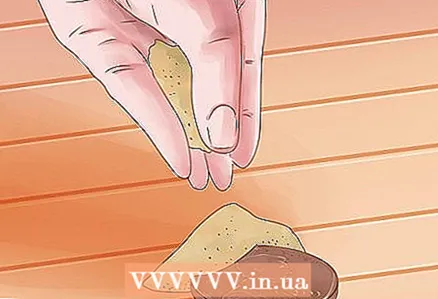 2 Put copper in white vinegar. White vinegar will create a green or blue patina on the copper, but you will need some other remedy to keep moisture near the metal. Let the copper sit in a mixture of white vinegar and salt, or place it in sawdust or even chip crumbs, then cover with vinegar. Place the copper object in an airtight container for 2-8 hours.Check the condition of the item from time to time. Then remove the copper and dry naturally. Remove hard adhering pieces with a soft brush.
 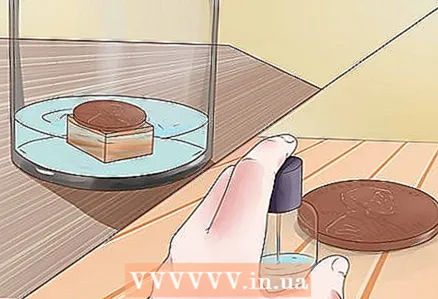 3 Achieve a bright blue with ammonia and salt vapors. Fill a 1.25 centimeter container with ammonia outdoors or in a ventilated area. Sprinkle some salt water on the copper and then lay it down over level of ammonia on a wooden shelf. Place the lid on the container and check the copper every hour or two until it turns dark brown with traces of blue. Remove the copper item from the container and dry naturally until a bright blue patina develops.
 - Attention: Always wear gloves and safety goggles when handling ammonia. Do not use a container containing ammonia to store food or water.
- The more salt, the more saturated the color will come out.
Tips
- If you have a chemist's kit, try making a complex solution following the instructions on this site. Please be aware that these instructions have been compiled from different sources, so the end result may vary.
- Mix the solutions in a container that will only be used for copper and use a spray bottle for this purpose as well.
- The patina will last longer if you cover it with a special product or wax. Do not use water-based products if the patina has been obtained with ammonia.
Warnings
- Never mix ammonia with bleach or other household cleaners.
- When using ammonia, especially in confined spaces, make sure there is good ventilation. Avoid getting ammonia in your eyes.
What do you need
- Hard sponge
- Mild dish detergent
- Spray
- Container with lid
- Copper fixer or wax (will help fix the patina)
As well as:
- Water
- Salt
- Vinegar
- Baking soda
- Miracle Gro brand products
- Ammonia


