Author:
Joan Hall
Date Of Creation:
6 July 2021
Update Date:
1 July 2024

Content
This article will show you how to crop an image in Adobe Illustrator.
Steps
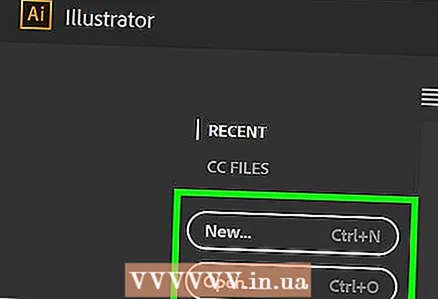 1 Open or create a file in Adobe Illustrator. To do this, click on the yellow-brown icon with the letters “Ai” and then click on “File” in the menu bar in the upper left corner of the screen. Now do one of two things:
 - click "Create" to create a new file;
- click "Open" to open an existing file.
 2 Click on the Selection tool. The icon of this tool looks like a black arrow and is located at the top of the toolbar.
  3 Click on the image you want to crop.
- To add a new image to your document, choose File> Place. Select the image you want to crop, and then click Position.
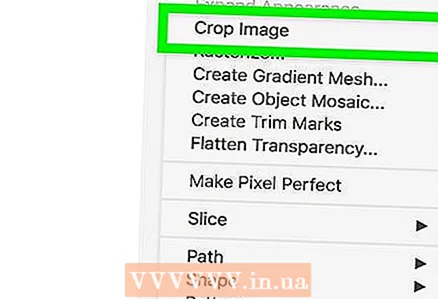 4 Click on Crop image in the upper right part of the window.
- If a warning about linked images appears, click OK.
 5 Click and drag the corners of the Cut box. Do this until the area of the image you want to keep is inside the rectangular frame.
  6 Click on Apply on the control panel at the top of the screen. The image will be cropped according to the specified parameters.


