Author:
Marcus Baldwin
Date Of Creation:
19 June 2021
Update Date:
1 July 2024

Content
- Steps
- Method 1 of 3: Part One: Connecting Hardware
- Method 2 of 3: Part Two: Setting Up Your Router
- Method 3 of 3: Part Three: Connecting Devices
- Tips
More and more devices are capable of connecting to wireless networks, and setting up a wireless router (router) is becoming a key step in building almost any home network. Setting up a wireless network will allow your devices to connect to the Internet from anywhere in the house without any wires. To get started, see the first step below.
Steps
Method 1 of 3: Part One: Connecting Hardware
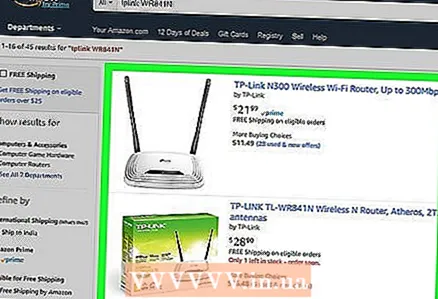 1 Purchase a wireless router. Routers come in a wide variety of shapes and sizes. Compare their specifications to find the one that suits you best. If your wireless network needs to cover a large area or your home has a lot of walls, look for a router with more antennas.
 - All new routers must support the 802.11n (or Wireless-N) standard. Compared to older standards such as 802.11g, this one is the fastest and most stable.
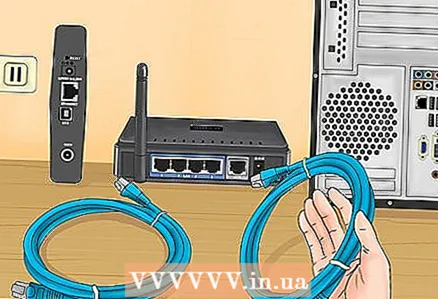 2 Connect your router to your modem. Wireless routers allow you to share your broadband Internet access on multiple devices. To do this, you need to connect your broadband modem to your router. For best results, place the router near the modem.
 - Connect your wireless router and modem with an Ethernet cable. For this, a short Ethernet cable is included with most routers.
- Connect the modem to the WAN / Internet port of your router. It is usually located a little apart from the rest and highlighted in color (mostly yellow).
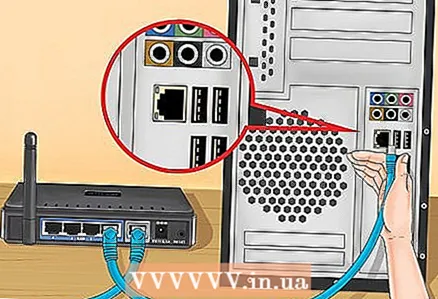 3 Connect some devices with a wire. If you have a computer, game console, or TV near your router, you can connect them via Ethernet. Their connection will be more stable and faster, and this does not require any additional settings.
 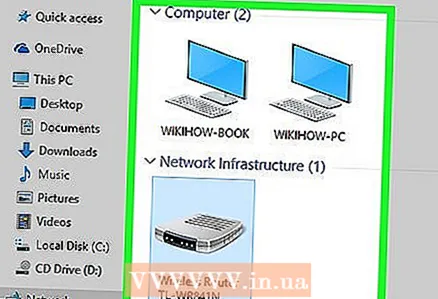 4 Connect at least one computer via Ethernet. To change the router settings, you need at least one computer connected to the router via an Ethernet cable. Once set up, the computer can be turned off.
Method 2 of 3: Part Two: Setting Up Your Router
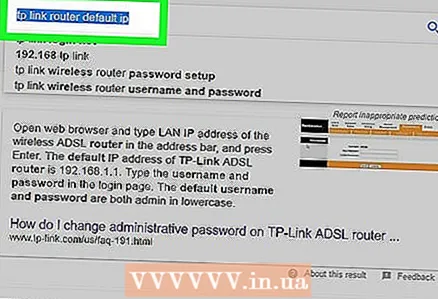 1 Find the IP address of your router. Most newer routers have an IP address sticker. In the case of older models, this information can be found in the documentation for the router. If you can't find the information you need anywhere, you can search the Internet for your router model.
 - The IP address is four groups of 3 digits, separated by a period.
- Most of the standard IP addresses are 192.168.1.1, 192.168.0.1, or 192.168.2.1.
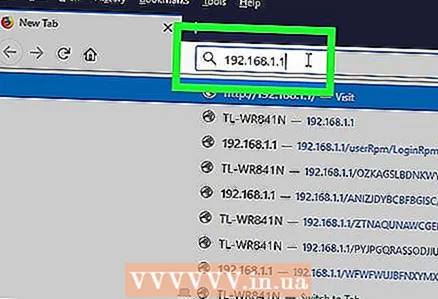 2 On a computer connected to the router, open a web browser. Enter the IP address of the router in the address bar and press Enter. The browser will try to connect to the router's configuration menu.
 - If your router came with an installation disc, you can run the configuration program instead. It performs almost the same function.
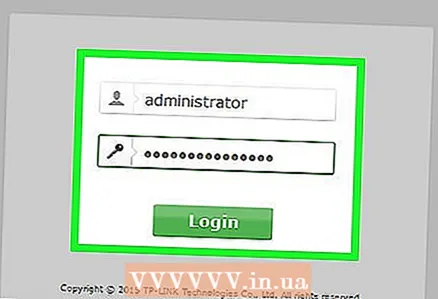 3 Enter login and password. To access the router's configuration page, enter the correct username and password. Most routers have a standard username and password that you must use to log in. These are model dependent and should be printed on the router or in the documentation.
 - The most common login is "admin".
- The most common passwords are "admin" and "password".
- For some routers, it is enough to enter only the login, and leave the password blank; in some models, the login can also be omitted.
- If you cannot find the standard username and password, search online for a standard username for your router model. If it has been changed, hold down the Reset button on the back of the router to reset it to factory settings for 10 seconds.
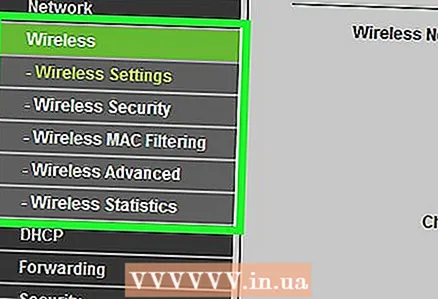 4 Open your wireless settings. After logging into the router, you will be taken to the main menu or status screen. There are several options to choose from here. The "Internet" section can be left unchanged, unless you have received specific settings from your ISP. In the Wireless & networks section, you can change the wireless settings.
 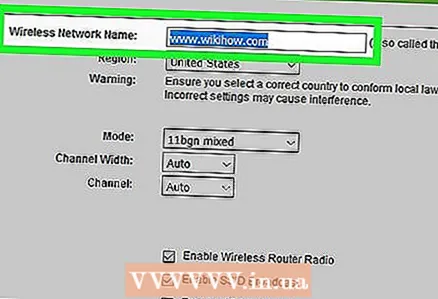 5 Enter a name for your wireless network. In the "Wireless & networks" section, you will see the SSID or "name" field. Enter a unique name for your wireless network. This is what other devices will see when scanning for wireless networks.
 - Mark the checkbox to enable broadcast service area information. This will enable the wireless network.
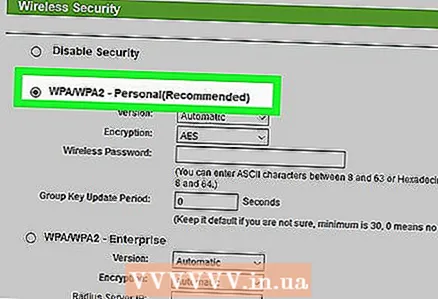 6 Select a security method. Select from the list of available security options. For maximum security, select WPA2-PSK as the encryption method. It is the most resistant to hacking and the best way to protect you from attacks by hackers and intruders.
 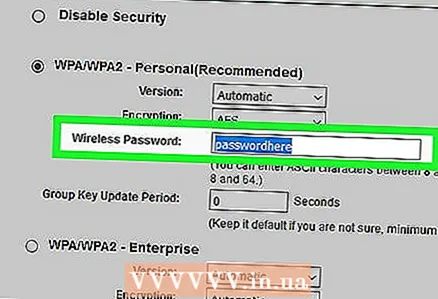 7 Come up with a passphrase. Once you have chosen the encryption method, enter the passphrase. It must be a complex password consisting of a combination of letters, numbers, and symbols. Do not use passwords that can be easily identified by your network name or information about you.
 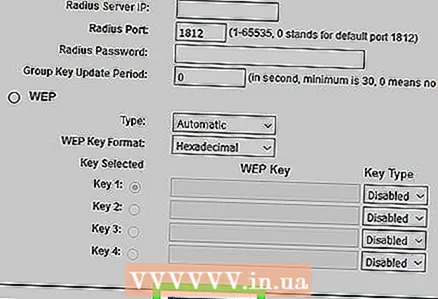 8 Save the settings. Once you have named and secured your wireless network, click the Apply or Save button. It may take some time for the settings to be applied. As soon as the router restarts, your wireless network is available.
 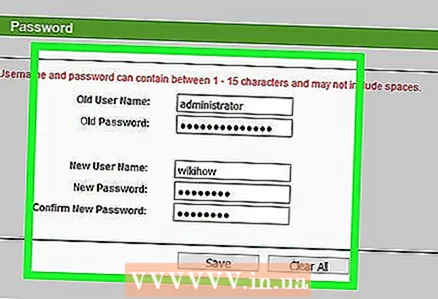 9 Change the login and password of the router. Once you set up the network, change the login and password for accessing the router. This will protect it from unauthorized changes. This can be done in the Administration section of the router's configuration menu.
 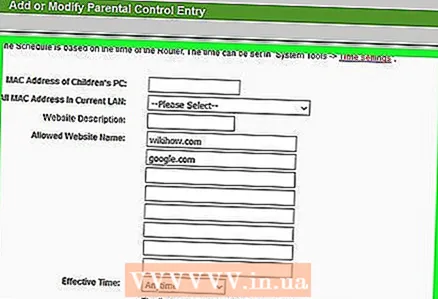 10 Block websites. If you want to prevent devices connected to the network from accessing certain websites, you can use the router's built-in blocking utilities for this. They can be found in the "Security" section.
 - As a rule, websites can be blocked both by a specific domain name and by keywords.
Method 3 of 3: Part Three: Connecting Devices
 1 Connecting a computer, tablet or smartphone to the network. Scan for wireless networks. Any device that supports wireless networks will see your network name as long as you are within range of the router. When you select a network, you are prompted for a passphrase.
 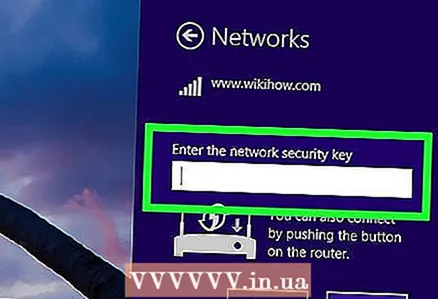 2 Enter your wireless passphrase. Immediately after that, the device will automatically connect to the wireless network. The data about your network will be stored in the device's memory and as soon as it is within its range, the device will automatically connect.
  3 Connect your other devices. In addition to other computers and tablets, you can connect other devices to the network, such as printers, game consoles, TVs, etc.
Tips
- If you purchased a used router, be sure to reset it to factory settings. This will help you set up your wireless network according to the instructions above. Find the reset button on your router and press it for 30 seconds with a pin or pen.


